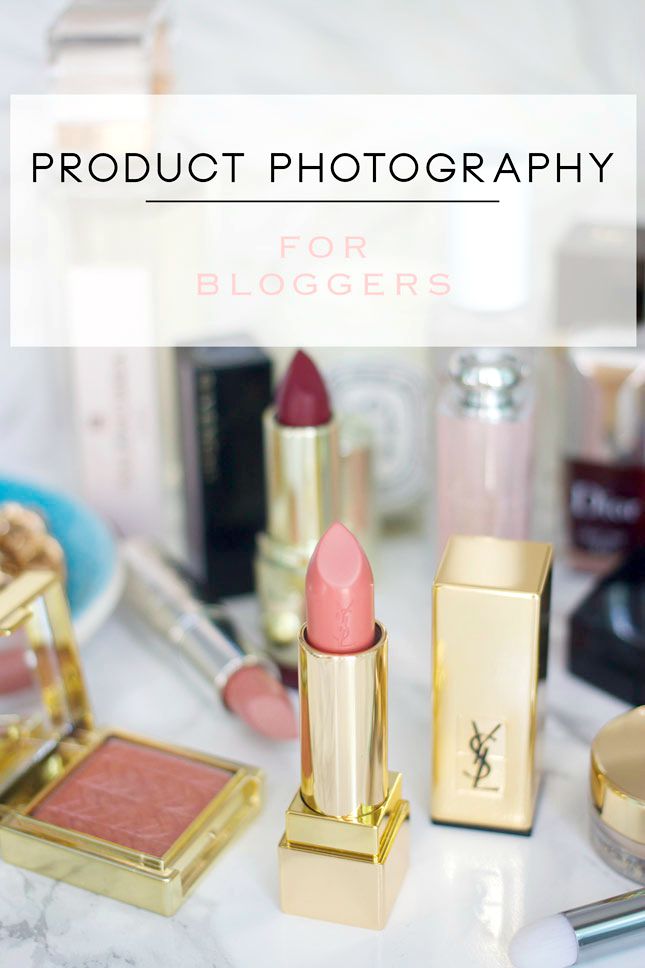
Tips for product photography
Photography is probably one of my favorite categories here on Lifestyle Gleam, for two reasons. I really enjoy working on these posts and you guys seem to really like to read them, since it’s the most popular category on my blog.
Today I’ll talk about a few tips for sprucing up your product shots. I’m sharing a few things that have worked for me, but that doesn’t necessarily that they will work for you, so keep that in mind. Everyone has their original style when it comes to product photography and I am absolutely not saying that my way is the right way, but I constantly get questions about my photography, so I’m just giving the people what they want :) .
If you want to learn about Photography and DSLR basics (such as how to work with manual settings and how they can improve your photography) make sure to check out this post.
USE SMALL PROPS
Ever since I’ve started blogging, my “hoarding” went to a whole other level. I love collecting all sorts of trays, trinket and jewelry dishes, pretty candle jars, magazines, fashion books, fabrics, etc. I love using all those things to “style” or “dress up” my product shots. One of my favorite places to shop for all sorts of knick-knacks has got to be Home Goods, TJ Maxx and Michael’s Arts & Crafts stores. You can really find some cute stuff there and it won’t cost you a fortune. “Styling” your photos may be a little more time consuming, but it can be really fun and it can also help your photos stand out.
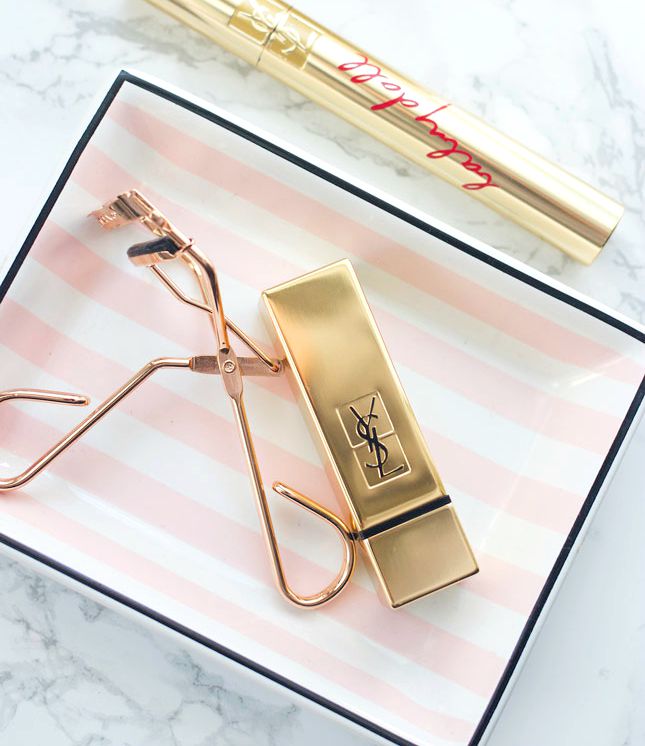
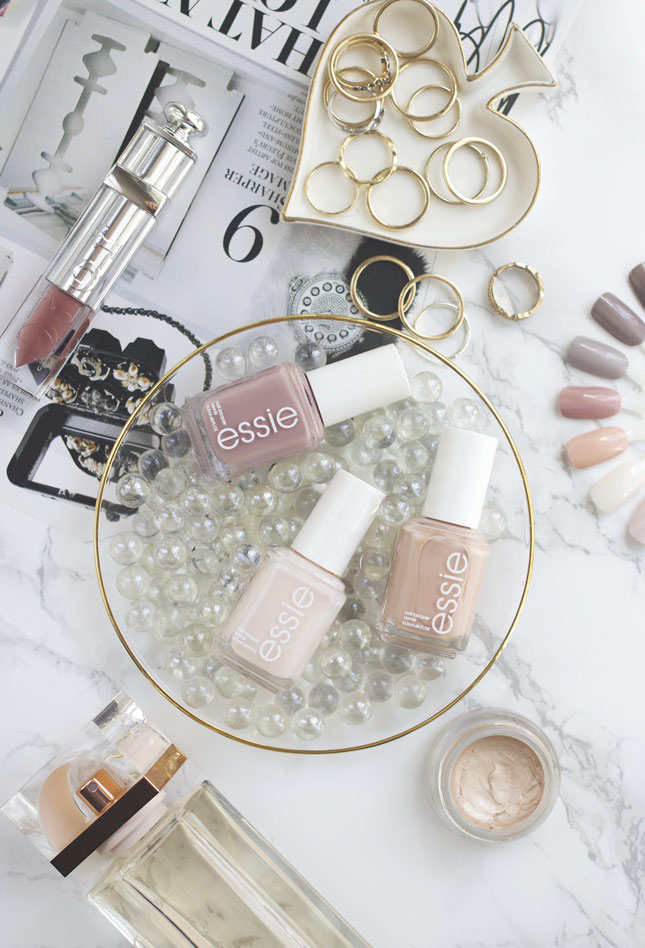
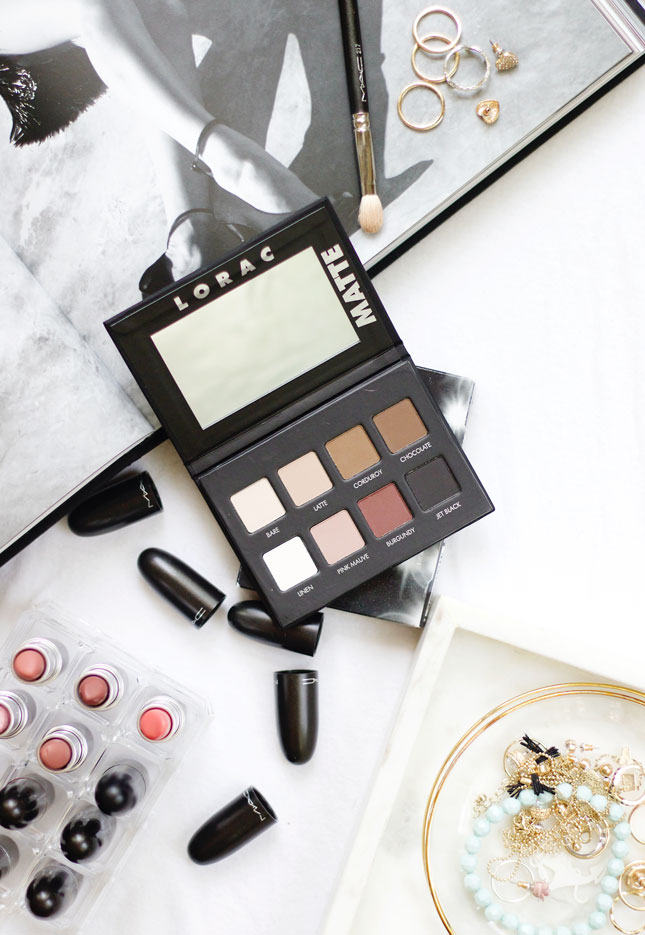
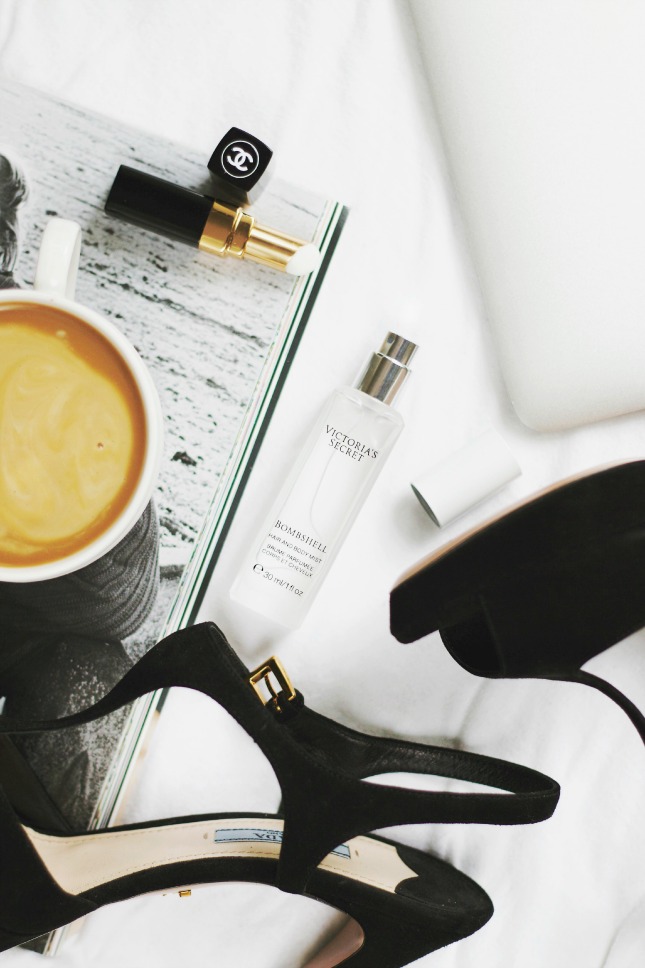
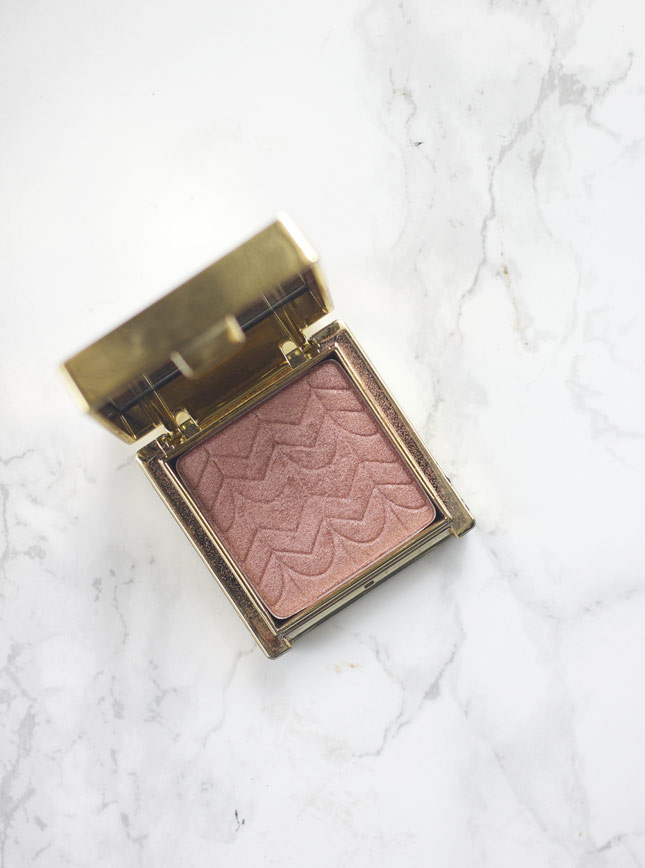
Plain product.
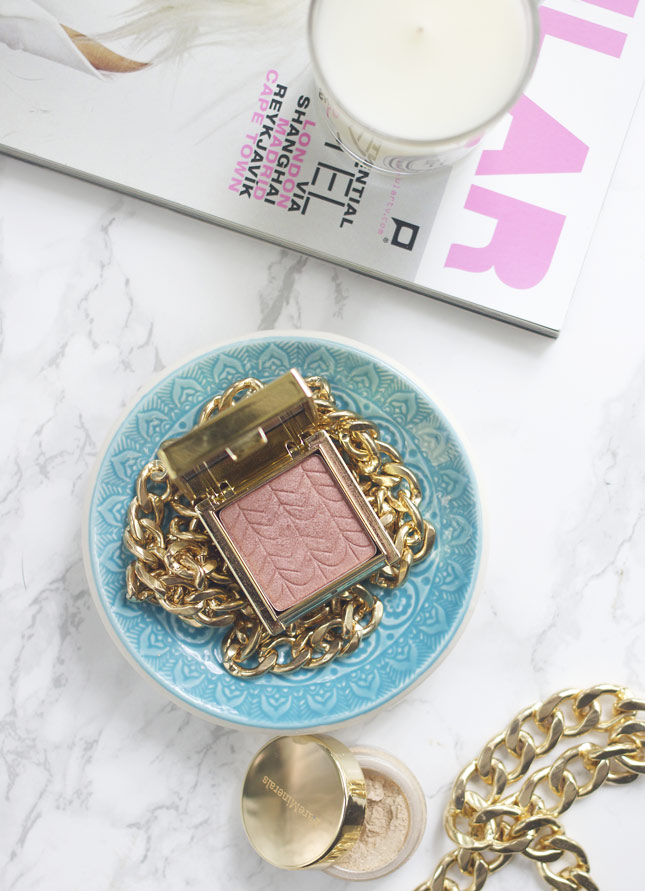
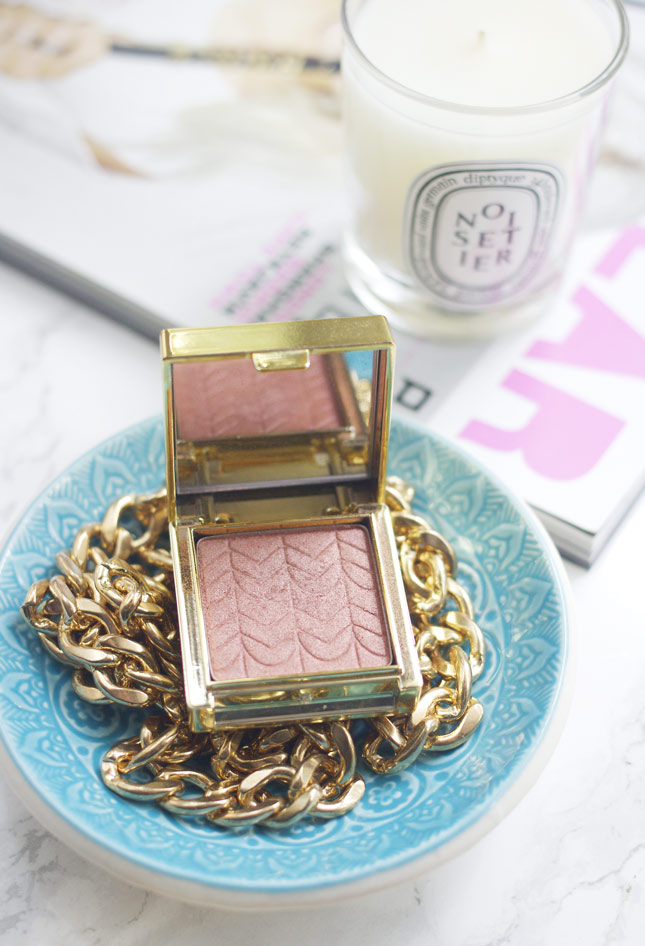
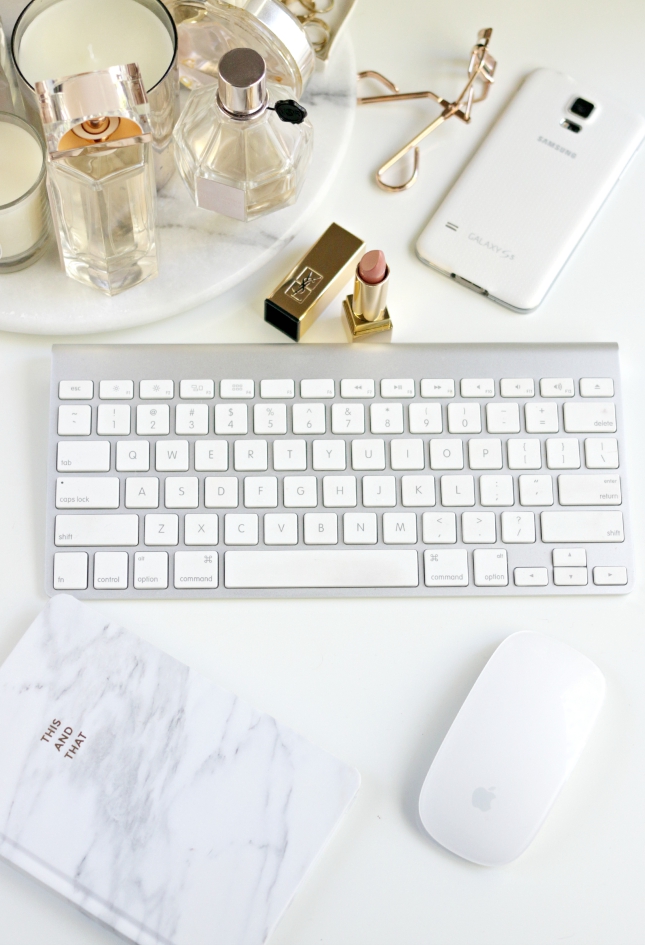
“Styled” product; here I used a magazine, a candle, some jewelry and a trinket dish to “dress up” my image.
TRY DIFFERENT ANGLES
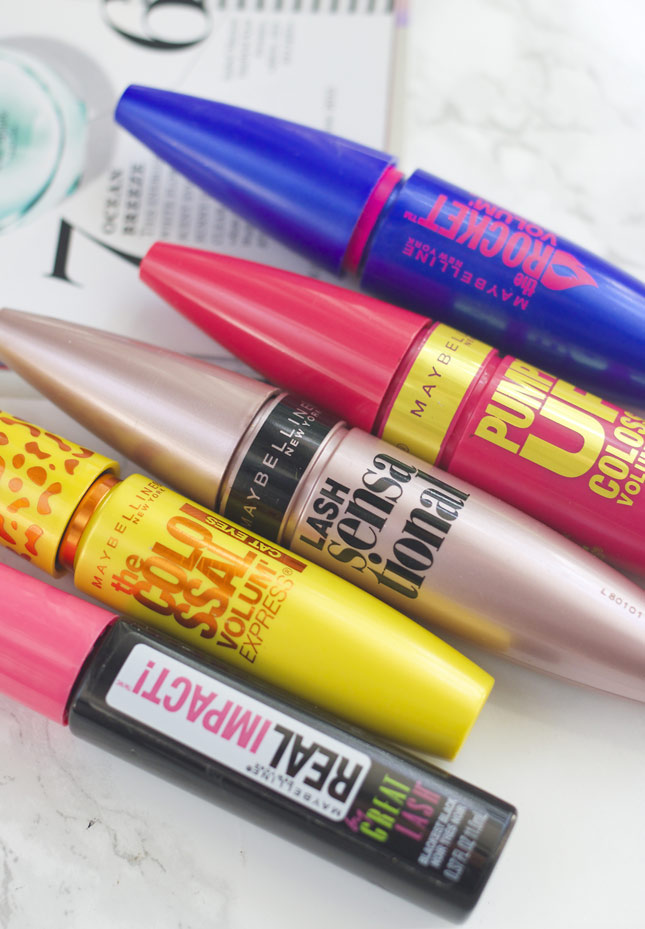
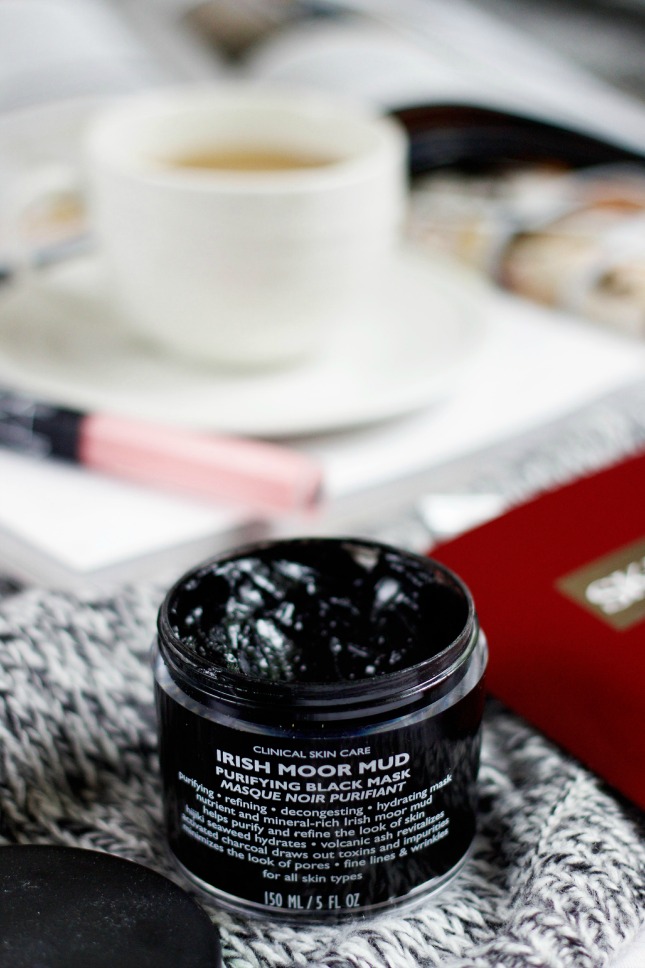
I usually like to take my photos from “above” in “flatlay” style, but I also like to mix it up a bit and try shooting from different angles. That way, I can play around with depth of field and make my images look more interesting.
UTILIZE DIFFERENT BACKGROUNDS
Changing up your background from time to time can also add some original style to your photography. Of course, I don’t think that this is something that everyone should do- it’s just something that I think has worked really well for me. When it comes to your blog and your photos, I think the most important thing is to make sure that you like them; whether it’s taking your pictures on plain, or colorful and “texturized” surfaces. You can find more ideas for backgrounds right here.
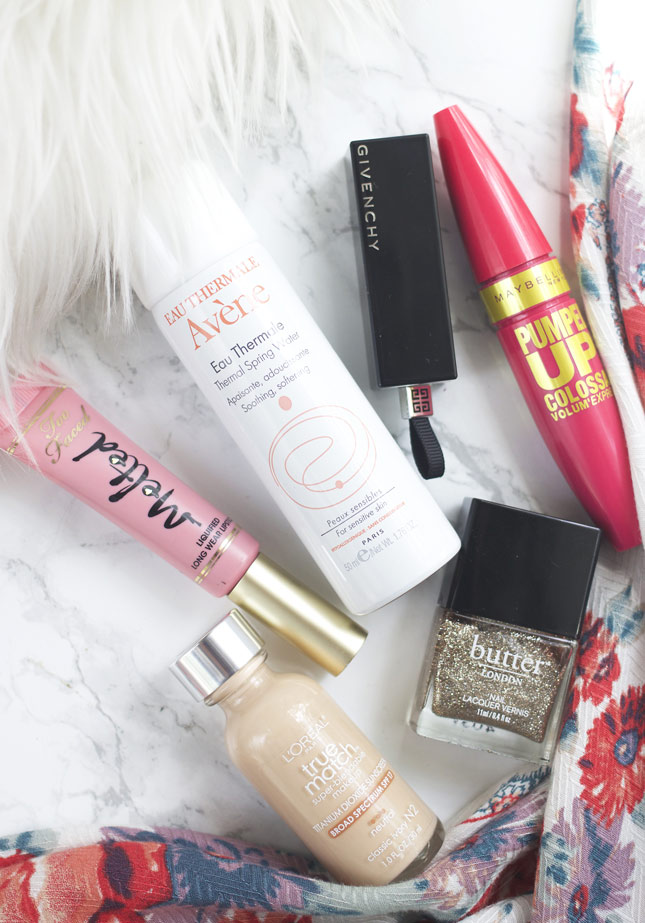
Another cool way to add some texture to your photos is mixing some fabrics (here I used a rug and colorful shirt :) ).
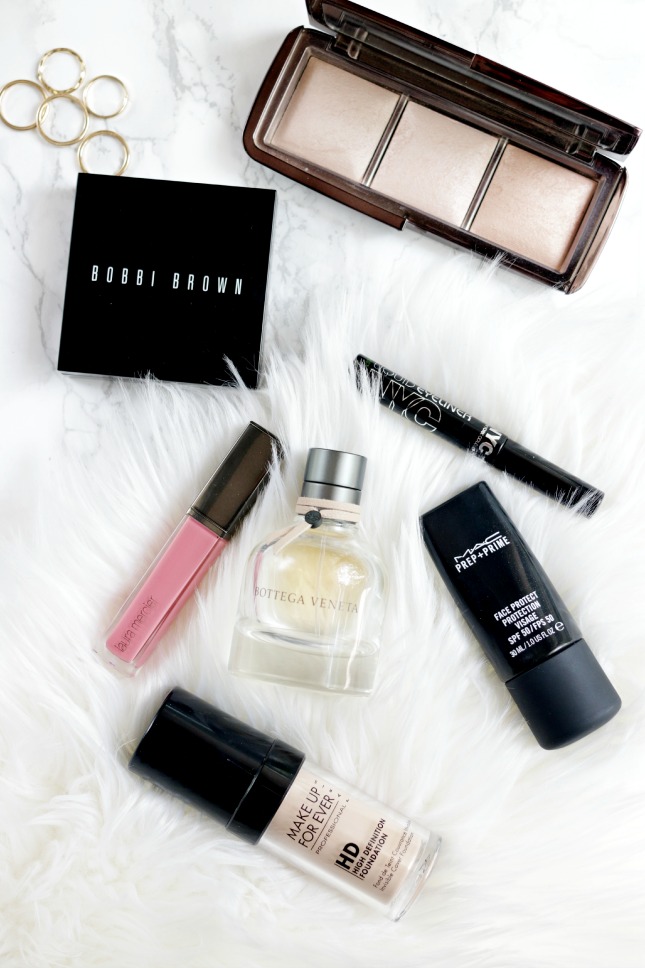 Marble and a rug used to create texture.
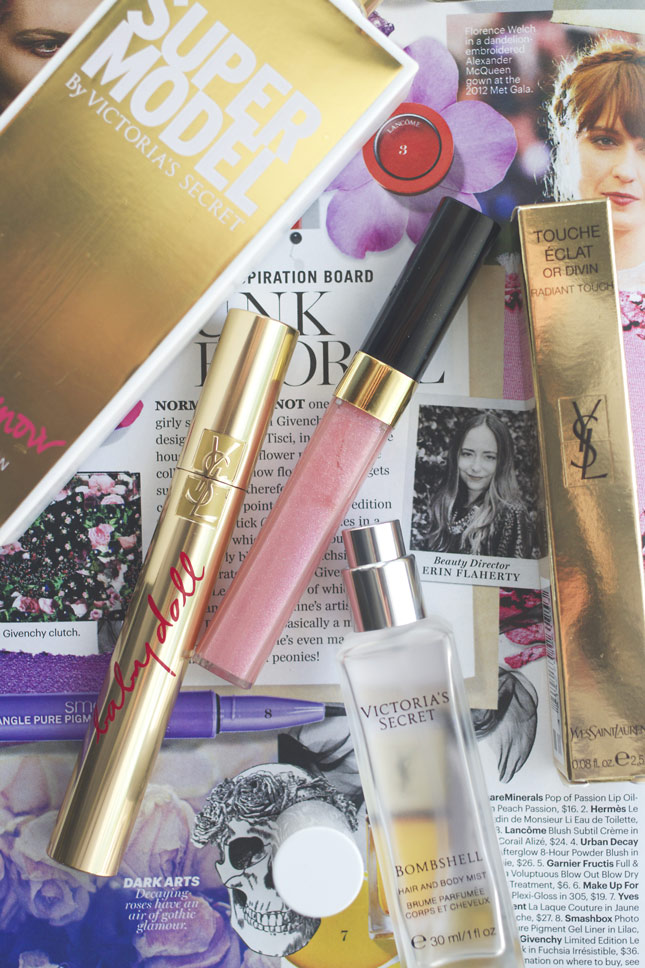 Using a colorful magazine page as a background.
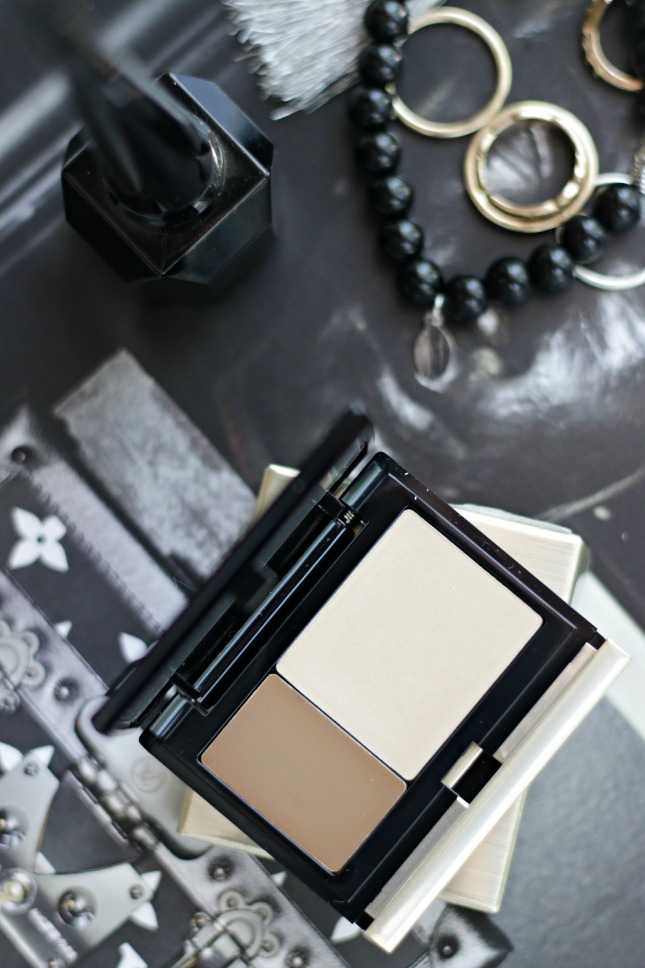 Using a black-and-white catalog as a background.
KEEP IN MIND THAT WHITE IS DIFFICULT TO WORK WITH
When I first started learning about photography, I was OBSESSED with getting that perfect, shadow-free white background. I can’t tell you how many tutorials I’ve watched, how many articles I’ve read, how many hours I’ve spend editing my pictures and how much money I’ve invested in all sort of equipment, before I finally realized that white is just freaking difficult to work with (especially when you don’t have a well-lit area to work with). When editing your images in order to try make white look as bright as possible, you can sometimes mess up true colors of products you’re shooting and that is far from an ideal scenario- especially when it comes to beauty blogging when you want to show your readers colored products like makeup, etc. I still like incorporating white into my images, since it helps to make them look brighter and softer, but I find that using different colors and/or backgrounds can work even better. Another thing that I’ve discovered during last couple of months, is that material such as cotton, photographs a lot better than white paper or card board; it’s much softer and it bounces off the light really nicely. In these photos I used a plain, white T-shirt as my “background”:
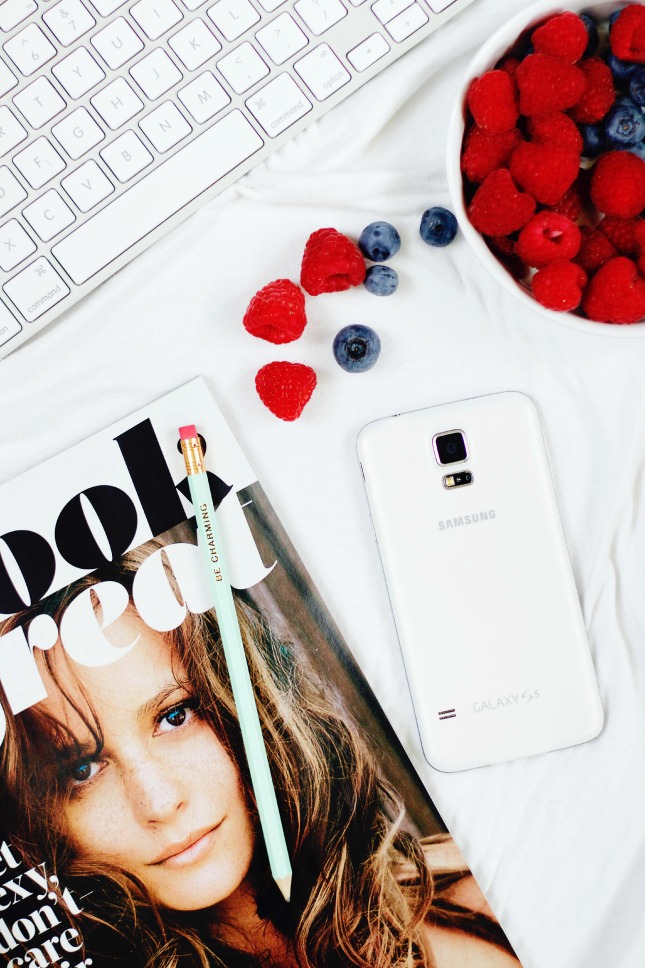
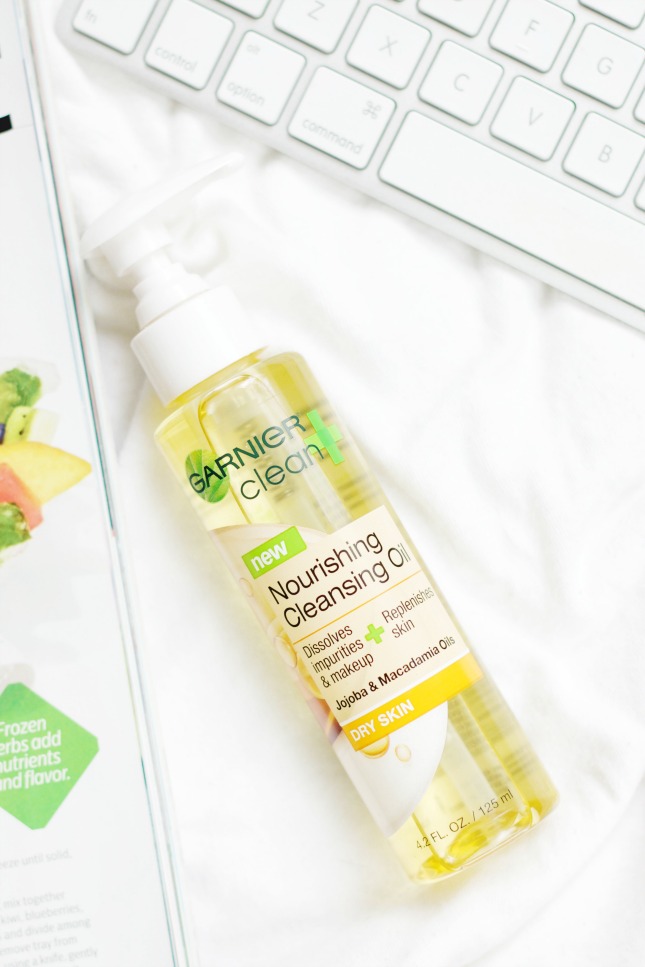
Here are examples of white, blue and marble:
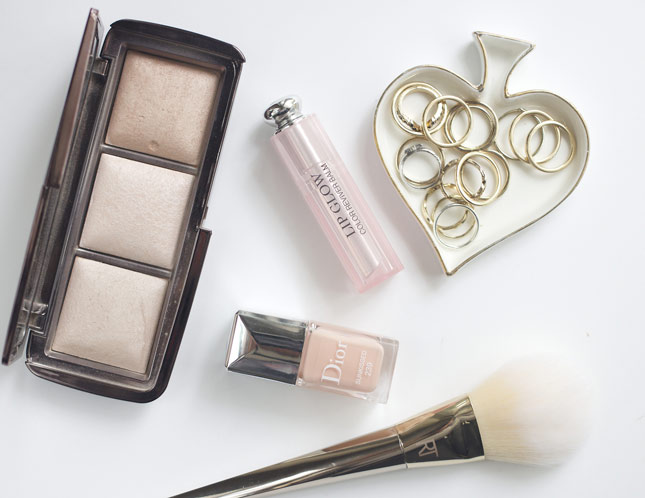 White paper.
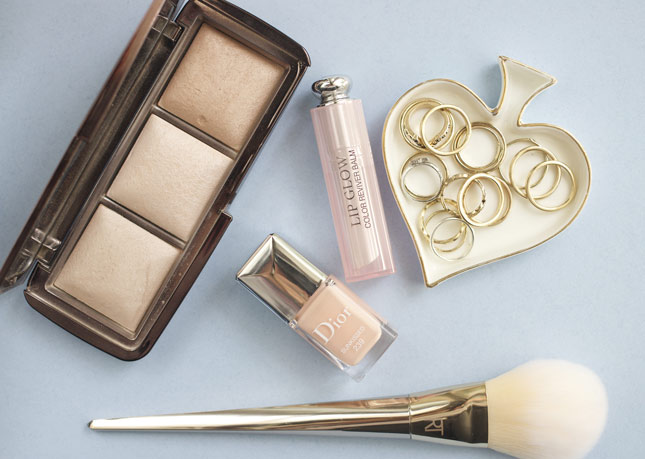
Colored paper (I used blue here, but I think light pink works much better)
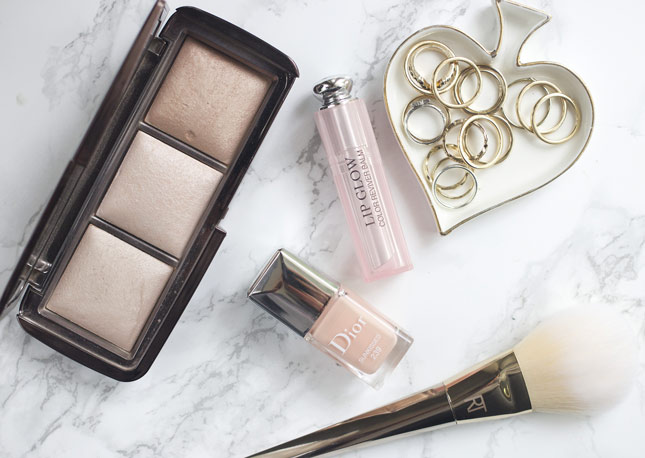 White marble.
White: doesn’t work that well, throws off White Balance and creates different background tones throughout the image. 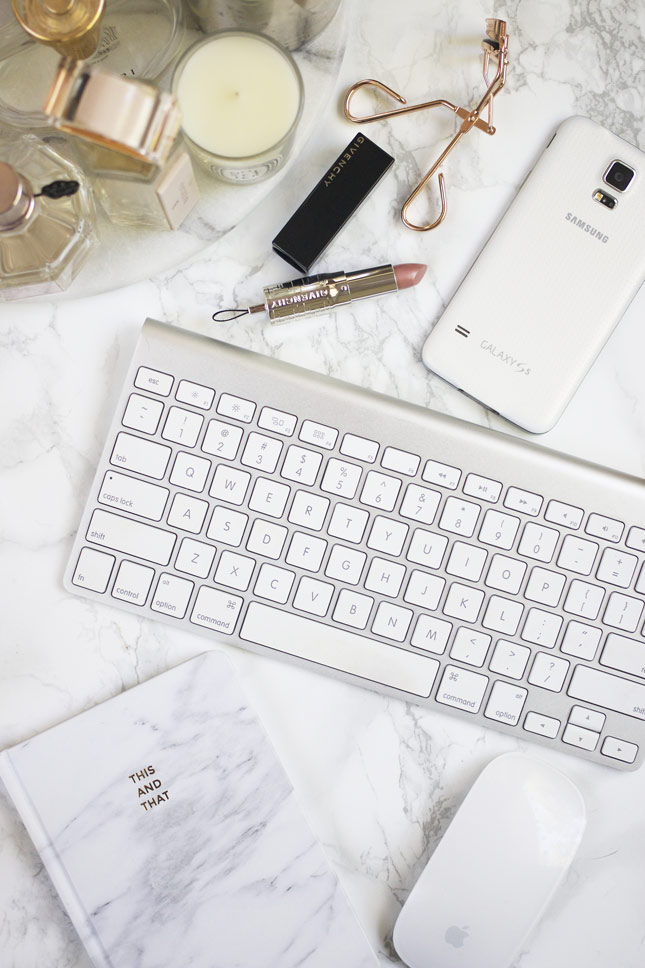 White marble– works a lot better, looks more even and minimizes shadows.
USE MANUAL FOCUS
Don’t assume that your camera will always get it right when using Auto Focus. Of course, there’s no right or wrong when it comes to using auto and manual focus, but in certain situations, using manual focus will work a lot better. Using manual focus works great when shooting macro photography or in low-light situations. I noticed that it also comes in handy when taking pictures of really small objects (like eyeliners or mascara wands). Sometimes AF mode can get confused and not know what to focus on- that’s when I always switch to manual focus.
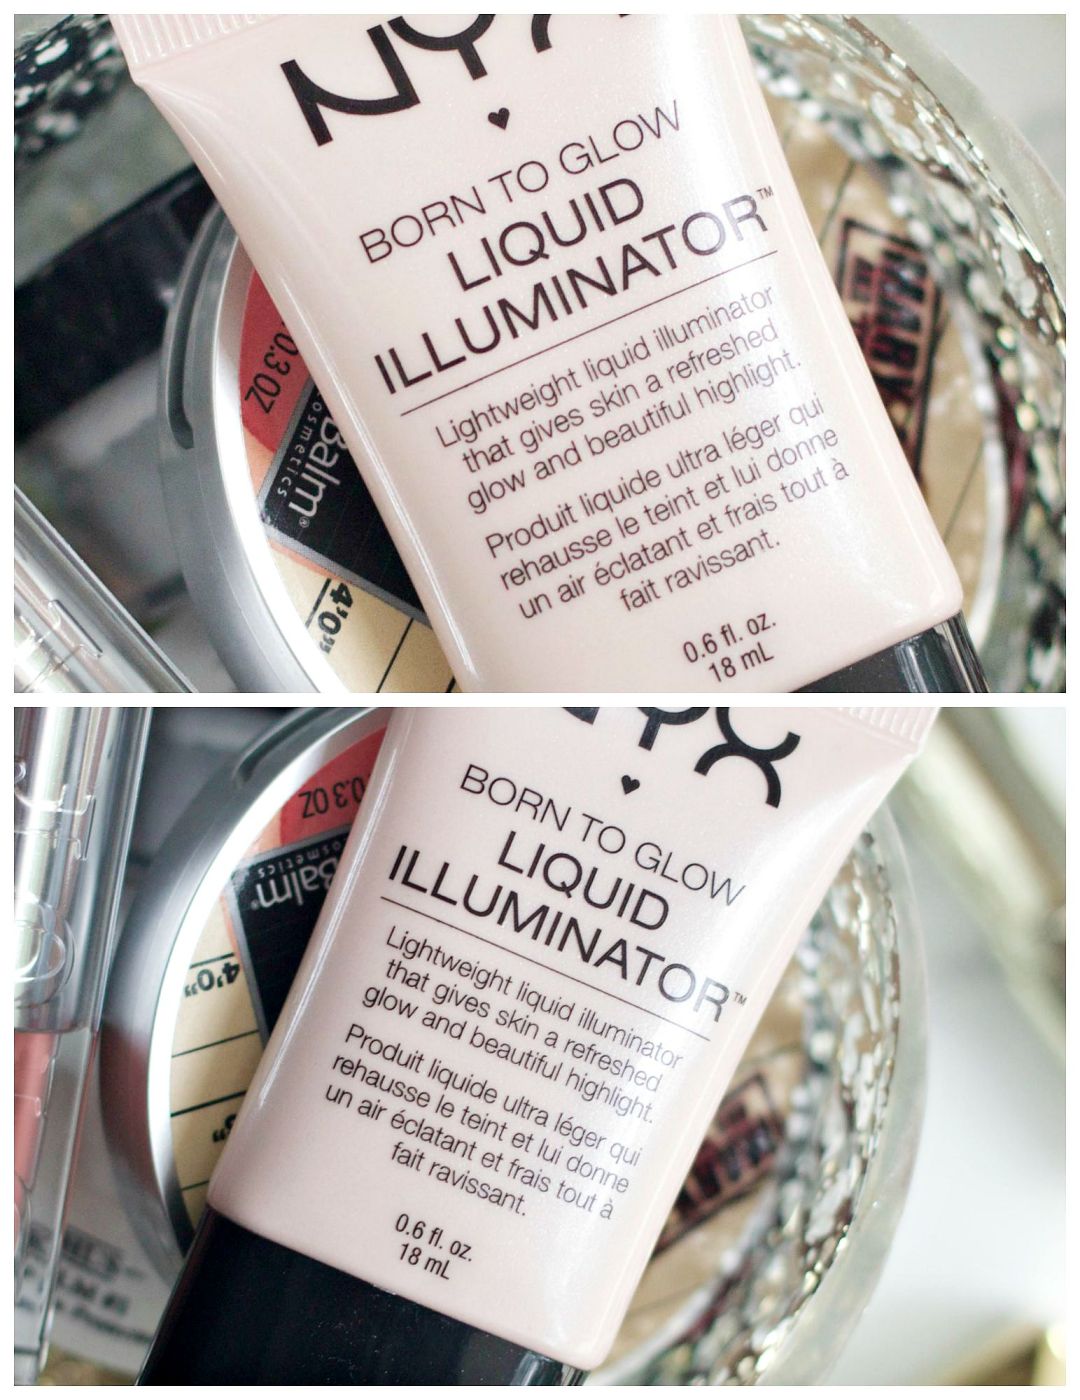
Top: Auto Focus, bottom: Manual Focus.
EVEN LIGHT
I don’t know where I’d be without my reflector. There is only one area in my house that is bright enough for taking photos, but even there, my only source of light is huge glass door that leads to my backyard. Since my light source is coming only from one side, I use a reflector and/or big white card board to bounce off the light and make it more even so that the shadows are minimized.
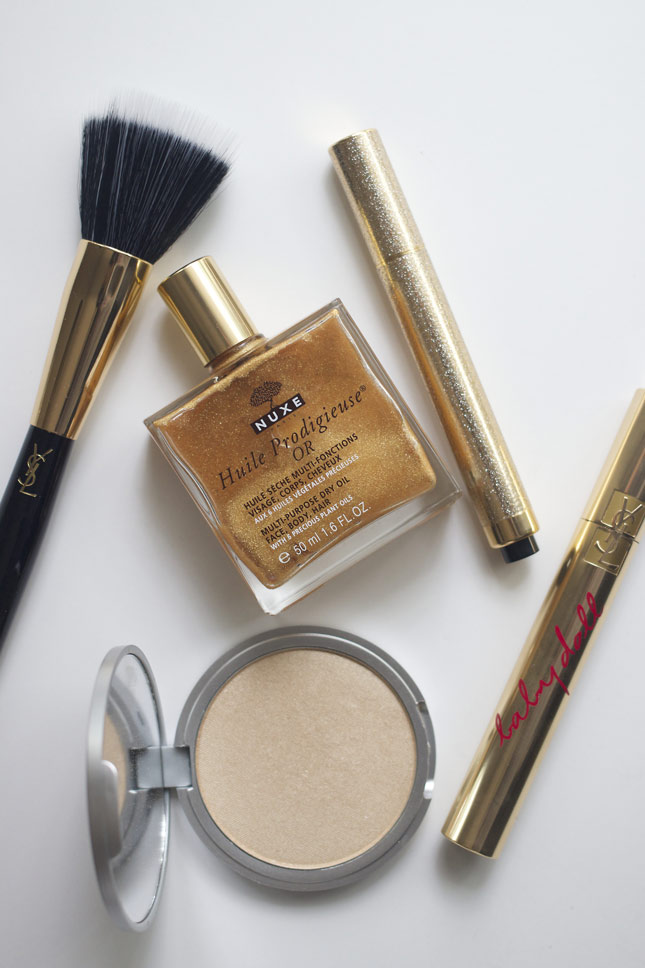
This is taken on white paper, without the reflector.
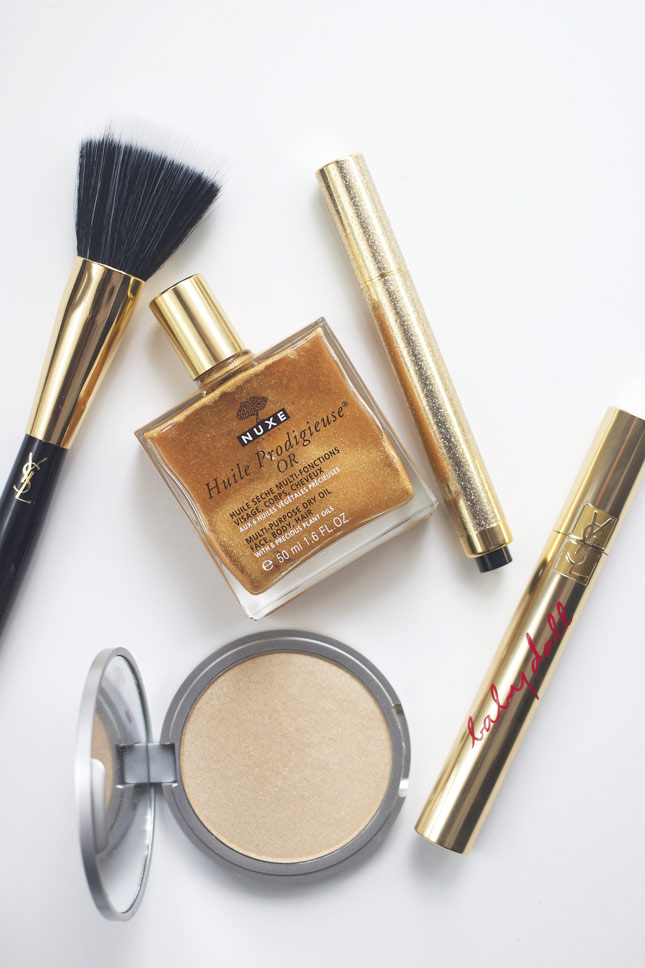
White paper with a reflector.
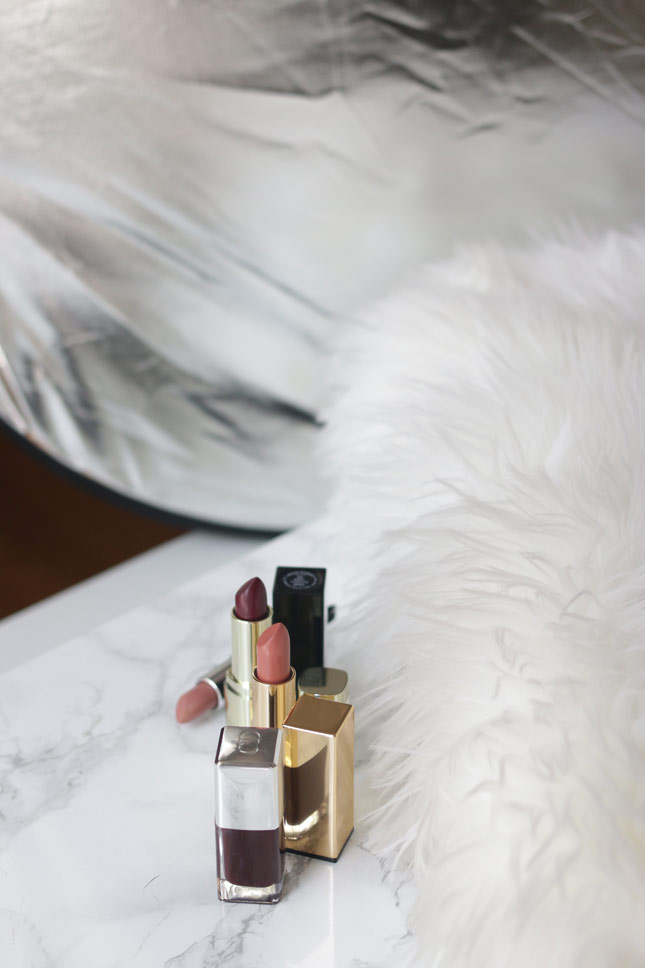
My products are facing the glass door (my only light source) and my silver reflector is placed on the side to bounce off the light and minimize any shadows.
AVOID CAMERA SHAKE
In order to avoid camera shake, I try to use a tripod and a shutter release cable as often as I can, but sometimes, using a bulky tripod is out of the question. This can be a problem especially when you’re working in a small space. When I hand-held my DSLR while taking pictures, first thing I always make sure to do is to set my shutter speed accordingly to avoid blurry images. One simple rule to follow when doing this is to set your shutter speed to 1 over your focal length. So, for example, when using my 50mm lens, I make sure that my shutter speed is at least 1/50th of a second, when using a 40mm lens, I never go lower than 1/40th of a second and so forth. Second thing I make sure I do when not using a tripod, is to hold my camera as stable as possible (resting my elbows on flat surface, wrapping my neck strap very tightly around my wrist, etc). This article demonstrates a few great techniques for doing this.
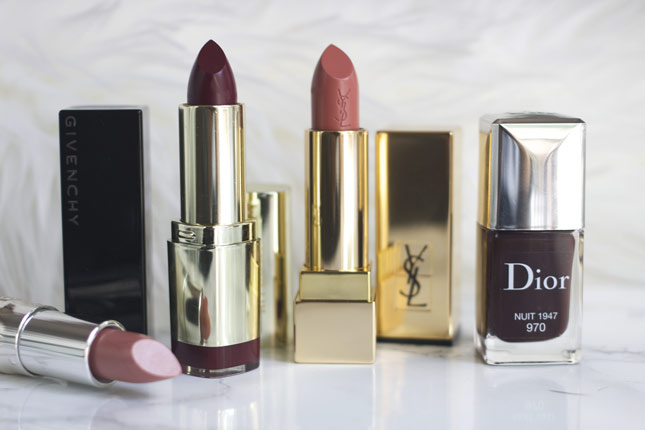 1/40th of a second
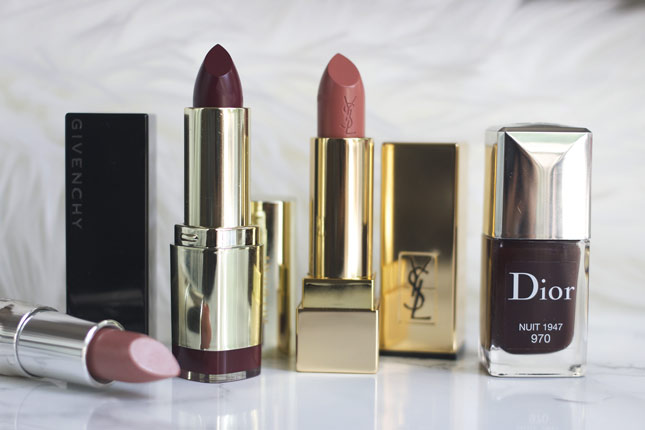 1/100th of a second (notice that the image is more sharp and crisp)
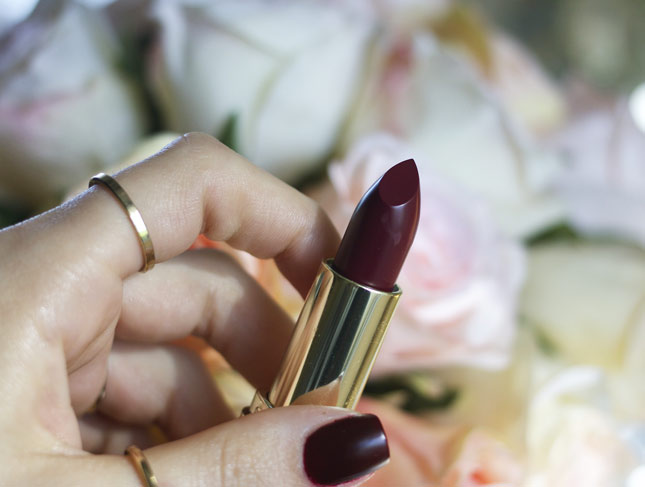
1/160th of a second
This is it for today, hope you found some of these tips useful. Do you have any ideas or tricks that you’d like to share?


113 Comments
Biana Perez
September 28, 2015 at 9:00 amCan you come and take all my product photos!! Absolutely adore this post – your photos are always amazing! xo, BIana –BlovedBoston
Paula @ lifestylegleam.com
September 28, 2015 at 5:44 pmAww haha thanks so much Biana!
babul
October 13, 2019 at 7:45 amWow, wonderful post about product photography. thank you dear.
Dagmara Klich
September 28, 2015 at 9:39 amYour photos are always beautiful! And I love your photos related posts, they’re very helpful! x
Mummy’s Beauty Corner
Paula @ lifestylegleam.com
September 28, 2015 at 5:50 pmAww thanks so much Dagmara, I’m so glad you’re enjoying these posts! ;)
Tania Jayne
September 28, 2015 at 10:19 amThis was such a helpful post! I love your photographs & am always looking to improve my own. I really want to invest in a reflector, particularly as we’re gong into Autumn & Winter. Xx
Tania | When Tania Talks
Paula @ lifestylegleam.com
September 28, 2015 at 5:56 pmThat’s when it comes in handy the most, definitely :) Thanks so much Tania!
Jodie Vernon
September 28, 2015 at 10:58 amThank you for this post I’ve learnt so much! Your photos always look amazing so I definitely need to use your tips!
Jodie, xo // Jodie Loue
Paula @ lifestylegleam.com
September 28, 2015 at 5:58 pmYou’re so welcome Jodie, thanks so much!!
Ashley Elizabeth
September 28, 2015 at 11:24 amI learned so much from reading this, thank you for sharing!
http://www.ashleyelizabethbeauty.com
Paula @ lifestylegleam.com
September 28, 2015 at 5:59 pmThanks so much Ashley, I’m so glad you liked this post!
Macha
September 28, 2015 at 11:34 amThat was a great read. I think I unconsciously realised that cotton was better than paper as I switched from a big sheet of paper to a throw ^^
But I learned a lot of things reading your post and all your pictures are so damn gorgeous that it’s almost annoying ;)
Thanks a lot !!!
Feathers and Brushes | Swiss | Beauty & Lifestyle
Paula @ lifestylegleam.com
September 28, 2015 at 6:02 pmHahaha thanks so much Macha!!
Sarah
September 28, 2015 at 12:16 pmThis was super helpful, thanks!
Sarah
Sweet Spontaneity
Paula @ lifestylegleam.com
September 28, 2015 at 6:02 pmYou’re so welcome Sarah!
Danielle Beautyblog
September 28, 2015 at 12:23 pmThis was so helpful! My photography skills are embarrassing so I definitely need some tips! I also now want a reflector!
Danielle’s Beauty Blog
Paula @ lifestylegleam.com
September 28, 2015 at 6:08 pmOh no they are not! If you want to see embarrassing then checkout this post: https://www.thirteenthoughts.com/13977/photography-tips-for-bloggers and see what my pictures looked like two years a go haha ;)
Danielle Beautyblog
September 28, 2015 at 6:29 pmHahaha you’ve come a long way :P
Paula @ lifestylegleam.com
September 29, 2015 at 2:48 pmHeheh thanks! ;)
Chaste and Beautiful
September 28, 2015 at 12:35 pmA very helpful and interesting post, and yes, white backgrounds are very hard to work with but still they make the pictures look professional.
Chaste &
Beautiful
Paula @ lifestylegleam.com
September 29, 2015 at 2:47 pmThanks! They definitely do, but you do need to have a perfect set-up, otherwise it will look grayish and off-white.
Krystal // The Krystal Diaries
September 28, 2015 at 12:42 pmThese are great tips and so helpful. I’m not the greatest at taking pictures for my blog but I am trying to get better at it.
Paula @ lifestylegleam.com
September 29, 2015 at 2:49 pmThanks so much Krystal!!
Priyanka Shinde
September 28, 2015 at 1:04 pmYou explained it all Paula! So helpful
http://www.petalsofbeauty.com/
Marie
September 28, 2015 at 1:24 pmgreat post ! lots of good tips that I am sure I will use in the near future. Thanks for sharing :)
http://allornothing-blog.blogspot.co.uk/
Paula @ lifestylegleam.com
September 29, 2015 at 2:49 pmThanks Marie!
Liz | Lipstick & Confetti
September 28, 2015 at 1:29 pmYour photos are beautiful, thank you for sharing your tricks with us!
xo, Liz
http://lipstickandconfetti.com
Paula @ lifestylegleam.com
September 29, 2015 at 2:49 pmNo problem, thanks so much Liz!
Priyanka
September 28, 2015 at 1:46 pmYou explained it all Paula! So helpful :)
Priyanka
September 28, 2015 at 1:49 pmYou explained it all Paula! So helpful :)
http://www.petalsofbeauty.com/
Paula @ lifestylegleam.com
September 29, 2015 at 2:51 pmThanks so much Priyanka!
Samantha Gong
September 28, 2015 at 4:19 pmGreat tips! I always forget to use props – I’m definitely bookmarking this post for later.
http://mybeautycloud.com/
Paula @ lifestylegleam.com
September 29, 2015 at 2:58 pmThanks so much Samantha!
Zoe Mountford
September 28, 2015 at 4:43 pmThis post is amazing, so helpful and you photos are beautiful! I wish I could take photos like this thank you for your tips x
Zoe Mountford x
Paula @ lifestylegleam.com
September 29, 2015 at 3:04 pmOh Zoe, your photos are beautiful! Thanks you so much, I’m so happy you liked this post!
Sam
September 28, 2015 at 4:54 pmI’ve been working on improving my photography A LOT lately and this is just so super helpful. You’ve put together some great tips :) xx
Sam // Samantha Betteridge
Paula @ lifestylegleam.com
September 29, 2015 at 3:10 pmThanks Sam! So happy you found these tips useful!
Lita
September 28, 2015 at 5:15 pmthis is super helpful, thanks so much! all the photos are incredible! xx Lita
http://www.myfancynotebook.wordpress.com
Paula @ lifestylegleam.com
September 30, 2015 at 4:05 pmThanks so much Lita!
Mikéla Davelyn
September 28, 2015 at 8:31 pmOh my goodness! So glad I’m not the only one that thinks white is hard! I mean I can do it, but the lighting has to be perfect and it just takes too much time and effort.
And yes, props are a must! Great post girly :)
xo, mikéla / simplydavelyn.com
Paula @ lifestylegleam.com
September 30, 2015 at 4:05 pmThanks so much Mikéla!
racheldinh
September 28, 2015 at 9:33 pmGreat tips, love your flat lays. These photos are beautiful.
http://www.racheldinh.com
Paula @ lifestylegleam.com
September 30, 2015 at 4:09 pmThank you!
steff @ brighterdarling.com
September 29, 2015 at 12:58 amShining some light on the popular white background conundrum was so helpful! I think I need to play with some other backgrounds to appreciate my camera more, haha. Also, I didn’t know about the shutter speed/lens relationship. Thank you!!
Paula @ lifestylegleam.com
September 30, 2015 at 4:17 pmThanks so much, I’m so happy you found this post helpful!
Nereyda Gonzalez
September 29, 2015 at 2:05 amYou should know that I am bookmarking the hell out of this post :)
I love your pictures, I think you have some of the prettiest pictures out there so I’m taking note of your tips.
I don’t have a fancy camera… yet but I love the tips for the different angles and props and stuff. Thanks for sharing Paula!
Nereyda│ This Girl Is Obsessed
Paula @ lifestylegleam.com
September 30, 2015 at 4:19 pmAww thanks so much Nereyda, you’re so sweet!
BubblyColor
September 29, 2015 at 2:57 amI love your photography!
http://www.bubblycolor.com/
Paula @ lifestylegleam.com
September 30, 2015 at 4:19 pmThanks Love!
Chelsey A. Thornton
September 29, 2015 at 3:02 amAwesome awesome post! Will deff be utilizing these to up my gam.
http://www.chelseythornton.com
Paula @ lifestylegleam.com
September 30, 2015 at 4:25 pmThanks Chelsey!
Rachel
September 29, 2015 at 4:59 amDefinitely learnt some tips from this! Mostly that I need a reflector ASAP.
Rachel | http://www.currentlyrachel.com
Paula @ lifestylegleam.com
September 30, 2015 at 4:33 pm;)
Lauren B
September 29, 2015 at 5:22 amGreat tips, I’ve just bought a DSLR so these tips are very useful! I love your photos <3
http://laurenslittleblogs.blogspot.co.uk/
Paula @ lifestylegleam.com
September 30, 2015 at 4:33 pmThanks so much Lauren!
Sara Fleming
September 29, 2015 at 6:39 amGreat tips, I’ll definitely take them on board!
Sara – She Who Is Short
Paula @ lifestylegleam.com
September 30, 2015 at 4:34 pmThanks so much Sara!
The Sunday Mode
September 29, 2015 at 9:21 amWow really in depth tips, I’m definitely bookmarking this post to read again in future!
http://www.thesundaymode@blogspot.com.au
Paula @ lifestylegleam.com
September 30, 2015 at 4:36 pmThanks! :)
Manique
September 29, 2015 at 9:26 amI love this post! It was really helpful, thanks.
XX Manique
http://www.poshmodeave.com/
Paula @ lifestylegleam.com
September 30, 2015 at 4:37 pmYou’re welcome!!
Bek
September 29, 2015 at 9:28 amAmazing tips, thank you! Your photos are absolutely gorgeous! xx
bekshaxo
Paula @ lifestylegleam.com
September 30, 2015 at 4:38 pmThank you!
Stephanie
September 29, 2015 at 12:26 pmGreat post!!!
Thank you.
I need to save up for a DSLR
Paula @ lifestylegleam.com
September 30, 2015 at 4:41 pmThanks so much Steph!
Jasmine Talks Beauty
September 29, 2015 at 4:51 pmYour photos always look lovely so I’ll be giving these a go for sure :) I really want to start mixing up my angles more as I feel like my photos are starting to get samey and boring! xx
Jasmine Talks Beauty | High-End Palette Giveaway
Paula @ lifestylegleam.com
September 30, 2015 at 4:42 pmAww thanks Jasmine, your photos are so stunning, but I know what you mean, I feel the same way about my pictures sometimes too, that’s why I like to mix it up a bit sometimes :)
annie lee
September 29, 2015 at 6:55 pmthat reflector tip is amazing – i should totally get myself one! thanks for sharing these love!
theleeday.com
Paula @ lifestylegleam.com
September 30, 2015 at 4:42 pmYou are so welcome!
Shay Bella
September 29, 2015 at 9:48 pmThese tips just might save my life. Haha. Thanks for the post, Paula!!! You’re Queen of Product Photography.
http://www.rosycheeks.org
Paula @ lifestylegleam.com
September 30, 2015 at 4:46 pmAww you’re so welcome Shay!! You’re the sweetest! <3
Sadie
September 30, 2015 at 8:34 amGreat tips! I’ve just recently started to do more product posts and it’s something I want to try doing more regularly too so this is really helpful. I love how you style your photos and I love the marble background :) xx
eat-sleep-breathe-fashion.blogspot.co.uk
Paula @ lifestylegleam.com
September 30, 2015 at 4:51 pmThanks so much Sadie!
Damla Tüzün
September 30, 2015 at 8:36 amBeautiful pictures! Thanks for sharing your tips x
http://www.damlatuzun.blogspot.com
Paula @ lifestylegleam.com
September 30, 2015 at 4:52 pmYou are so welcome!
Little Miss Katy
September 30, 2015 at 9:02 amOhmygosh this is so helpful!!! I love the tip about setting the shutter speed above the lens measurement, and I think I’m going to have to invest in a reflector. I’ve started using different scarves and blankets as backgrounds recently and I’m loving the effect.
Fab post basically! :)
Little Miss Katy | UK Lifestyle Blog
Paula @ lifestylegleam.com
September 30, 2015 at 4:53 pmAww thank you! I’m so happy you liked this post!
Jodie Caughey
September 30, 2015 at 7:07 pmLove this Paula. So helpful and I will be re-reading this several times to get my photography spot on. Your photography is beautiful. I need a marble sheet ASAP! #goals
xo, Jodie
http://www.jodiecaughey.com
Paula @ lifestylegleam.com
September 30, 2015 at 8:09 pmAww thanks so much Jodie!! I love your pictures too, they’re always so pretty!
Kat
September 30, 2015 at 7:50 pmI have read all of your photography posts, they are so incredibly helpful! I got the idea of shooting on an Ikea table top from you too, that’s how I take all my photos now (:
One thing I’ve noticed sometimes is the white balance is a bit off and I’ve spent ages having to correct it in Photoshop. I’m curious to know do you set a custom white balance? x
Kat | Peachy Pink Gloss
Paula @ lifestylegleam.com
September 30, 2015 at 8:08 pmThanks so much Kat! To be honest, most of the time I use Auto White Balance, but when I use custom I just take a picture of plain white paper in the same exact setting I will be taking my photos, then go on my white balance settings, select custom and set that picture blank white paper as my custom white balance. You can checkout this article that explains the process really well http://www.digitalcameraworld.com/2012/05/23/how-to-set-custom-white-balance-for-perfect-colours/
Kat
September 30, 2015 at 10:58 pmOh thanks I’ll check it out (:
Rachel
October 1, 2015 at 12:55 amThese are such great tips! Yes! getting a shadow free white background is so difficult!! Cant wait to incorporate these tips into my pictures!
Rachel x
thehappybits.blogspot.com
Paula @ lifestylegleam.com
October 13, 2015 at 6:02 pmThanks so much Rachel!
Hollie
October 1, 2015 at 6:32 amThanks for the tips! I’m always looking for ways to improve my photos so I’ll definitely be using some of these ideas, especially using the small props.
Hollie | hollieshighlights.blogspot.co.uk
Paula @ lifestylegleam.com
October 13, 2015 at 6:02 pmYou’re welcome Hollie, so happy you liked this post!
jenna cantillion
October 1, 2015 at 10:16 amSeriously your tips are always so amazing! One of my favourite blogs to read.
Jenna | Beauty And The Style
Paula @ lifestylegleam.com
October 13, 2015 at 6:02 pmAww thanks so much Jenna! You are so sweet!! ;)
SavBanav
October 25, 2015 at 3:45 pmWow!! Your tips are so great and your photography is absolutely stunning! This was so helpful. I just recently discovered Lifestyle Gleam and it’s now one of my very favorite blogs- I’m so glad I found it!!
Savannah
savbanav.wordpress.com
Paula @ lifestylegleam.com
October 25, 2015 at 5:18 pmAww thanks so much Savannah!! :)
Tanvi Mutneja
November 9, 2015 at 4:45 pmGreat blog! I came across your blog while searching ideas for mine…your photography, posts everything is so beautifully managed…Loved it! Inspired..:)
Paula @ lifestylegleam.com
November 9, 2015 at 4:57 pmAww thanks so much Tanvi!!
Brita Long
January 6, 2016 at 6:25 pmThese tips are so helpful! My husband takes my photos, but I should look into some props and backgrounds to assist him.
Jessica
February 11, 2016 at 3:46 pmThank you so much for your insightful posts. I just got a DSLR camera and my boyfriend and I have been trying to figure it out. I started a blog for fun but we’ve both had such trouble learning how to use the camera. I plan on shooting some make-up this weekend so thank you so much for this!
xx
http://www.somethingjessica.com
Abi Bailey
February 18, 2016 at 4:03 pmHi Paula, such a fab post! Lots of inspiring ideas and your photography is incredible. I was just wondering where you get all your little trinket dishes from? They’re lovely. Thank you!
Abibailey.co.uk
Paula @ lifestylegleam.com
February 18, 2016 at 4:33 pmThanks Abi! I get them from few places, the white and pink one is from Victoria’s Secret, the clear ones are from Zara Home, the spade and the blue one is from Lulu & Georgia. I get them from all over the place, really haha ;)
Abi Bailey
February 18, 2016 at 4:52 pmHaha excellent, I’ll have to keep an eye out! Thanks for the reply :)
Brie Watson
August 31, 2017 at 1:44 pmI come back to this post every time I feel overwhelmed with product photos for my blog and it never fails to give me the inspiration I need to take great photos! Thank you for writing this.
Paula @ lifestylegleam.com
August 31, 2017 at 4:26 pmSo happy to hear that, thank you, Brie!
Abel V. Riojas
December 6, 2017 at 10:52 pmi love how clean all the images are. #respect
annie
April 7, 2019 at 12:12 pmThat’s a great article to read. Thirteen thoughts is always been so helpful to me. I loved your ideas, and some are really nice. The pictures are great indeed. Thanks for writing and helping.
Zubida
September 3, 2019 at 7:54 amLiked your all the tips and techniques that are really useful. Yes, I agree with that, working with white background takes a little more effort. I will be pleased if you tell all details about how to take white background photography without shadow and how to make it brighter.
Marco Joe Fazio
September 26, 2019 at 5:02 amThanks for sharing great tips. I agree with your background changing point. I really enjoyed your blog. And the pictures are perfect & stylish.
clippingphotoexperts
June 21, 2020 at 2:32 pmThanks for sharing great tips. That’s a great article to read. I get them from few places, the white and pink one is from Victoria’s Secret, the clear ones are from Zara Home, the spade and the blue one is from Lulu & Georgia. I get them from all over the place, really haha
Martina L. Morris
June 30, 2020 at 2:40 amOh my God, this blog is very informative and very useful.Thank you so much for your sharing.I come back to this post every time.
Andraz
October 5, 2020 at 1:28 pmGreat blog! Love all your tips.
Photographer Melbourne
November 23, 2020 at 2:10 amReally glad to read this informative post, I will gonna share this post with my friends. Please keep sharing more posts like this.
Silo path
January 7, 2021 at 10:29 amThese are such great tips! Yes! getting a shadow free white background is so difficult!! Cant wait to incorporate these tips into my pictures!
Thank for share this
Silo path
Christian Lange
January 15, 2021 at 7:12 pmNice product photography article. Abundance of ideas on backgrounds… plus you show how to use focus to set-off the product from the background.
Jayden Lewis
March 1, 2021 at 6:58 amVery glad to find this blog post. You’ve covered all most everything about product photography tips. The points you’ve mentioned above will be great help if someone want to entire into product photography field.
Rodgers
April 26, 2021 at 4:26 amThanks for sharing this! This is why we do what we do as a product photography company :)
Clothing Photography
May 29, 2021 at 3:58 amDifferent types of photography techniques can be used to improve your product images. You should always shoot in front-on and use a tripod, as it will make the clothing look more crisp; you may also want to try shooting from an angle at which both sides are visible (e.g., waist height). Remember that good lighting is essential for great results—particularly natural light so that colors remain true and don’t end up washed out or over–exposed. Different backgrounds can give variety too!
ishi nora
December 11, 2021 at 2:04 amThanks for sharing great tips. I agree with your background changing point. I really enjoyed your blog. And the pictures are perfect & stylish.