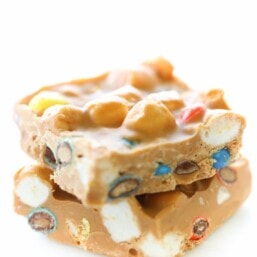
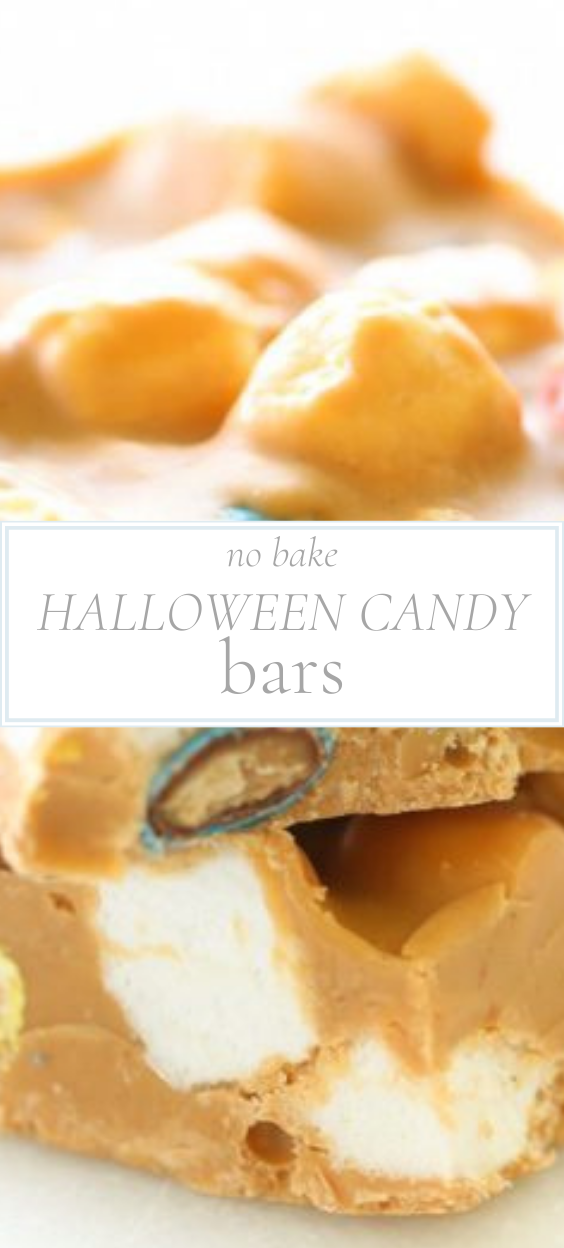
An easy No Bake Leftover Halloween Candy recipe is a perfect way to use up all that trick or treat candy.
A little sweet, a little salty and a lot of crunch from all those candy bars (hello, snickers!). It’s a festive holiday dessert wrapped into a bar – I dare you to have just one!
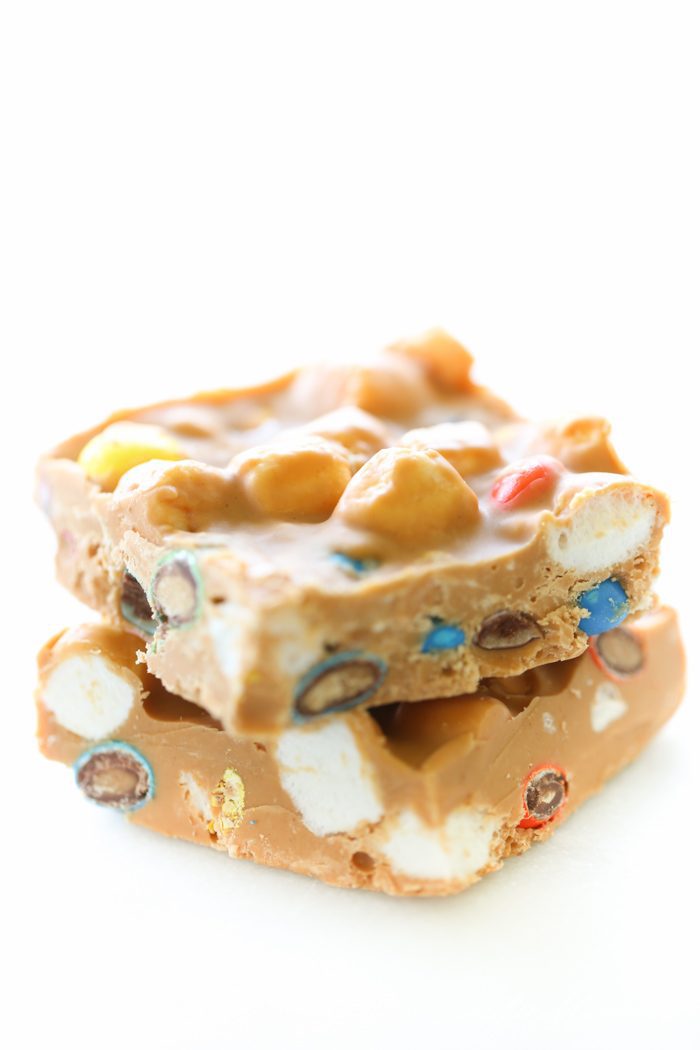
This recipe for leftover Halloween candy bars is an adaptation of my trail mix cookies. I can hardly resist the mix of butterscotch and peanut butter. It’s creamy and so craveable!
Mix in a little sweet and salty and gosh, leftover Halloween candy never tasted so good! No fuss, no bake, the only real challenge is staying away from them once they set! They’re so creamy, you just can’t stop at one – kind of like my spooktacular Halloween Hot Chocolate Bombs!
What To Do With Leftover Halloween Candy?
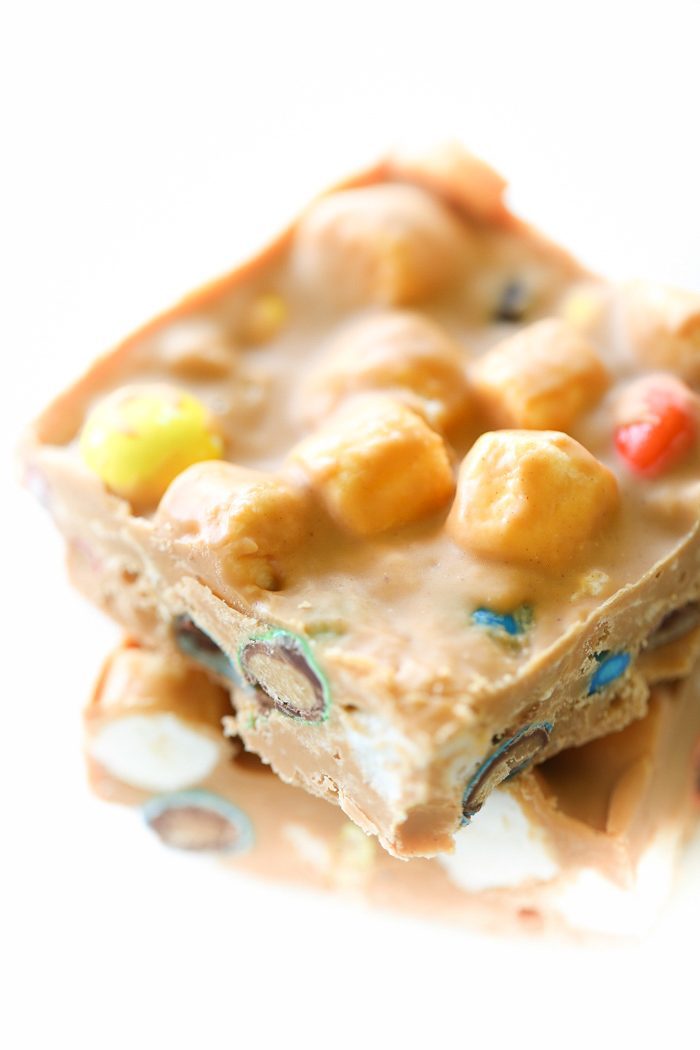
Every year, after the girls come back from trick-or-treating, there is always an abundance of Halloween candy. And every year, it sits in a large bowl on our kitchen counter. It’s just too much to take piece by piece. So I knew I had to come up with a recipe to use up all of the leftover candy.
That’s where this Halloween dessert recipe came from! The mix of sweet butterscotch, salty peanut butter and an array of Halloween candies wrapped into one indulgent square is incredible! And a delicious way to take all those Snickers bars and turn them into something a bit more indulgent.
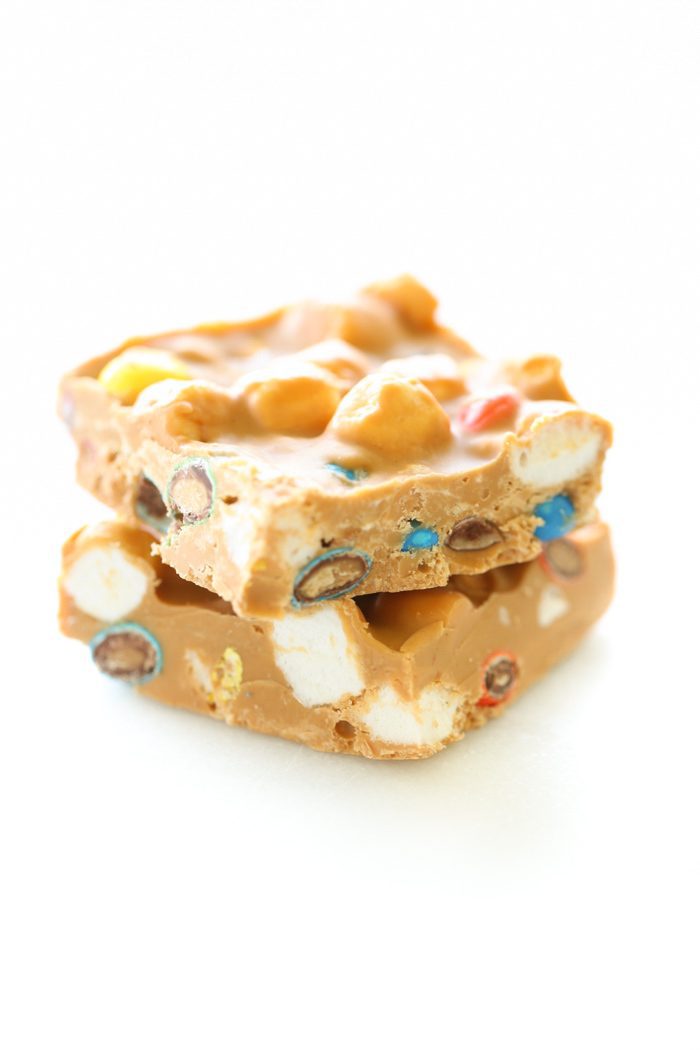
No Bake Leftover Halloween Candy Bar Ingredients
- Butterscotch Chips – One 12 oz bag of butterscotch chips is just the right amount for these homemade candy bars. If you are still in the mood for more chocolate after the chocolate-filled holiday, feel free to use one 12 oz bag of semi-sweet chocolate chips instead.
- Peanut Butter – Use a mixed, natural peanut butter for the best texture. I prefer Natural Jif or Skippy.
- Leftover Halloween Candy – This is where the fun comes in! Use a combination of your favorite Halloween candy, such as Snickers, Twix, Kit Kats, 3 Musketeers, Milky Ways, M&Ms, mini pretzels, nuts, marshmallows and anything else in between! Just make sure to chop the large or fun size candy bars into small squares so they mix into the dessert recipe.
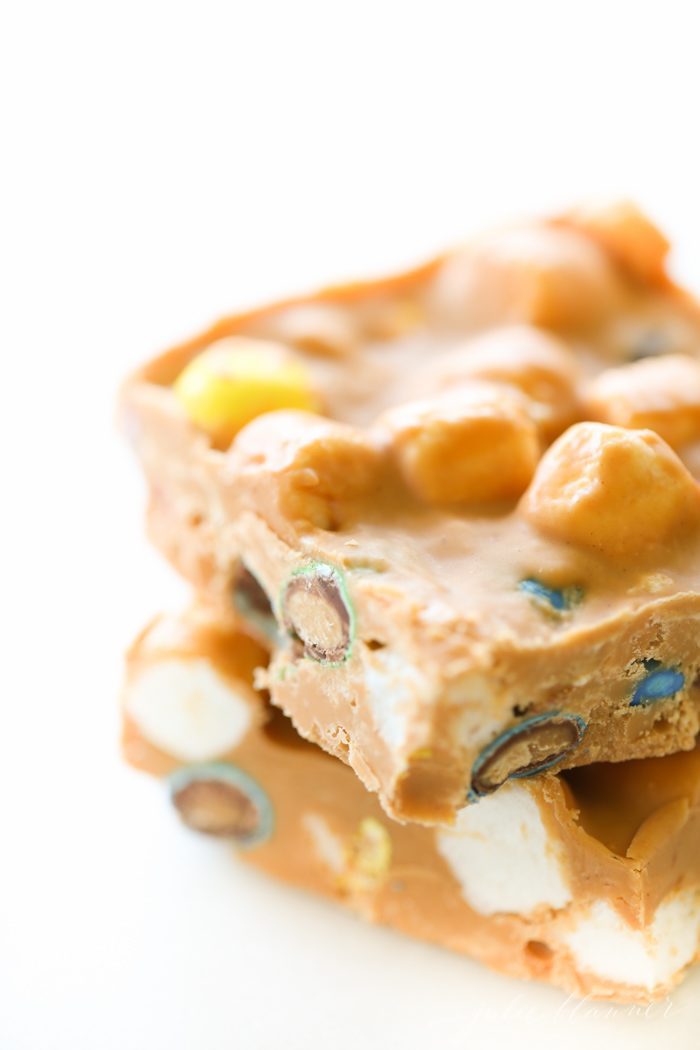
How To Make Leftover Halloween Candy Bar Dessert
- Prep – Line or grease an 8 x 8 inch baking pan.
- Melt – Place the butterscotch chips and peanut butter in a microwave safe bowl. Microwave on HIGH in 30 second increments, stirring in between each set, until smooth.
- Combine – In a separate bowl, combine all the chopped Halloween candy. Stir in peanut butter mixture until well combined.
- Refrigerate – Spread mixture into prepared pan. Refrigerate at least 1 hour, or until completely set. Cut into 9 squares and enjoy!
How to Store
- Refrigerate – These sweet and salty Halloween candy squares store best in an airtight container in the fridge for 2-3 weeks.
- Freeze – For longer storage, place the squares in a plastic freezer storage bag, seal tight, label, date and store in the freezer for up to 3 months.
These no bake Halloween treats are just as divine eaten straight from the freezer too, for a festive and colorful frozen treat. Just make sure to remove from the freezer 5 minutes before indulging to take the chill off!
This leftover Halloween dessert recipe is so delicious, it’s all treat and no trick in this bag!
Join Our Community
Let’s keep in touch! Receive exclusive content, including never-seen-before photos, our favorite home decor DIYs and more!
More Halloween Inspiration
No Bake Leftover Halloween Candy Recipe
Ingredients
- 1 package (1 ¾ c butterscotch chips)
- ¾ cup peanut butter
- 5 cup combination of candy nuts, pretzels or marshmallows
Instructions
- Line or grease an 8×8 pan.
- In the microwave, combine butterscotch chips and peanut butter 30 seconds at a time until smooth, stirring intermittently.
- In a separate bowl, combine remaining ingredients. Stir in peanut butter mixture until well combined.
- Drop mixture into pan and spread with a spoon. Refrigerate for at least 1 hour, or until set.
Julie’s Tips
Estimated nutrition information is provided as a courtesy and is not guaranteed.




Great idea thanks for sharing
Thanks, Susan! Hope you have a fun-filled week!
Oh my goodness … what a great idea and they look so good too!
Thank you, Lindsay!