
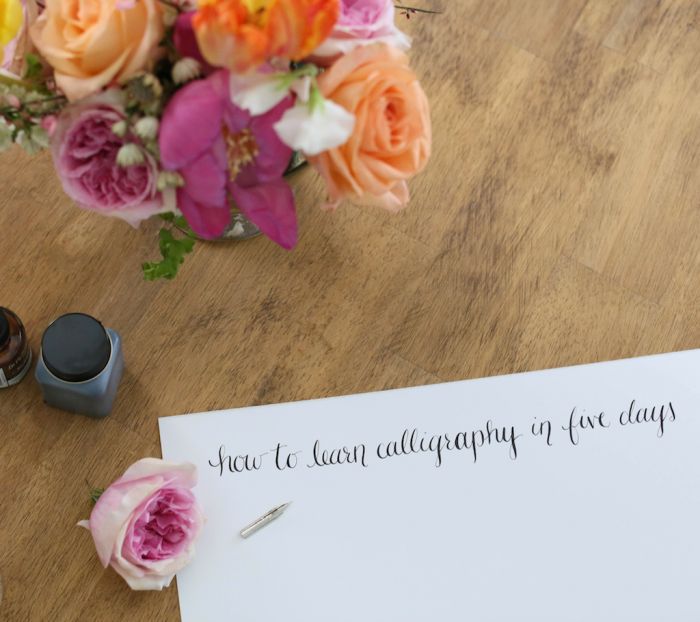
To say that I’m excited is an understatement. I’m overjoyed to take you on this journey of learning calligraphy with me. Over the course of the next 6 weeks, I’ll be sharing everything you need to know to learn calligraphy including step by step instructions, practice sheets & more. I, along with calligrapher Madi Sanders, have designed this to teach you calligraphy in 5 “days.” Today, we’re going to get you started with the basics, so you’ll have plenty of time to purchase supplies & start Day 1!
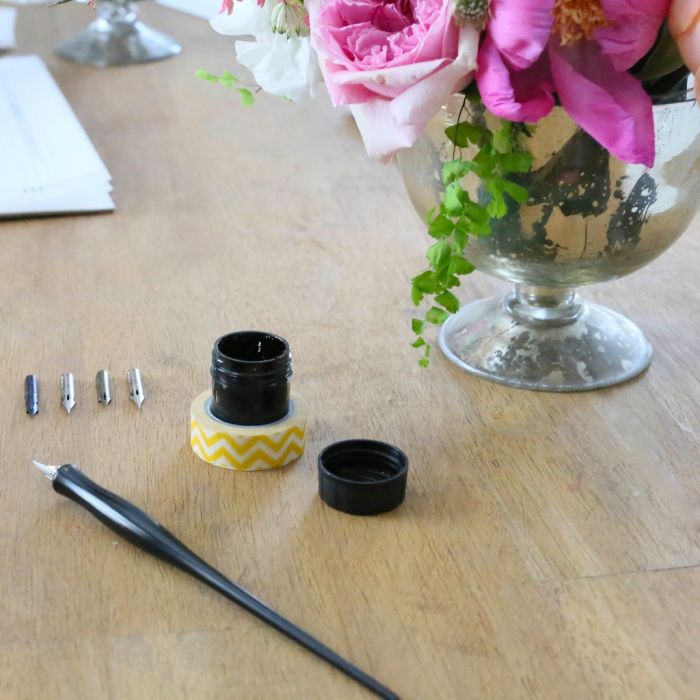
Recommended Supplies:
Zebra G Nib {firm, great for beginners}
Straight pen {I purchased an oblique & immediately felt overwhelmed. The choice is up to you, but whatever you learn with should be what you continue to use for sake of ease.}
Tracing paper
Black ink {I use Higgins Eternal Black Ink}
Paper in varying weights
Most of these items should be available locally, but are easiest to locate online. I receive numerous emails about where to purchase supplies. While you can find them at numerous stores, this is one I have used.
Let’s do this! To get started, insert the nib.
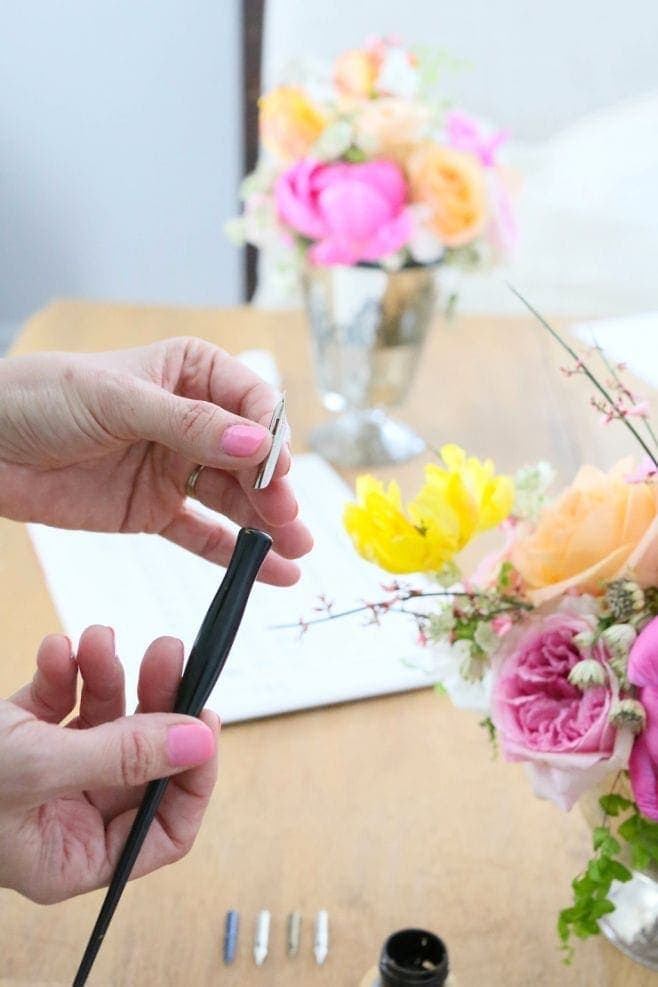
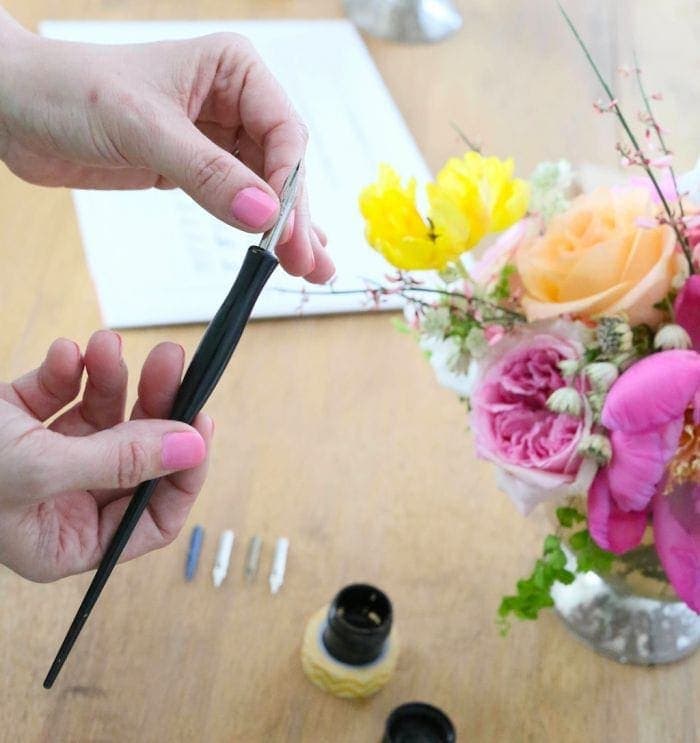
Dip the pen in ink.
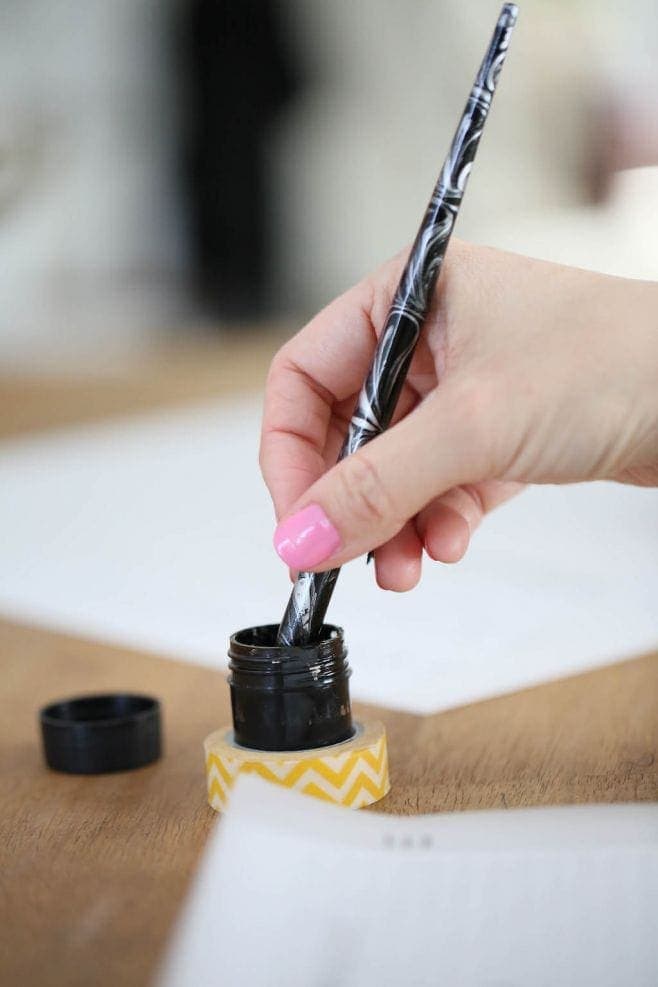
You don’t want to see the hole after you dip. The first time may take a little more. When you fill the hole, remove the excess ink on the nib on the side of the ink jar. Notice that Madi stabilizes her jar with a roll of washi tape. Genius, right? Don’t forget to print your practice grids!
Next week you’ll learn the strokes, how to create varying widths & loops! Everything you need to learn calligraphy is within these posts, but you can subscribe here to receive a bonus practice sheet {goes out once a month}!
PIN the tutorial for later here: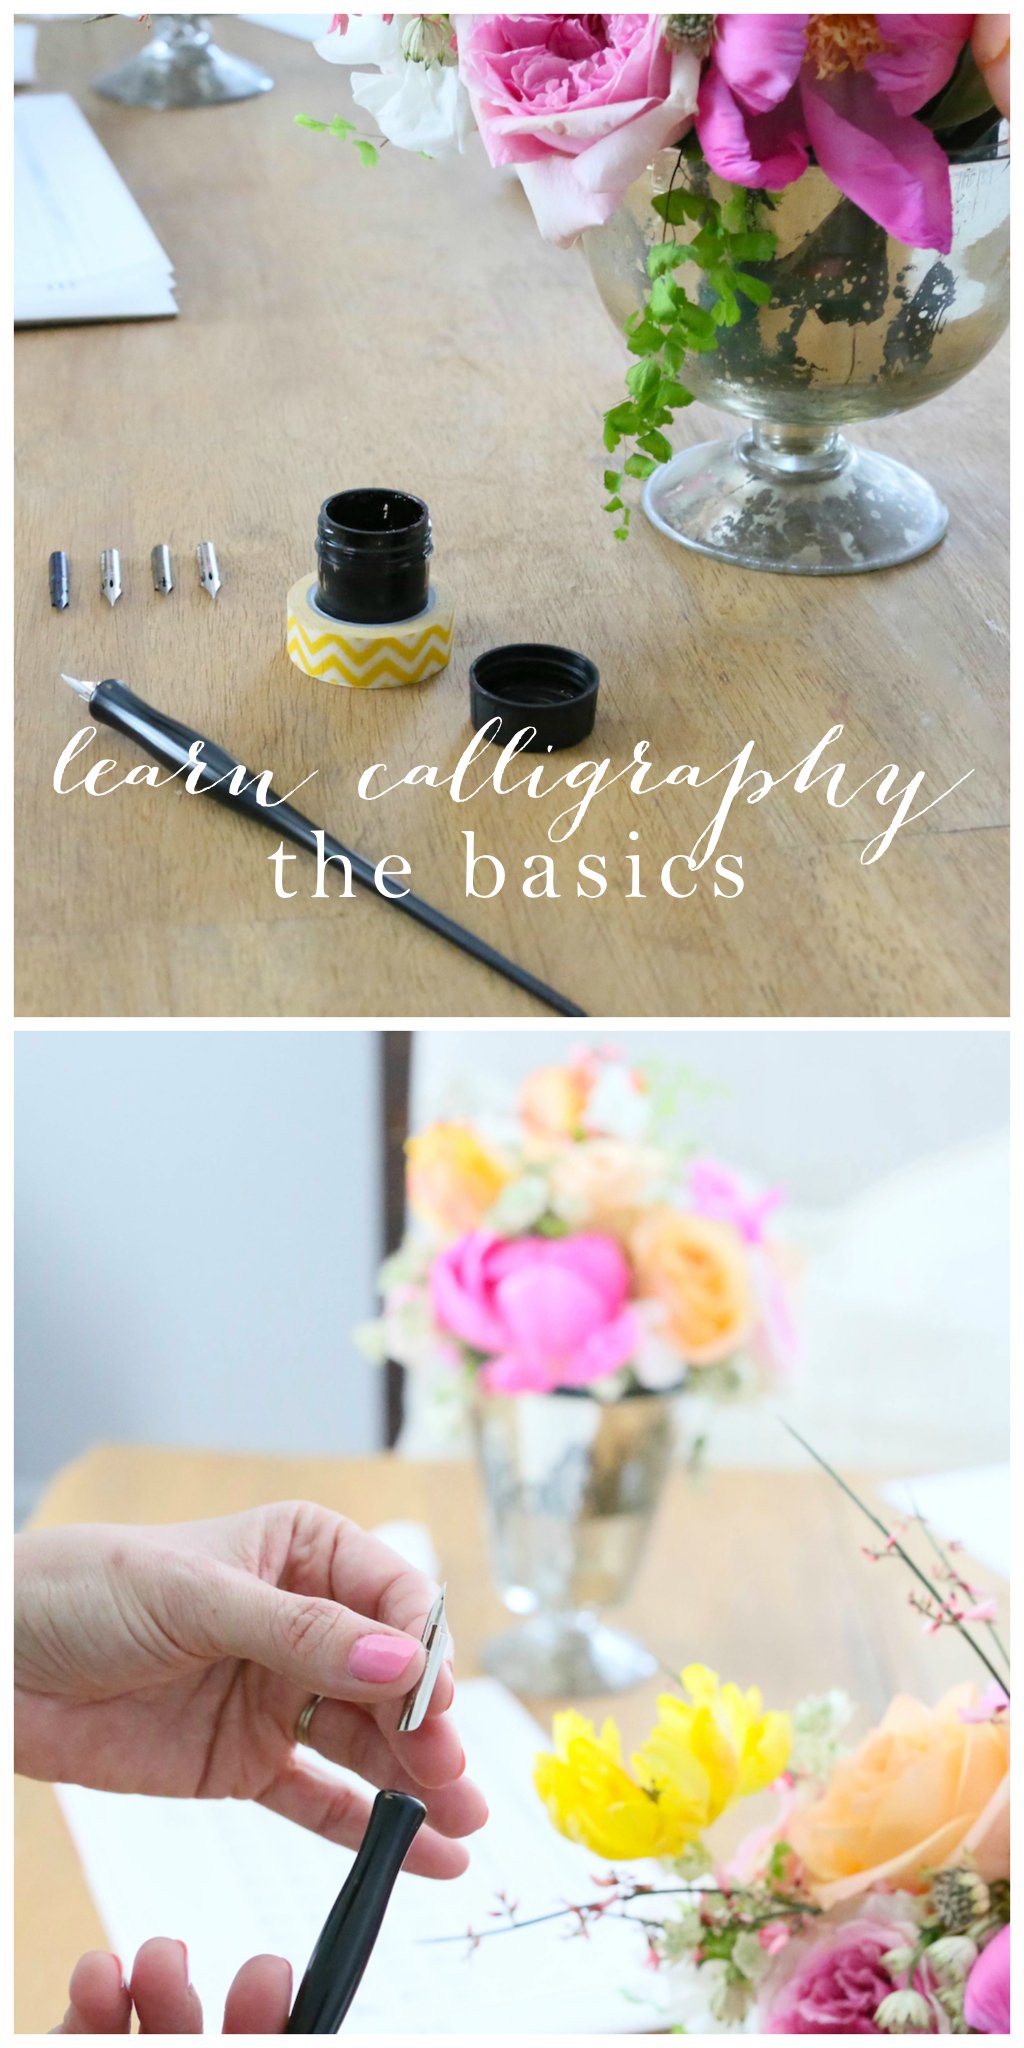
The series, in order:
Calligraphy Resources & Left Handed Calligraphy
You may also like my online flower arranging workshop filled to the brim with beautiful centerpiece ideas you can recreate with step-by-step instructions.
Credits:
flowers Emmy-Ray, photography Wheat Photo, calligraphy instructor Madi Sanders [show_shopthepost_widget id=”1746039″]
LET’S CONNECT!


Were do I find the series to get started
You’re in it! This post is about the supplies, and teaches you how to load the nib and properly ink it. At the end of this post you’ll see the posts in order with links.
I am left handed and would love to learn calligraphy is it to late to sign up for one of your classes.
I have most of my left handed supplies. An what is the cost for your class.
Pat Hubbard
patben@comcast.net
Completely free – just follow the series from post to post. You’ll see the posts listed at the bottom of each. They include free printable practice sheets as well and there’s a post to specifically address left-handed calligraphy! Enjoy!
i would like to learn calligrophy
Thank you so much for these lessons. I’ve been all over YouTube to no avail & have found the perfect learning resource right here on your beautiful site. So appreciative. Thank you!
I hope you enjoy it, Kate! Thank you!
Do you do your own calligraphy on your site? Very impressive! I’m brand new in learning. 🙂