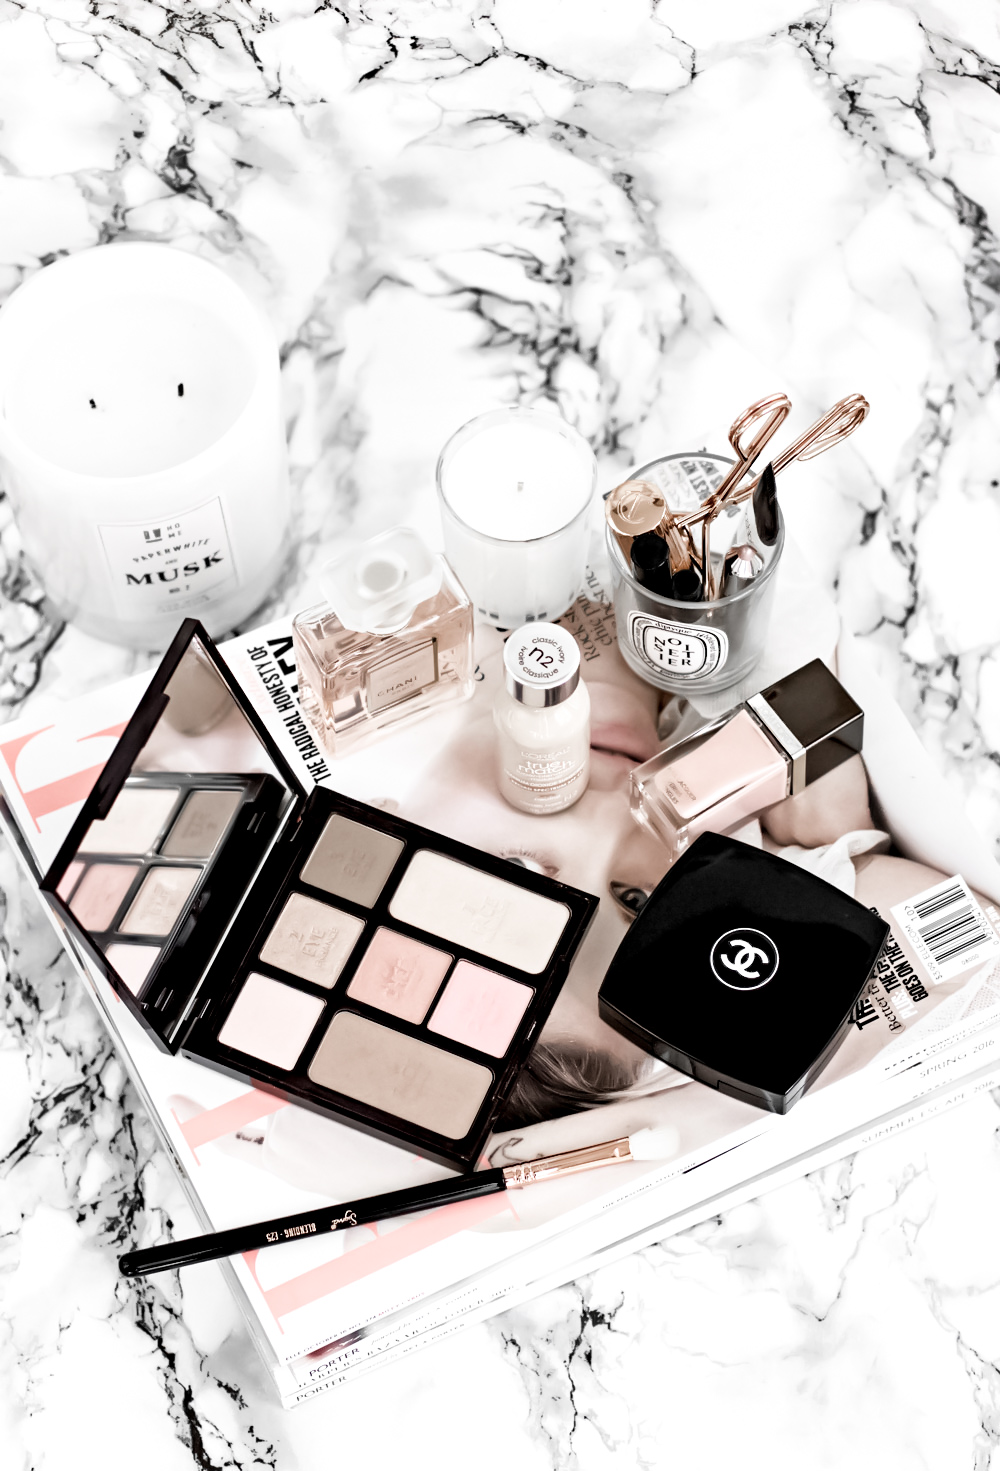
Now that the temperatures are dropping and winter is coming the days are also getting shorter, which means that taking blog pictures can be a bit of a nightmare.
Ever since the daylight savings time has ended a few weeks ago, my entire blog routine had to change. Up until then, I was able to get away with taking my blog photos as late as 5 or 6 pm. Not anymore.
The weather is changing, too. This means that it’s often dark and gloomy and when you’re already working with limited natural light, it can be a challenge. So, today, I’ll share a few tips for taking bright photos for your blog, even when the weather is refusing to cooperate.
HOW TO TAKE BRIGHT PICTURES IN DARK, GLOOMY WEATHER
FIND THE LIGHT AND USE A TRIPOD
The first thing that you need to do is find the best light source you can. For me it’s always our kitchen- there’s a big glass door leading to the backyard which lets in a lot of light into that particular spot. It took me two years to realize that that’s the best spot for taking pictures in my house, so even if you think your house is a bit dark (like mine) keep looking. If you don’t have any big windows, I’d suggest setting up your subjects on a flat surface and opening the front door (any outside door that will let some light in). You can also try working on window sills. On those days when I find it really difficult to work with limited light, I also sometimes go outside.
Another important thing to remember is the time of the day during which you shoot. This will be different for everyone else. Now that the Daylight Saving Time has ended, I can take my pictures as early as 8.30am, but I can no longer get away with taking them during my usual time which is between 12.00 and 3.00 pm. This is because now that all the leaves are gone, there is way too much direct sunlight coming through my window. Lastly, always remember to use a tripod- when working with a limited light I usually lower my shutter speed, which can make my photos look a bit blurry- this is why using a tripod is so important- it keeps your camera steady.
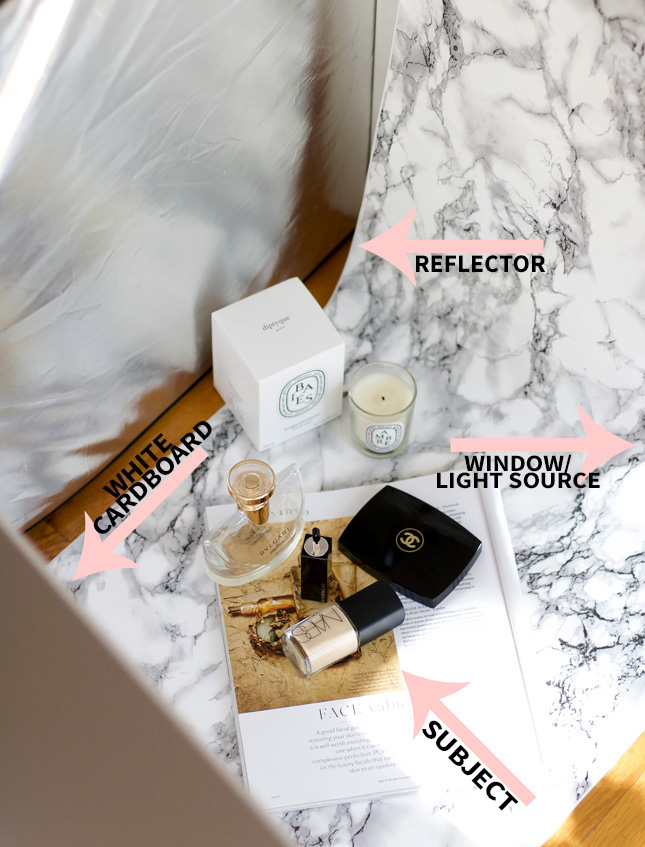
This is my usual setup- when my light source is limited, I get even closer to the window. This happened to be on a very sunny day, but you get a general idea. I already showed you what my setup looks like using this exact image in one of my previous posts, but this is something I get asked about at least once a week, so I’m showing it again.
USE BRIGHT SURFACES AND REFLECTORS
This is something that I mention in pretty much every single one of my Photography posts: make sure to use bright surfaces and reflectors. You can use a white cardboard to bounce off the light which will make your photos look brighter and a reflector to get rid of shadows. I use this 5 in 1 Collapsible Reflector and I never take photos without it. Using a reflector and white surfaces to bounce off the light can make a huge difference in the way your images look. This is a difference that using a reflector can make:
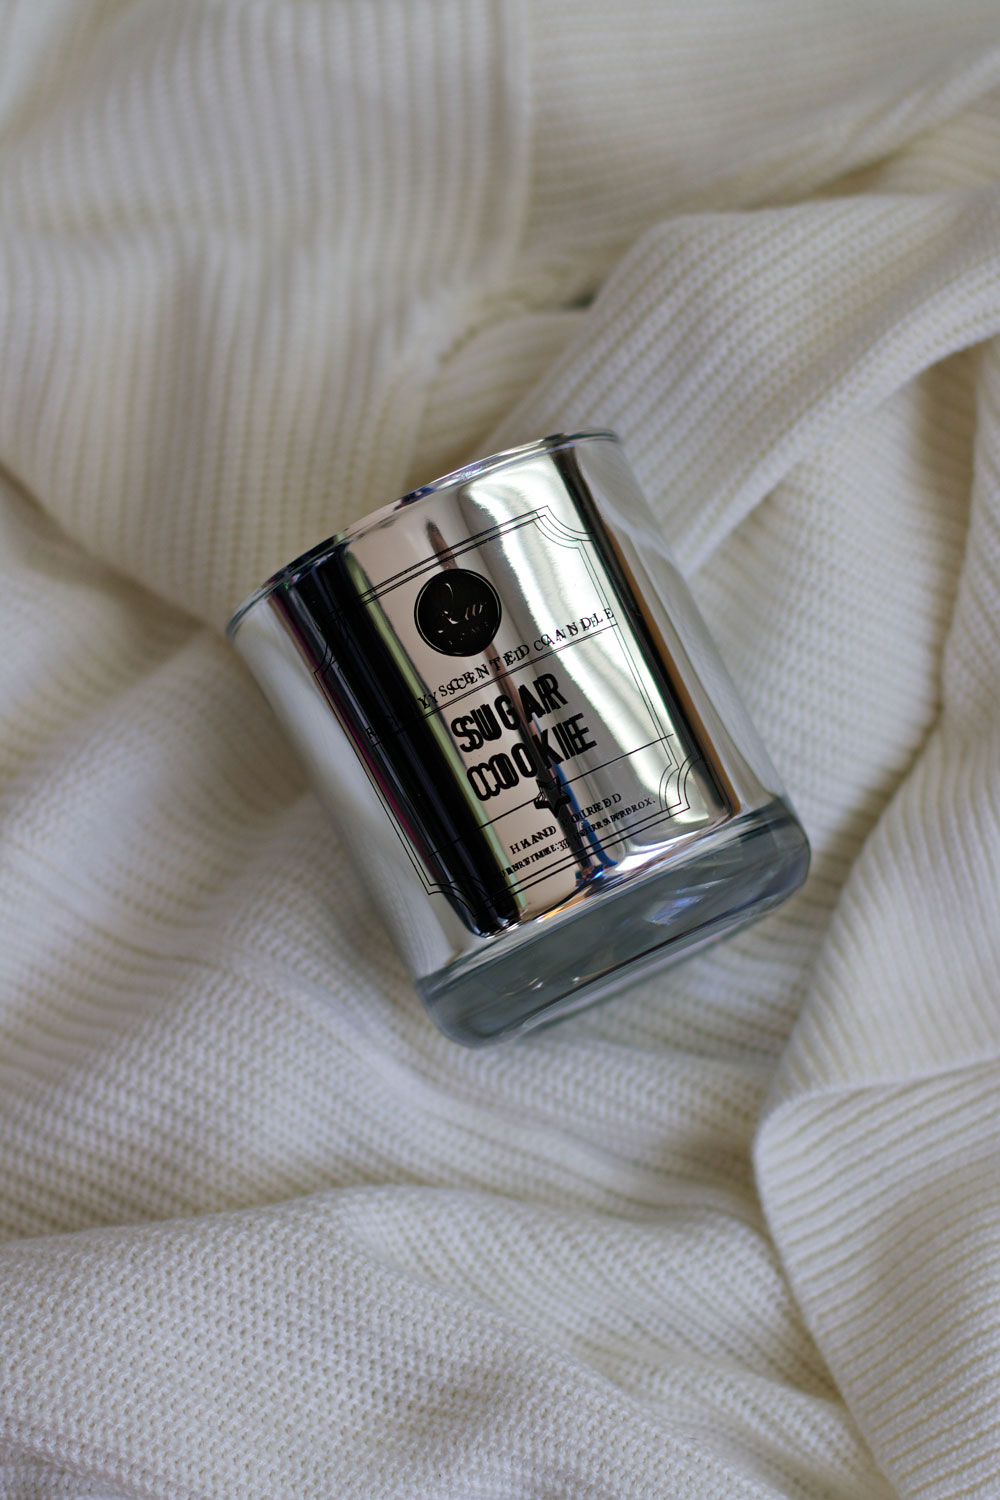
Unedited, without reflector.
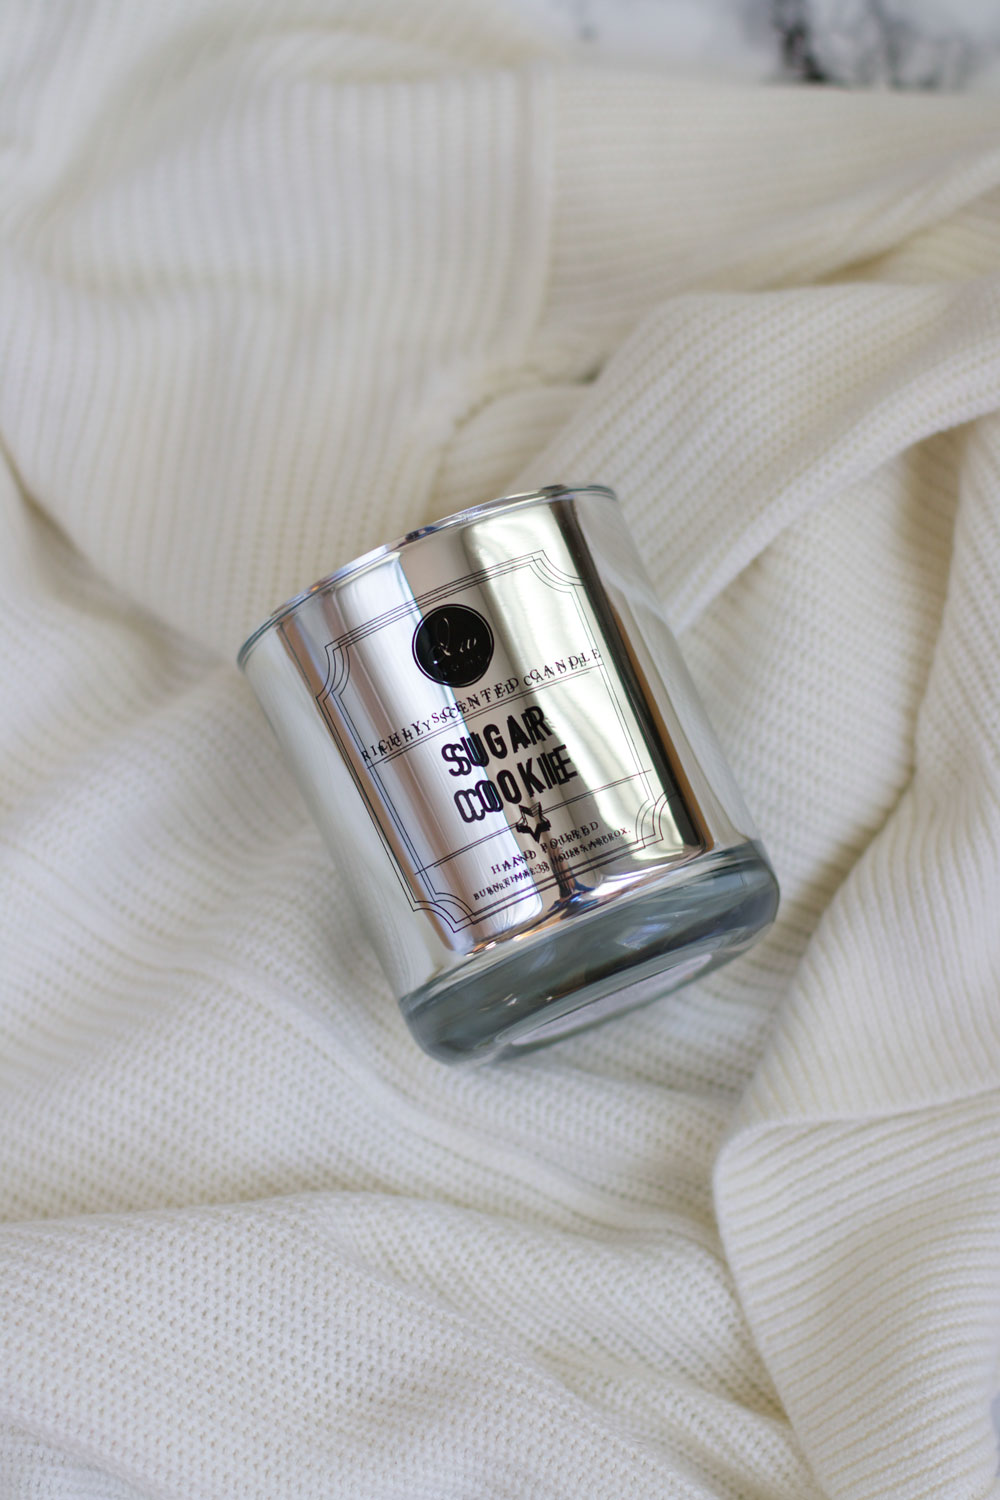
Unedited, with a reflector placed across from the light source.
EDITING
Keep in mind that your images don’t have to look perfect or bright right out of your camera when you’re working with great tools like Photoshop. The easiest way to learn how to use Photoshop. is by editing your shots in Camera Raw (go to Filter: Camera Raw Filter). Here’s the difference that it can make:
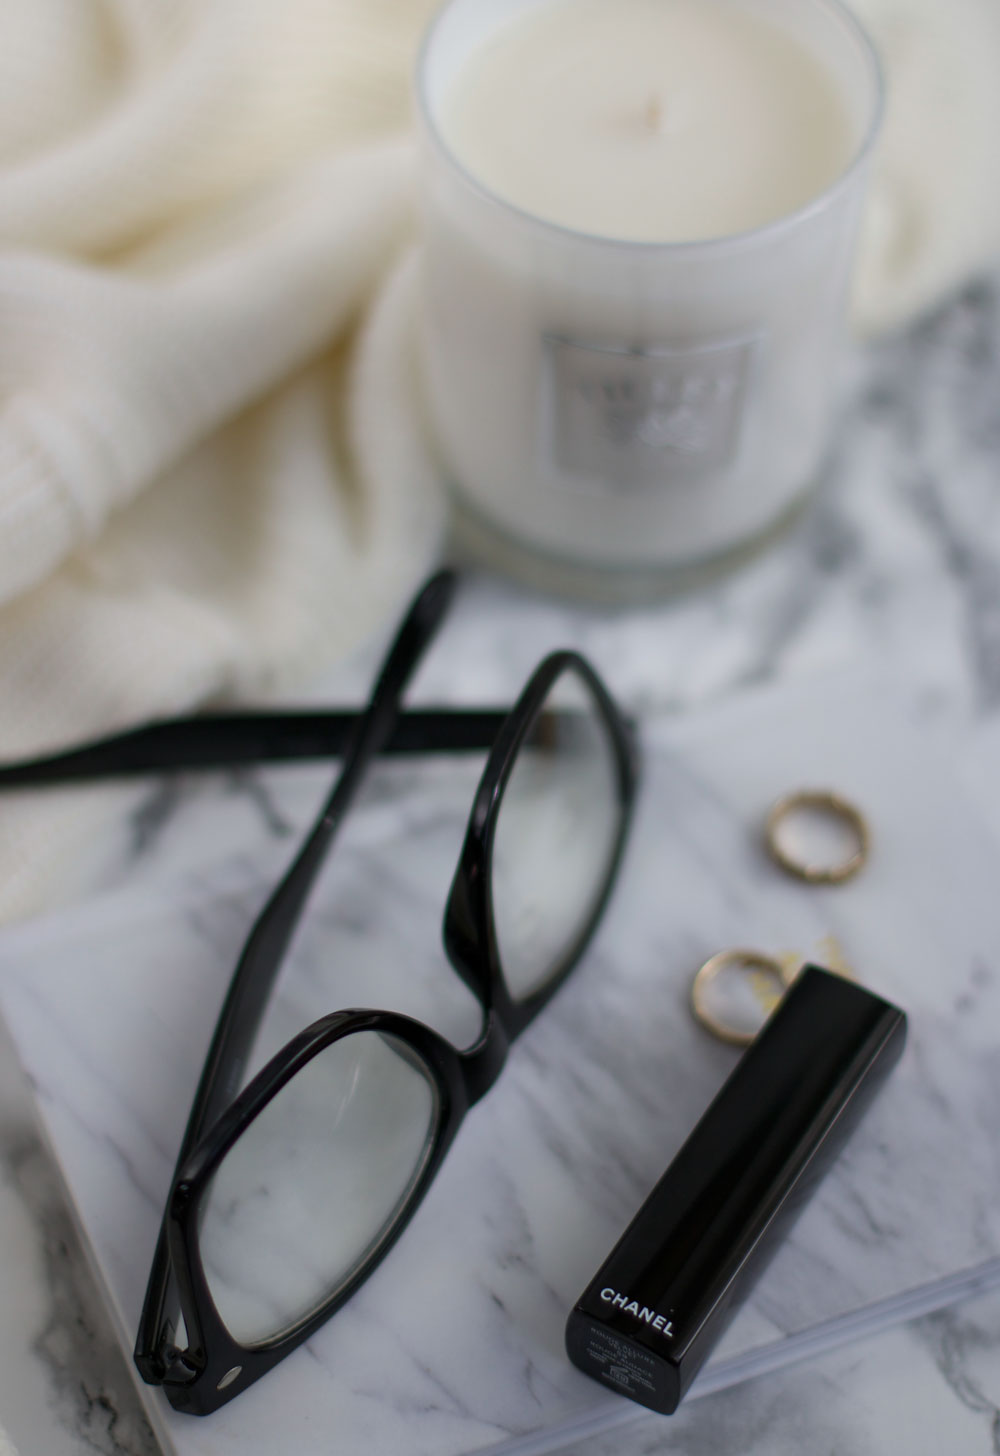
Before editing
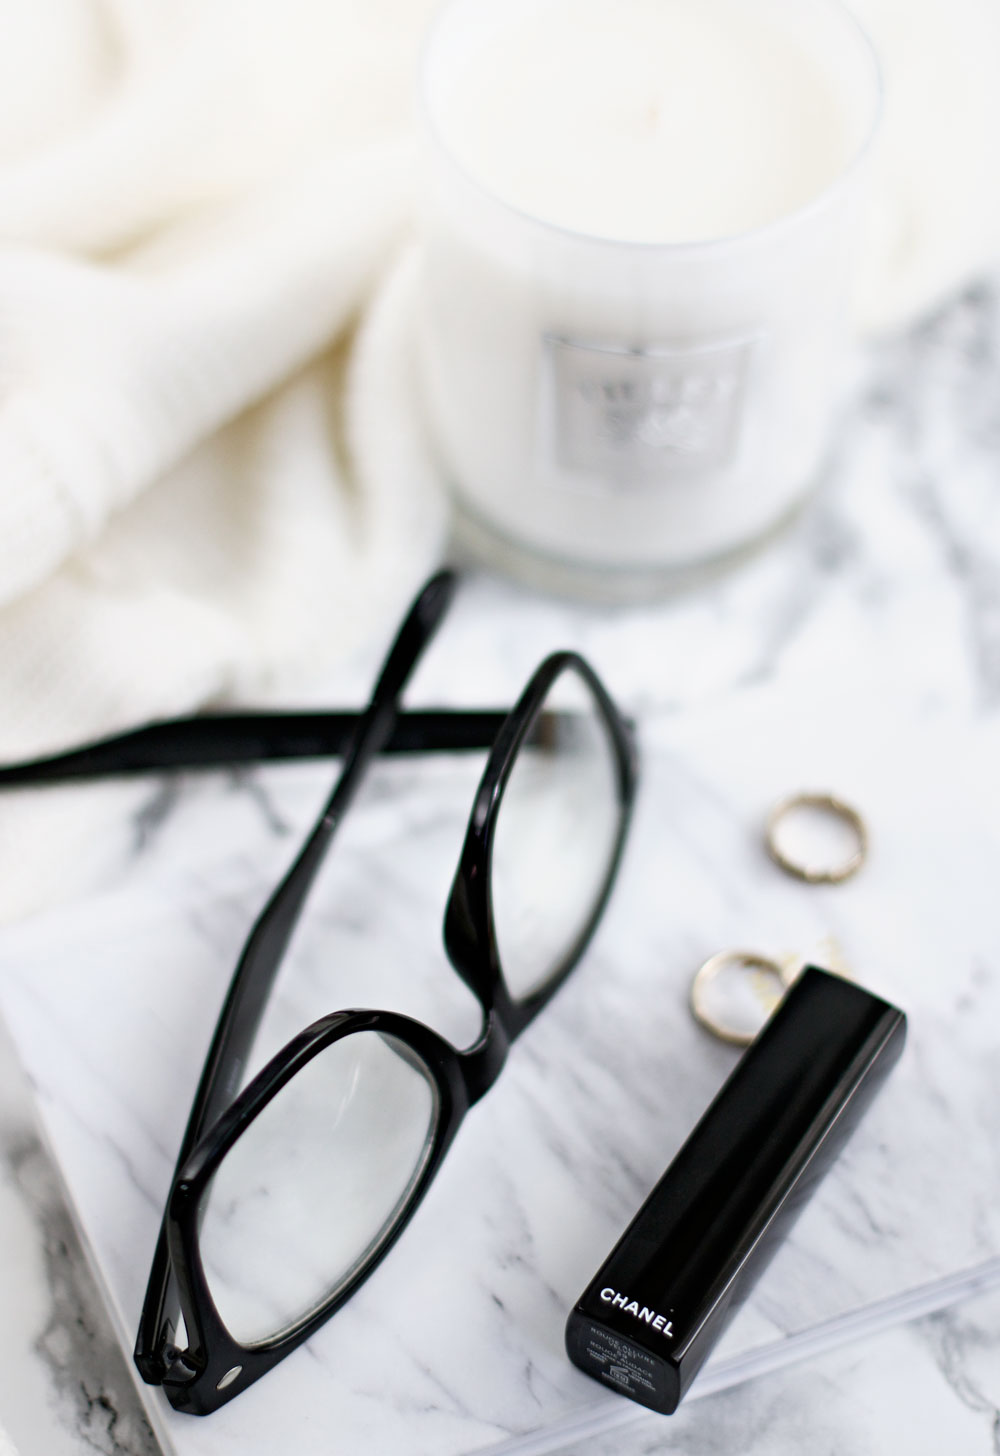
After editing in Camera Raw
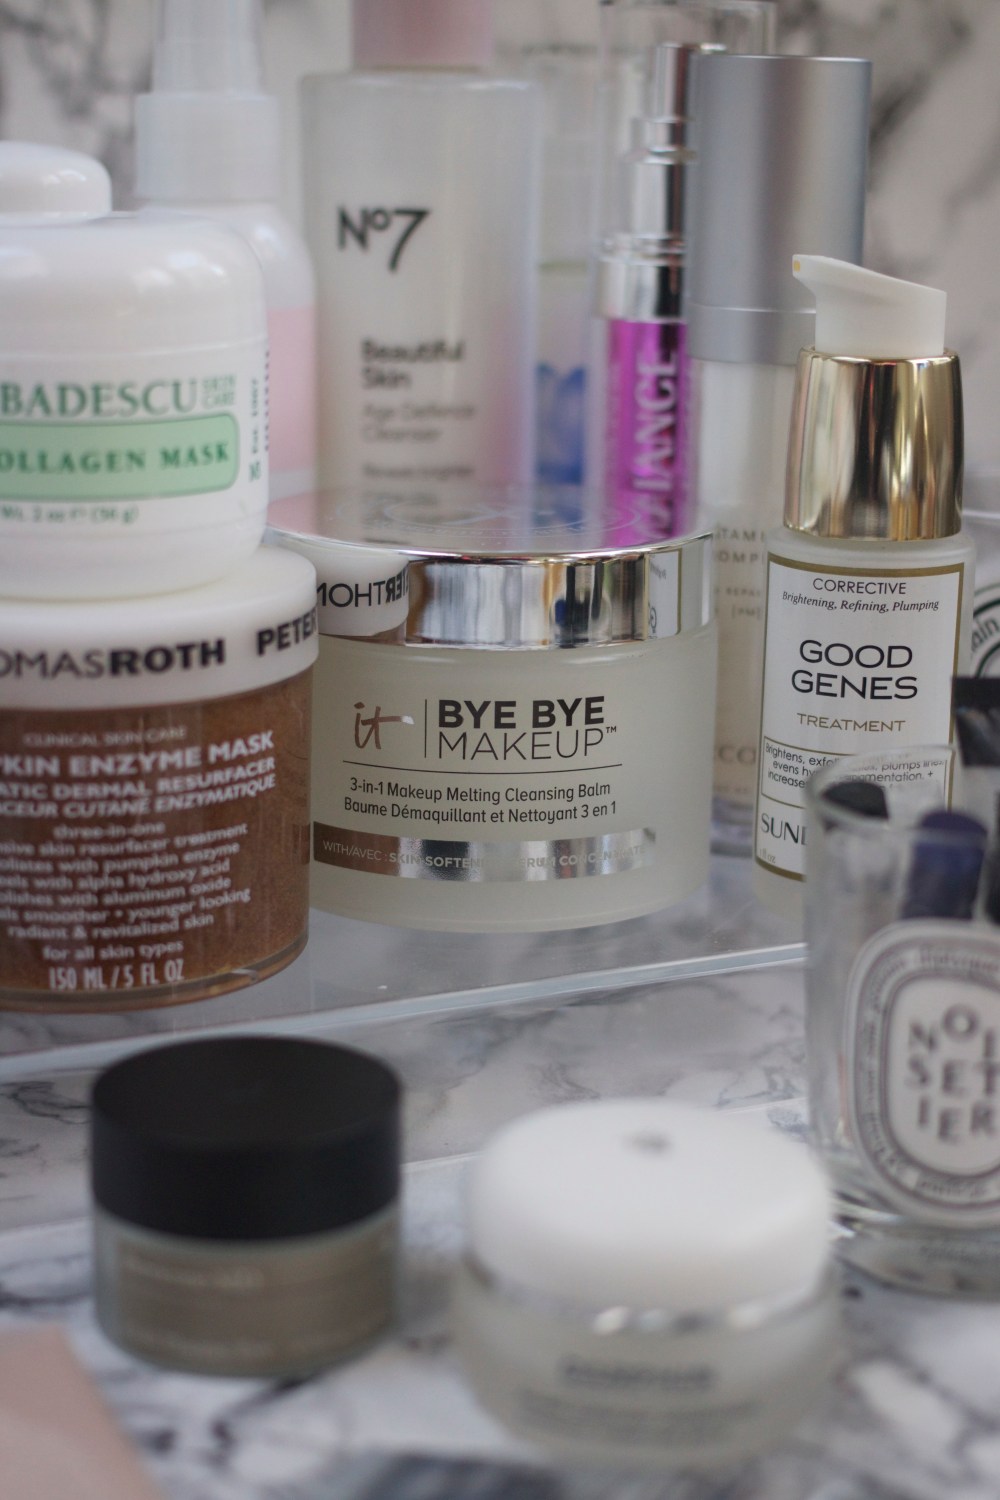
Unedited
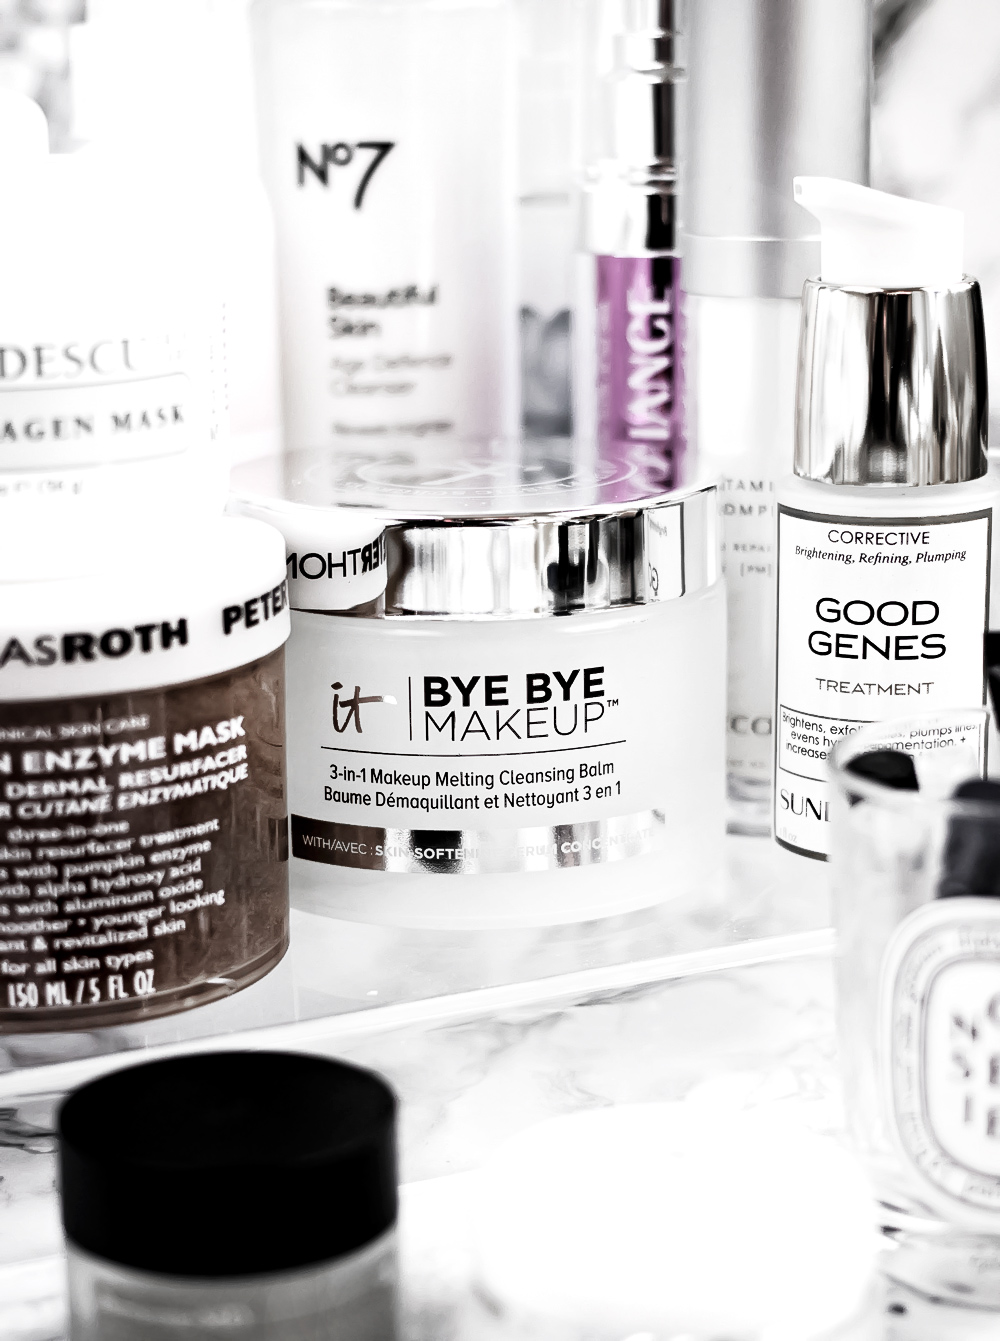
Edited in Photoshop
OPEN THE APERTURE + RAISE ISO FOR BRIGHT PICTURES
During dark and cold months I only reach for two lenses when shooting indoors: 50mm f/1.4 and 40mm f/2.8. This is because both are fast lenses and they can pass through more light than, for example, a lens with a maximum aperture of f/4.0, and give you bright pictures. I also always keep my aperture opened at around f/2.2 (this lets in A LOT of light). I avoid using maximum aperture (like f/1.4) because then the image might look too soft and not as sharp. If you want to learn more about your camera’s manual settings, see this post. Also, raising your ISO is something that you will most likely need to do when working with limited light. Keep in mind that depending on the lens and camera you’re using, it can make your images look grainy.
Lowering your shutter speed will also produce bright pictures, but keep in mind that low shutter speeds can create blurry images. Shutter speed controls the duration of the exposure, in other words, it controls the speed, at which the curtain opens and closes. This is why it’s important to keep your camera steady and use a tripod when shooting with low shutter speed.

ISO: 160 ISO: 1600
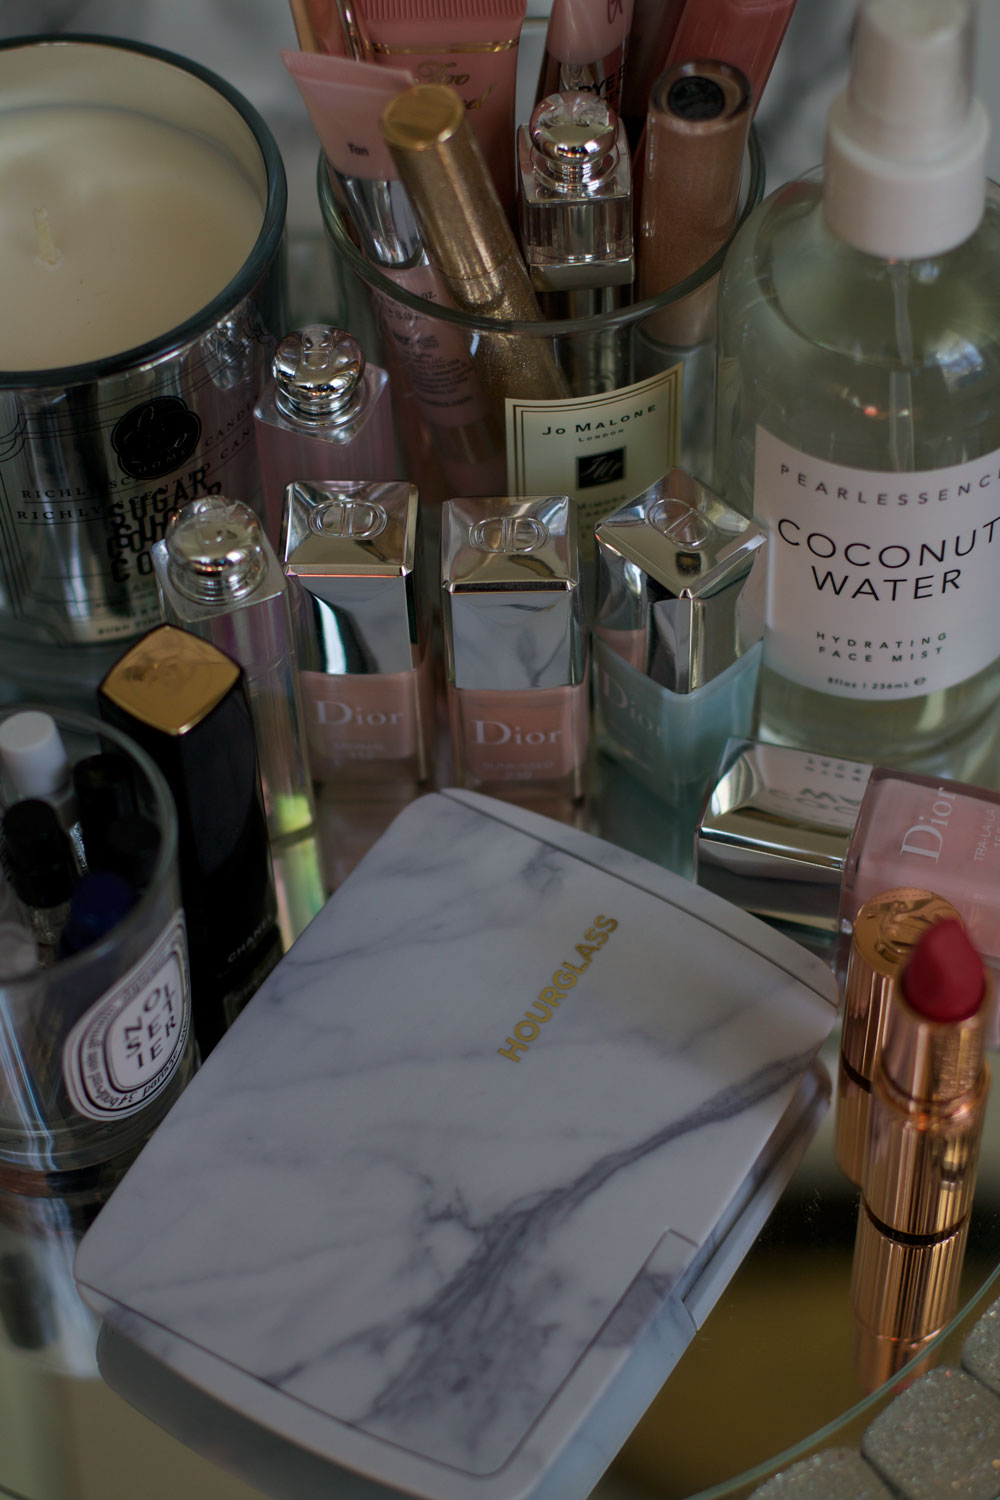
ISO: 125 Aperture: f/2.5 Shutter speed: 1/160 (unedited)
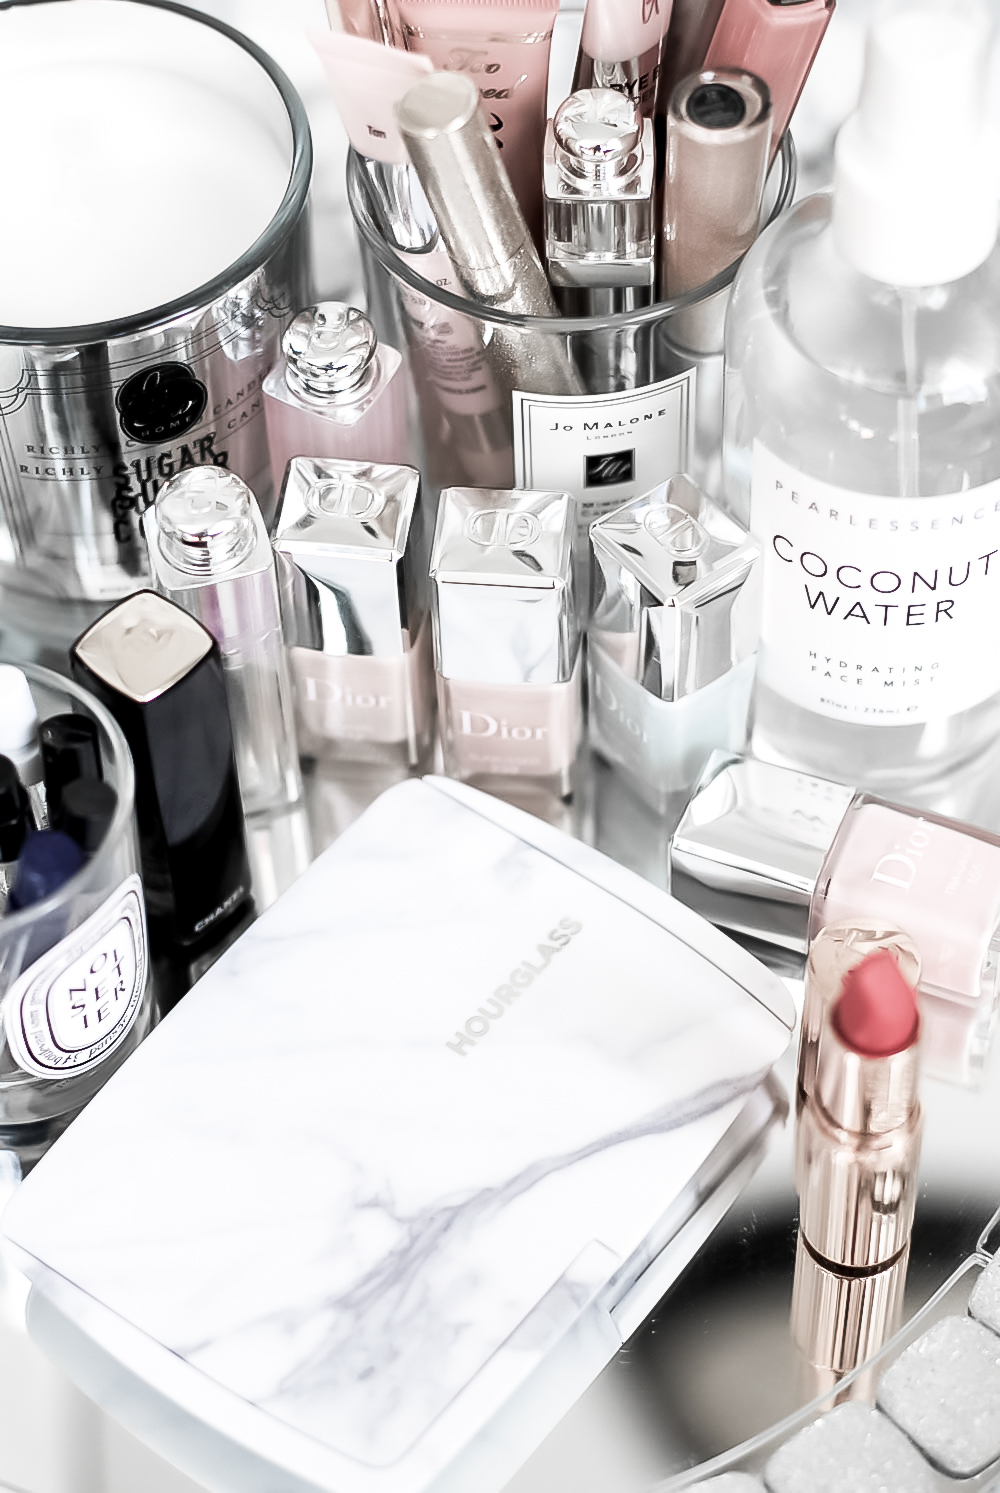
ISO: 125 Aperture: f/2.2 Shutter speed: 1/80 (+ edited in Photoshop)
GLOOMY WEATHER MUST HAVE FOR BRIGHT PICTURES: ARTIFICIAL LIGHT
When all else fails and the weather outside is really dreadful, that’s when I reach for my softboxes. I will always prefer working with natural light, but now that it gets dark pretty quickly I don’t always have enough time during the day to take photos for my blog. I also sometimes use a ring light as well. If you’ve never worked with artificial light before but want to give it a try, keep in mind that you might have to experiment a little with your white balance settings. It took me a while to get used to working with softboxes, but they’re definitely worth the investment because during winter I reach for them quite a lot.
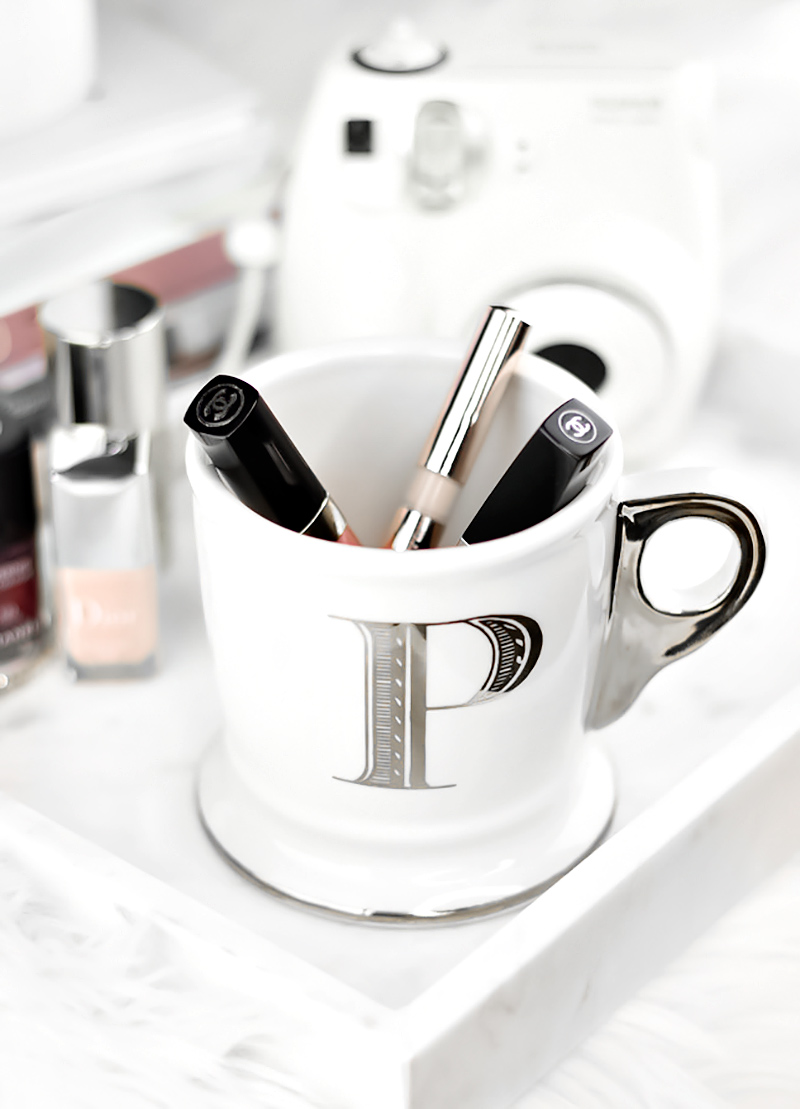
Using these softboxes (placed on the left and right of my subject).
Click here for more photography tips.
Click here for more photography tips.

122 Comments
Abi Street
November 18, 2016 at 7:32 amThese are great tips! Your photos are flawless x
https://www.thirteenthoughts.com/25-quotes-keep-going-times-get-tough/
Paula @ lifestylegleam.com
November 22, 2016 at 8:34 amThank you!
Angel Bland
November 18, 2016 at 7:46 amAwesome advice!
Paula @ lifestylegleam.com
November 22, 2016 at 8:35 amThanks
Ariadna Morell
November 18, 2016 at 8:30 amI always love your posts about photography, I learn so many good tips!! So thanks! :) x
Ariadna || RAWR BOWS
Paula @ lifestylegleam.com
November 22, 2016 at 8:35 amSo happy to hear that, thank you!
fromSandyxo
November 18, 2016 at 8:35 amLove this post. Very informative Paula. Thank YOU Xx
Paula @ lifestylegleam.com
November 22, 2016 at 8:35 amThanks so much Sandy!
RandomlyYaya
November 18, 2016 at 9:33 amThanks for the tips. I’ve been trying to figure out how to take pictures because when I leave for work the sun is barely out and then it’s gone down by the time I get home
Paula @ lifestylegleam.com
November 22, 2016 at 8:38 amYou’re welcome! I usually try to get mine done during the weekend. x
Raeanne Lydia
November 18, 2016 at 9:49 amAmazing tips! Thank you <3
Rae // http://www.raechic.com
Paula @ lifestylegleam.com
November 22, 2016 at 8:38 amYou’re welcome!
Darina
November 18, 2016 at 9:55 amGreat tips. Love your photos!
Paula @ lifestylegleam.com
November 22, 2016 at 8:38 amThanks Darina!
BlushandPearls
November 18, 2016 at 11:00 amMy photos would be horried without editing! Great tips – think I might have to grab a ring light this winter!
Blush & Pearls by Angela
Paula @ lifestylegleam.com
November 22, 2016 at 8:38 amHaha, same here!
Heather Mcknight
November 18, 2016 at 11:03 amI definitely enjoyed reading this post, thanks for all the fantastic tips!
Heather, Porcelain Beauty x
Paula @ lifestylegleam.com
November 22, 2016 at 8:38 amThank you Heather!
Nicole Merza
November 18, 2016 at 11:09 amThese are great tips! Very useful. I haven’t been so thankful for leaves until harsh direct sunlight started being a problem, lol.
Nicole | The Glam Surge
Paula @ lifestylegleam.com
November 22, 2016 at 8:43 amSame here! I practically have a little forest in my backyard and now that the leaves are gone I’m struggling with that harsh light!
Natalie Harney
November 18, 2016 at 11:17 amThank you so much for this, so so so useful!
– Natalie
http://www.workovereasy.com
Paula @ lifestylegleam.com
November 22, 2016 at 8:44 amYou’re so welcome!
Chaste and Beautiful
November 18, 2016 at 11:42 amYou’re extremely good at product photography. Reflectors and editing really comes handy for developing bright pictures. Great post…
themeticulousperfections.blogspot.com
Paula @ lifestylegleam.com
November 22, 2016 at 8:45 amAw thank you!!
Fatima
November 18, 2016 at 11:56 amSo so helpful! Thank you for this. So handy for the gloomy British weather!
Fatima – http://www.fatima-writes.blogspot.co.uk
Paula @ lifestylegleam.com
November 22, 2016 at 8:46 amThank you Fatima!!
Ela BellaWorld
November 18, 2016 at 11:58 amSuch a great and informative post, Paula! Taking decent photos is getting harder, even a few minutes can make a big difference with the day light. I go from room to room to be able to get the right amount of the light but then again it is not enough. I really need to get my hands on soft boxes. It doesn’t get lighter until 8:30 am and it gets dark after 3:30 pm, so trying to find the perfect light couldn’t be any harder! I also need reflector, I keep forgetting about it :)
Ela BellaWorld
Paula @ lifestylegleam.com
November 22, 2016 at 8:51 amThanks so much Ela! It definitely gets more difficult this time of year! O wow 3.30, that’s early! The good thing about soft boxes is the you can use them any time- even in the middle of the night lol
Lauren Victoria
November 18, 2016 at 1:06 pmGreat tips and photos! This is super helpful. I’ve been using a reflector a lot lately in my photos and it’s made such a difference. I always try to use it now, especially on those dark and gloomy days when the lighting is poor xx
Lauren | itslaurenvictoria.blogspot.co.uk
Paula @ lifestylegleam.com
November 22, 2016 at 8:54 amSuch a simple thing but makes a big difference, doesn’t it? I couldn’t live without my reflector!
Mikéla Davelyn
November 18, 2016 at 1:33 pmYes! Reflectors and white boards work so nicely for taking photos on dark Autumn and Winter days. I would also definitely like to get a soft box, though.
xo, mikéla / simplydavelyn.com
Paula @ lifestylegleam.com
November 22, 2016 at 8:54 amThe soft boxes definitely come in handy!
Charmaine Ng
November 18, 2016 at 1:35 pmGreat tips and thanks for the recommendation on camera raw! I really do despise winter because of the shorter days. It feels like I just have lunch and then boom, it’s dark.
– Charmaine
http://charmainenyw.com
Paula @ lifestylegleam.com
November 22, 2016 at 9:09 amI hear you! That’s exactly how I feel too. 4pm sometimes feels like 8pm haha :)
The Dame Intl
December 7, 2016 at 10:26 amI went out today to take pics and it was midday but the sun felt like 4pm. These are the days after all day afternoons! Here’s a pic I shot, altho I’m sure I could have fiddled with the settings to get it even better! https://uploads.disquscdn.com/images/6a80fddda70ed92579787f9f0ef39cb7185a8f0d24042eccfd20635c5816ef56.jpg
Millie Robinson
November 18, 2016 at 2:15 pmSuch a helpful post! Only recently I started to play around with the IOS settings and it makes such a difference! x
http://www.abeautyromance.com
http://www.abeautyromance.com
Paula @ lifestylegleam.com
November 22, 2016 at 9:09 amIt really does, just gotta remember not to go overboard otherwise they images can be a little grainy. x
Erin Russell
November 18, 2016 at 3:09 pmI could really do with winning the lottery and just having a lighting studio in my mansion lol, lighting is a nightmare at the moment, take it for granted every summer!
Erin || MakeErinOver
Paula @ lifestylegleam.com
November 22, 2016 at 9:10 amHaha I keep telling my husband we need a bigger house because I need a room, just for my photography. :)
Mandy
November 18, 2016 at 3:39 pmThis is so handy!! Thank you! :) x
farfromperfectionxo.blogspot.co.uk
Paula @ lifestylegleam.com
November 22, 2016 at 9:11 amYou’re welcome!
mika
November 18, 2016 at 3:48 pmGood post Paula :) you seem to never run out great ideas, that’s great for all of us who need help!
Luckily it’s sunny here in Southern California like 99% of the time, but even then I still struggle with getting good photos. I find that when I raise my ISO up really high, even to 1600, I lose a lot of the quality of the photo. It’s why I tend to keep it 400-800 (highest) since light is readily available here, but in my room it’s hard to get light reflected onto the products. I still need to get a reflector, now you’ve reminded me haha. Even when I raise brightness/curves/etc on photoshop, I have to be careful because I still lose a lot of the quality of the photo and the grainy pixels look very visible. I applaud you for your photos because it’s never the case! I wish I could hire you as my personal photo assistant haha I think I’ve just accepted that my photos can’t ever be what I want them to be so just gotta deal what I do, but it’s still good to get extra tips because I’m always trying to learn and do different things.
xoxo
http://www.hellohimawari.com
Paula @ lifestylegleam.com
November 22, 2016 at 9:17 amThank you SO much Mika!
High ISO settings turn images grainy, but how high you can go without losing quality depends on your equipment. You can also always reduce the noise in Photoshop. I usually don’t go above ISO600. Haha trust me, you don’t need an assistant, your photos are absolutely beautiful!
I sometimes have those days when nothing goes right and can spend three hours re-taking pictures because I hate how they come out- it’s the price of perfectionism haha. I don’t consider myself and expert and I still think I have a lot of room to improve, so you’re not the only one who feels that way, trust me!!
peonies passionfruit
November 18, 2016 at 5:12 pmthanks for sharing your photography tips , this post is especially helpful to me as I live in England and natural light at this time of year is in short supply! x
Eme
http://www.peoniesandpassionfruit.com
Paula @ lifestylegleam.com
November 22, 2016 at 9:23 amYou’re welcome! Glad this helped!
Sarah
November 18, 2016 at 5:54 pmThankyou for sharing these tips. The weather has been terrible here lately. Which is making it difficult for me to take photo’s for the blog. I will definitely try to implement some of these tips. I love your writing style by the way.
Sarah’s Abode -xx
Paula @ lifestylegleam.com
November 22, 2016 at 9:23 amThank you so much Sarah! :)
Sammy @ Bargain Baglady
November 18, 2016 at 7:46 pmGood tips thanks for sharing!
Paula @ lifestylegleam.com
November 22, 2016 at 9:24 amYou’re welcome!
Dea Andriany
November 18, 2016 at 7:54 pmThank you so much for sharing you photo set-up. I still struggle on making the right set-up; where should I place the reflector and the white cardboard, this one is really helpful. And, yes to editing, it really makes a difference!
Selene Addicted
Paula @ lifestylegleam.com
November 22, 2016 at 9:24 amYou’re very welcome Dea!
Kelly
November 18, 2016 at 11:51 pmYour photography tips are always so helpful. I really look forward to all these posts because I know I’ll be looking back at them when I’m in need of help so thank you!
Perfect Shade of Mauve
Paula @ lifestylegleam.com
November 22, 2016 at 9:24 amThank you so much Kelly, so happy that you like these!! :)
Wildfire Charm
November 19, 2016 at 3:12 amThanks for sharing these amazing things! I definitely need to get some reflectors. I loved that before and after picture you showed.
http://www.wildfirecharm.com
Paula @ lifestylegleam.com
November 22, 2016 at 9:24 amYou’re very welcome! Reflectors make a huge difference!
Candice Petersen
November 19, 2016 at 3:31 amThese are such brilliant tips! I love the idea of the reflector
Candice | Beauty Candy Loves
Paula @ lifestylegleam.com
November 22, 2016 at 9:25 amA reflector really makes a big difference
Lucy Cole
November 19, 2016 at 5:25 amThese are such handy tips – I really need to get my head around everything technical!xx
LUCY | lucy-cole.co.uk
Paula @ lifestylegleam.com
November 22, 2016 at 9:33 amThanks Lucy!
Kiss & Make-up
November 19, 2016 at 6:45 amYeaaaaah this time of year is harsh for picture taking! Thanks for the tips.
Paula @ lifestylegleam.com
November 22, 2016 at 9:33 amYou’re welcome.
Zoe Mountford
November 19, 2016 at 7:09 amJust the post I need right now, I am having trouble with taking pictures at night as it goes dark a lot earlier now, thank you for the tips xx
Zoe Mountford x
Paula @ lifestylegleam.com
November 22, 2016 at 9:38 amYou’re very welcome Zoe!
Sarah
November 19, 2016 at 10:04 amLove the post and thank you for sharing the tips! :)
Sarah | Beautybyrah
Paula @ lifestylegleam.com
November 22, 2016 at 9:38 amYou’re welcome!
inezdiva
November 19, 2016 at 10:29 amNot just winter, in my country, rainy season sometimes makes taking photo really harsh :’)
http://inezdivaa.blogspot.co.id
Paula @ lifestylegleam.com
November 22, 2016 at 9:38 amAww that must be harsh!
Ellies World
November 19, 2016 at 10:51 amThese are amazing tips, thank you! Since I’m still at school I find it impossible to take photos other than at weekends now it gets dark so early! xo
ellieslittleeworld,wordpress.com
Paula @ lifestylegleam.com
November 22, 2016 at 9:44 amI hear you! It can definitely be a little difficult when juggling everything!
Justine Machin
November 19, 2016 at 1:01 pmThis is a really helpful post especially as I am very much an amateur photographer! Thank you for sharing your tips with us xxx
Paula @ lifestylegleam.com
November 22, 2016 at 9:44 amYou’re very welcome Justine, so happy you liked this post!
Beauty411
November 19, 2016 at 2:38 pmI have that same damn reflector….and do you think I ever use it?!? Thanks, as always, for amazing tips! :)
Paula @ lifestylegleam.com
November 22, 2016 at 9:45 amHahaha! You better use it :D I can’t live without mine ;) You’re welcome and thanks for stopping by!
Jessie Lewis
November 19, 2016 at 5:29 pmThis is such a fantastic post – i never thought to use reflectors! Such a good idea :) xx
Jessie | allthingsbeautiful-x
Paula @ lifestylegleam.com
November 22, 2016 at 9:47 amThanks Jessie!
Dany Queen
November 19, 2016 at 6:52 pmI religiously read your posts with photography tips! They’re such eye opener and always full of amazing things. Thank you!
xx Dany | The Queens Empire
Paula @ lifestylegleam.com
November 22, 2016 at 9:47 amAww thanks so much Dany!
Shaunne
November 20, 2016 at 5:13 amAwesome tips. Thanks so much for this! x
Paula @ lifestylegleam.com
November 22, 2016 at 9:47 amYou’re very welcome!
Primrose Bigwood
November 20, 2016 at 5:26 amSuch fab tips – definitely need a reflector! x
http://www.stylepetal.co.uk
Paula @ lifestylegleam.com
November 22, 2016 at 9:47 amYes you do! :) It makes a HUGE difference!
Katie S.
November 20, 2016 at 8:53 amI just experienced this last week. I usually would shoot between 3-4 and I went into my living room and it was SO much darker. I guess I need to start getting my act together in the morning!
I love these tips and will definitely be using them! I also love using the natural light bulbs. My boyfriend has really sensitive eyes and the yellow light bulbs bother him but the natural ones don’t, so we have them all over the house. They work great in a pinch!
Katie | http://www.overthemoony.com
Paula @ lifestylegleam.com
November 22, 2016 at 9:55 amMy entire blog routine had to be changed, too. I’d come home from work, ready to take a few additional shots and boom. it’s dark outside haha ;)
Tiffany Tales
November 20, 2016 at 11:13 amReally useful tips! Today has been gloomy all day, such a nightmare. Will definitely be trying a few of these out x
Tiffany Tales | Lifestyle & Beauty
Paula @ lifestylegleam.com
November 22, 2016 at 9:55 amThanks Tiffany!
Leanne Page
November 20, 2016 at 2:47 pmThanks for sharing this! I have some lighting equipment but I find them quite difficult to work with. I’m definitely going to invest in some reflectors xx
http://www.lpagebeauty.com
Paula @ lifestylegleam.com
November 22, 2016 at 9:56 amThey definitely take some time getting used to!
Beautylymin
November 20, 2016 at 3:53 pmSo many amazing tips! Your photography is always spectacular! xx
Beautylymin| Urban Decay Bundle Giveaway
Paula @ lifestylegleam.com
November 22, 2016 at 9:56 amAww thank you!
Ela
November 21, 2016 at 12:07 amThanks for sharing these tips! As a blogger, I now feel I have to invest in my photography ~skills~, heh.
Ela | http://www.stealingyoursunbeams.wordpress.com
Paula @ lifestylegleam.com
November 22, 2016 at 9:56 amHaha yes, it’s definitely important.
Rhianna Johnson
November 21, 2016 at 10:49 amThank you for this! I really really want to improve my photography but never know where to start, and I didn’t pick a great time of year!
http://www.lovefortydown.com
Paula @ lifestylegleam.com
November 22, 2016 at 10:05 amI think that this post right here: https://www.thirteenthoughts.com/photography-tips-for-bloggers/ would be a great place for you to start :)
Emma | Reverie de Paris
November 21, 2016 at 11:35 amGreat tips! It is so hard to take photos with these dark nights.
Emma | Reverie de Paris
Paula @ lifestylegleam.com
November 22, 2016 at 10:05 amThanks Emma!
HALE
November 21, 2016 at 12:55 pmI’ve been finding it so hard to take photos recently, so thanks for the tips!
Aleeha xXx
http://www.halesaaw.com/
Paula @ lifestylegleam.com
November 22, 2016 at 10:05 amYou’re welcome!
Vanessa
November 21, 2016 at 1:13 pmI have been struggling a lot with this issue lately, I have a 9 to 5 job and I can only take pictures during the weekend. The problem is that most weekends its really cloudy outside and my pictures don’t come out as well as I wanted to. I will definitely will be trying out these amazing tips!
Thank you so much for sharing
Vanessa x | http://www.springlilies.com
Paula @ lifestylegleam.com
November 22, 2016 at 10:08 amI work full-time too, so I know the struggle. You’re very welcome Vanessa, hope these tips helped!
Traci Street
November 21, 2016 at 1:17 pmThis is incredibly useful and helpful!! I sell on Poshmark and good lighting in photos is such a big factor in getting sales – I shared this post with the PM community I’m in on Facebook and everyone is loving it! Thanks so much for writing – I am so glad I found your blog!
Paula @ lifestylegleam.com
November 22, 2016 at 10:13 amOhh that’s where all those Facebook referrals were coming from! You had me wondering haha! I couldn’t figure out who mentioned me. Thank you SO much for sharing my post. So glad that you found it helpful- makes me so happy :)
Caitlin | Minimalist Makeup
November 21, 2016 at 6:34 pmThe difference when using the reflector was huge! I will have to look into purchasing that. Fantastic post! I can’t wait to read more of your photography series. xx
Caitlin // Minimalist Makeup
Paula @ lifestylegleam.com
November 22, 2016 at 10:13 amThank you so much Caitlin!
The slow pace
November 24, 2016 at 5:19 amGreat post and so useful!
xx,
E.
http://www.theslowpace.com
on my own way
November 24, 2016 at 7:59 amSuch an informative post!
Kisses,
Nazligül | New Style Post – Do nothing club
Noirette Diary
November 24, 2016 at 1:18 pmWow, amazing tips!! Thanks for sharing dear X
| http://www.noirettediary.com |
Lynnsay
November 25, 2016 at 8:18 amThese are really great tips! I’m definitely going to invest in a light reflector and (eventually!) some soft box lights.
http://www.sartorialscot.com
Frances Kayleigh
November 26, 2016 at 8:37 ammy goodness this was a helpful post! Got to be up there with the top photography posts i’ve stumbled across of all time – thankyou SO much for sharing all of your tips! It’s so tricky now that we’re in winter to take good pictures as lighting can be so limited xx
Darriyan Cateland
November 26, 2016 at 3:34 pmI have found it unbelivably hard to take photos recently! i am so glad you posted this!! Thank you!!
darriyan xo| http://www.darriyancateland.co.uk
haus of crochet
November 27, 2016 at 4:08 amThank you for the great tips! I guess I have to invest in a tripod sooner than later, because keeping my camera steady during times of low light is one of my weaknesses :)
Romina | http://www.hausofcrochet.de
Tomi Obebe
November 28, 2016 at 12:10 amAmazing tips! Makes me finally want to take the plunge to get photoshop. Do you have a post/video/tutorial explaining how you edit photos on your phone? I’d love to learn!
xx, Tomi
http://goodtomicha.com
Eilidh D
November 28, 2016 at 6:09 amSuch a handy post now that we’re into winter with the dark mornings and dark nights!
Eilidh || http://herprettystateofmind.blogspot.co.uk/
xoxo
Chloe Denton
November 28, 2016 at 6:16 amI never thought about using a reflector! I bought some softboxes last year and I love them although thy can be a pain setting up, Ill have to look into getting a reflector! -xo
chloedenton03@gmail.com
Eleanor
November 28, 2016 at 10:21 amThese are such amazing tips. Thank you so much for sharing!
Eleanor – http://www.eleaanormay.com
Feyi A
November 28, 2016 at 7:26 pmWow super helpful!!
Marveling-Mind | Instagram | Bloglovin’
Sangeeta
December 3, 2016 at 3:28 amGreat photography tips :)
The Gossip Darling
December 5, 2016 at 9:23 pmOMG!!! Amazing tips!!!! Thank you!!!
Mel | http://www.thegossipdarling.com
The Dame Intl
December 7, 2016 at 10:25 amThank you! I’m still struggling to understand and remember the ISO/f stop/shutter speed combinations and how on earth people change these quickly when they need to I don’t yet know! But Im looking forward to learning :) Shared.
Emely R.|xcupcakezombiex
December 8, 2016 at 11:08 pmAs a new blogger/Lifestyle photographer I am having such a challenge in understanding everything regarding this topic from: making the right decision when it comes to purchasing a camera to what are the appropriate lenses, and best times to shoot. But you definitely hit some note-worthy points. Thanks for the share!
Emely R. | xcupcakezombiex.com
Natalie Redman
February 2, 2017 at 6:58 pmGreat tips! Such a useful blog post!
http://www.upyourvlog.com
Sharon
March 18, 2017 at 12:31 amThank you for this post! I have so much to learn about this topic. I have bookmarked your page!
grownwomanglowup.blogspot.com
Kamilla
October 9, 2018 at 1:52 pmI wish there was some video to show how you do this on photoshop!
http://www.artistakay.com