
DIY White Marble Photography Background
White marble has been the “it” photography background for a while now; you’ve seen it all over magazines, Instagram, and the blogosphere. Today I’ll show you how to easily create your own white marble background without spending a fortune.
DIY WHITE MARBLE PHOTOGRAPHY BACKGROUND
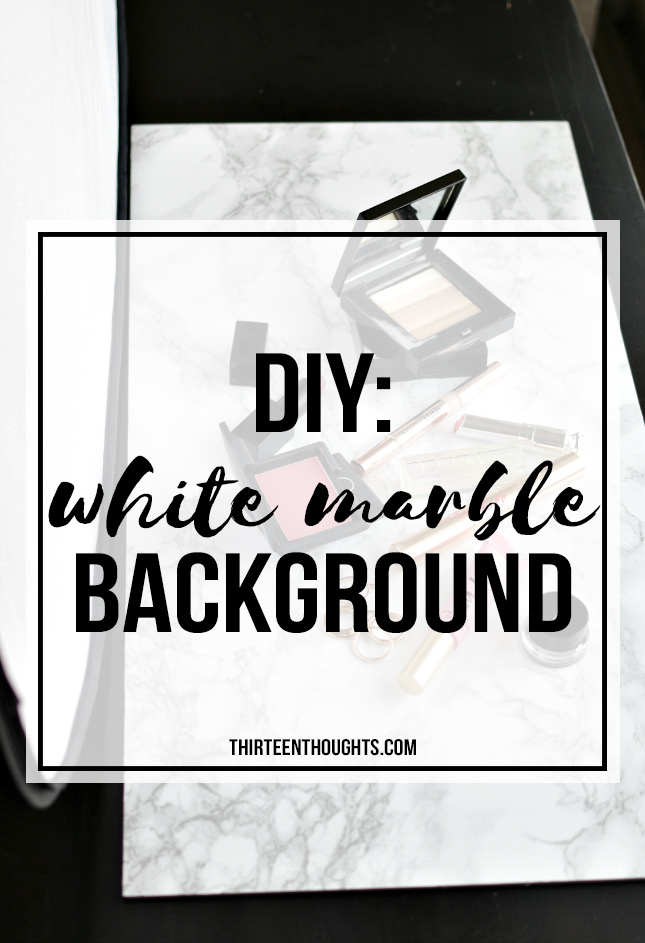
To create this, you will need a few things: first and most importantly you will need white/grey marble self-adhesive vinyl. You can find it at any arts and craft store, home depot, etc. I bought my on Amazon right here. You will also need a board of some sort to act as your surface, scissors, a towel, razor and an extra pair of hands, if possible (it’s much easier to do this if you have help).
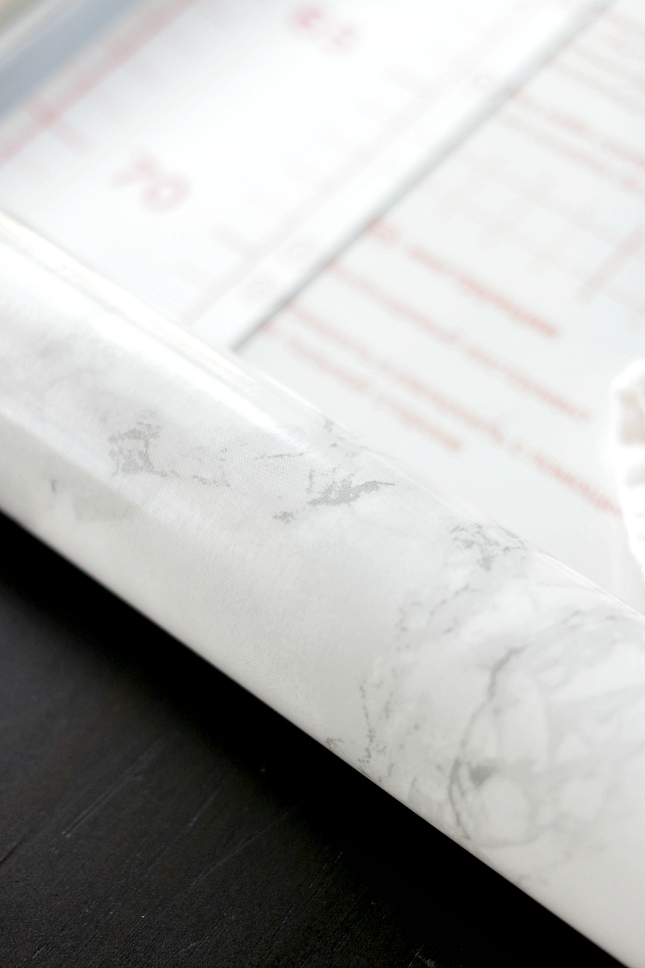
You can use a piece of plywood (wouldn’t recommend that though, since the surface isn’t completely smooth), maybe an old cutting board that you have sitting around or a simple cardboard. I used 12” x 24” plexiglass sheet (you can find a similar one right here). Plexiglass is great for this because it’s smooth, light and thin which makes it very easy to store and move around. If you are going to use plexiglass for this, make sure that you go with the size you want, because plexiglass is very, VERY difficult to cut and/or trim.

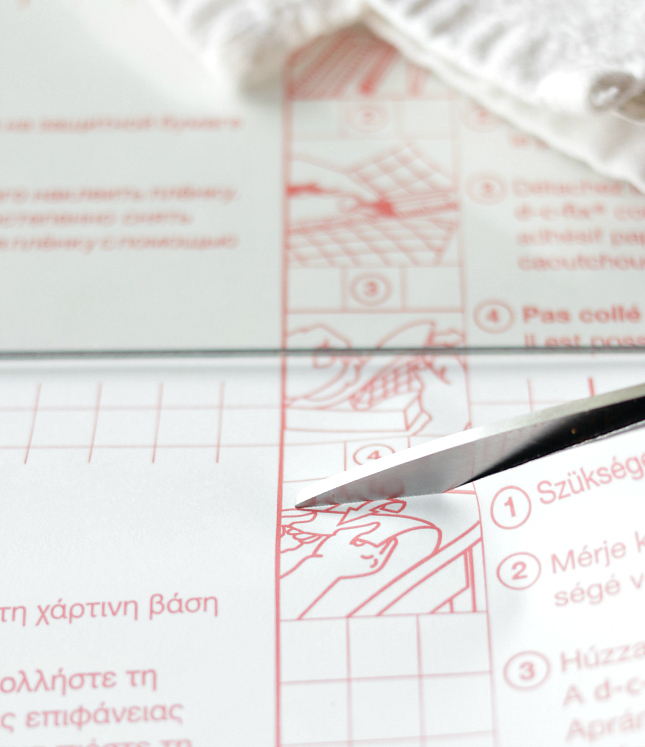
The first thing I did was to measure out the self-adhesive vinyl against my surface. My board was 12” x 24” and I cut out my vinyl to measure 15.5” x 27”. Before you remove the film and begin to attach the vinyl to your surface you have to make sure that both your board and the surface that you’re working on is clean. Even things as small as a dog hair or a tiny crumb can create small bumps and bubbles under your vinyl, so make sure you wipe everything down with a dry towel.
TAKE MY FREE 7-DAY EMAIL COURSE: HOW TO START A BLOG
YOU CAN ALSO GRAB FREE STOCK PHOTOS FOR YOUR BLOG HERE AND A FREE PRINTABLE OF OVER 200 BLOG POST IDEAS RIGHT HERE.
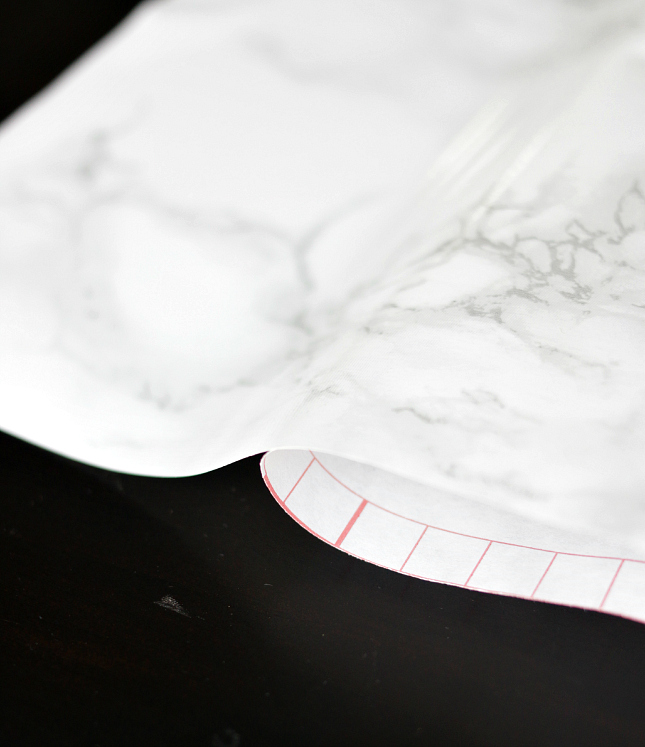
Now, this is where the extra pair of hands comes in handy; one person should hold the board steady and hold up the vinyl and slowly remove the protective film, making sure the vinyl doesn’t stick to the surface unevenly, while the other person should slowly attach vinyl to the surface, while gently pressing it down using a clean towel, going back and forth across the board, to avoid any bubbles from forming underneath. You can also do it by yourself of course, but if you really want your background to be smooth and free of bubbles, it’s better to have a little help.

After you are done attaching the vinyl to your surface, turn it around and trim the excess all around your plexiglass, using a razor.
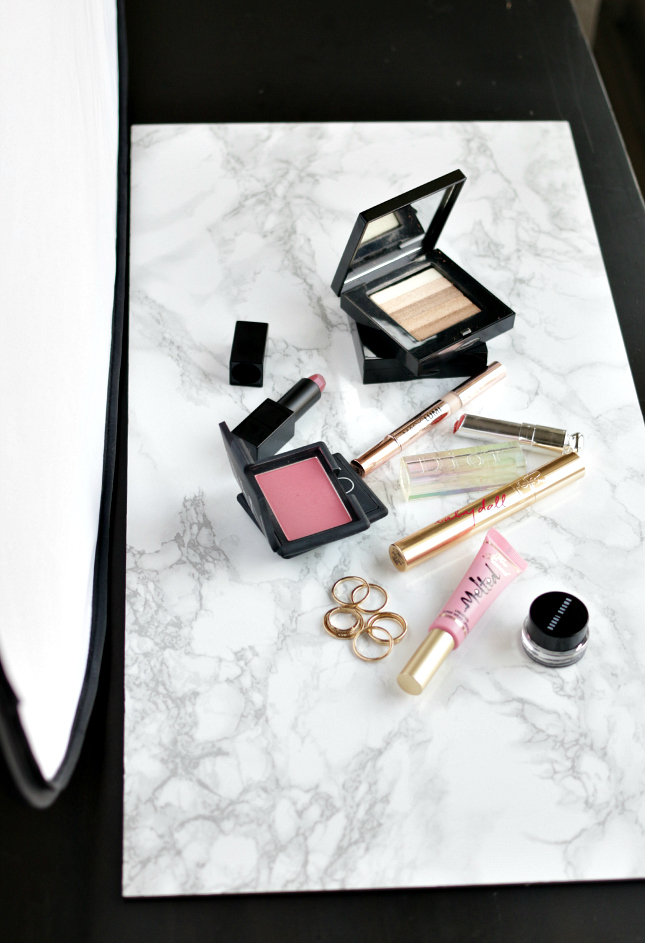
Hope you found this helpful DIY White Marble Photography Background tutorial helpful, let me know if you have any questions!

65 Comments
Maddy Cane
April 16, 2015 at 11:41 amI may have to get some of this adhesive, it looks beautiful in photos!
Maddy, xo // UNSTITCHEDD // Win a Luxury Beauty Item of your Choice
Paula
April 16, 2015 at 11:51 amRight? I love how bright it makes the pictures look :)
Kira McGrigg
April 16, 2015 at 11:49 amThis is amazing! Hahahha, you totally know what you’re going to see on my blog in the future.. You never cease to impress me, girl. Your posts are always on point and fantastic.
kiralynnmakeup.com
Paula
April 16, 2015 at 11:53 amHaha, hey, that’s what I wrote this post for! :D :D It’d make me super happy if you tried it out :) Aww heheh thanks so much Kira!! <3 <3
Emma Walker
April 16, 2015 at 1:02 pmLove this!
Emma | With A City Dream
Jasmine
April 16, 2015 at 2:54 pmDefinitely doing this! Your photo looks gorgeous and I’ve always admired marble backgrounds but wasn’t going to buy a table for blog photos haha this is the perfect solution – thank you :D xx
Magpie Jasmine | Zoeva Brush Set Giveaway
Paula
April 16, 2015 at 8:45 pmThanks so much Jasmine! Ahh I know, I told my husband that I want to renovate our kitchen so that we can have white marble counter-tops, just so I can take nice photos for the blog haha. He said I’m crazy :| So glad you liked this idea! ;)
Taria-ann (@frunettte)
April 16, 2015 at 3:26 pmI’ve recently discovered your blog and I really like it! I’m following you now on Bloglovin’
Hope you’ll like mine too!
XO,
Taria-ann
http://www.frunettte.com
Linda Libra Loca
April 16, 2015 at 3:58 pmWow, how come I never thought of that?
LindaLibraLoca: Beauty, Baby and Backpacking
Biana @Blovedboston
April 16, 2015 at 4:54 pmThis is one of my favorite DIYs! I bought some of the paper from amazon a few weeks ago and love how my photos come out now! xo, Biana – BlovedBoston
Rita Macedo
April 16, 2015 at 4:55 pmThis is so helpful and amazing! This background always looks amazing in photos and it’s this is a great alternative and it doesn’t take that much to do! I feel like your blog is getting better and better, keep going! Xx
Paula
April 16, 2015 at 8:45 pmAww thanks so much Rita! <3
Vanessa Mins
April 16, 2015 at 6:17 pmWhat a great idea! I recently got a small marbled plate from a thrift store to use for smaller objects, but for larger setups this sounds like an amazing option.
http://www.sevenminsblog.com
Paula
April 16, 2015 at 8:46 pmThanks Vanessa!
Becky Hines
April 16, 2015 at 6:18 pmI never thought about this before, but it’s actually so helpful and would be much more affordable to do! Thank you so much for sharing, can’t wait to try this!
Becky, xx // undertheseabeauty.blogspot.com
Paula
April 16, 2015 at 8:51 pmThanks so much Becky! <3
Nina
April 16, 2015 at 6:24 pmGreat post, xx
http://www.ninasstyleblog.com
Paula
April 16, 2015 at 8:52 pmThanks Nina.
shaybellamakeup
April 16, 2015 at 8:03 pmUgh! Every time. *Insert appropriate IG emoji here*
Your posts are always so informative, helpful, and beautifully executed. I honestly peruse your blog constantly.
Makeupaddictsforlife. xx
Paula
April 16, 2015 at 8:52 pmNawww thanks so much Shay!!! <3 <3 <3
Vanessa
April 16, 2015 at 8:33 pmWow, this looks stunning, thanks for this great tip.^^
New outfit is online…
Paula
April 16, 2015 at 8:52 pmThanks so much V.! :)
Joanna Joy
April 17, 2015 at 4:20 amThis is a nice tutorial. It looks like real marble. Great idea!
astylishlovestory.blogspot.com
Paula
April 18, 2015 at 9:58 amThanks Joanna! ;)
Brenda BusyBee
April 17, 2015 at 7:47 amI actually spotted this the other day when i was having a look on Amazon! Such a cheap yet effective way to get the marble look. Think I am definitel going to have to give it a go :) x
Brenda BusyBee | Makeup Revolution Highlighting Palettes Giveaway
Paula
April 17, 2015 at 3:46 pmHeheh :) I definitely love how affordable this is, too! ;)
Anxhela
April 17, 2015 at 9:17 amThank you for the step by step instructions. I was referred to your blog by Beauty Detour and I’m quite thankful because it’s beautiful & helpful to me as a starter blogger. Anxhela
Paula
April 17, 2015 at 3:45 pmAwww thank you SO much! :) Thanks for visiting! ;)
Helena
April 17, 2015 at 10:54 amThis is such a wonderful idea! Never thought you could make your own “fake” marble table this easy! Thank you for sharing!
simply-mode.com
Paula
April 17, 2015 at 3:43 pmAww thanks so much Love! ;)
Sarina
April 17, 2015 at 12:33 pmOMG! You’re the best! The idea of using plexiglass is phenomenal. I was thinking about getting a few backgrounds but as I do not have enough space to store them I stuck to paper. I will definitely start to think about a few backgrounds I can create with plexiglass :D.
Paula
April 17, 2015 at 3:45 pmThanks so much Sarina! It was actually my hubby’s idea to go with a plexiglass, I was going to use plywood, but he said I’d end up with tons of bubbles underneath the vinyl. I definitely want to create a few more of these too! :) Thanks for visiting!
Samileen
April 18, 2015 at 2:38 pmGirl you are the BEST!
Sam|| BeautyDetour
Paula
April 20, 2015 at 3:59 pmAww thanks! :)
Heather Miner
April 20, 2015 at 12:44 pmSuch a cute idea, it really adds something to the photos!
Paula
April 20, 2015 at 3:28 pmThanks Heather!
beautylovesbooks
May 17, 2015 at 3:22 pmThis is such an interesting idea! Love the look of it!
http://beautylovesbooks.com/en
ChOwé Mourey
July 8, 2015 at 5:48 pmLove this!
Sara Nielsen
July 19, 2015 at 5:10 pmIt looks great! I will do this, so my product photos will be so much prettier!
http://industrialbarbie.blogspot.com/
THE CHICETTE
July 24, 2015 at 9:46 amLove this idea!
Monique Rehmus
August 12, 2015 at 6:18 pmI absolutely love this post! Now I know how to make it. :)
WHITE PLATFORM SANDALS
Paula @ lifestylegleam.com
August 17, 2015 at 4:36 pmYay! :D
MargaritaChi.co
October 22, 2015 at 5:57 amI loooove this!!! Thanks for making.
http://www.margaritachi.co/
Thais gomes
October 29, 2015 at 10:23 amlooks beautiful!
Kisses,
BLOG | Taislany
Megan @ Skinny Fitalicious
November 18, 2015 at 10:47 amThis is life changing! Thank you!!!
Paula @ lifestylegleam.com
November 23, 2015 at 6:15 pmAww haha you’re welcome Megan! :)
Chrissie
November 18, 2015 at 8:12 pmwow, this is amazing! thanks for the tip
MizzJ
November 19, 2015 at 11:18 pmSo cool!
Gen Davalos
December 2, 2015 at 3:34 amAmazing! thank you for the post!
Viviene Kok
December 14, 2015 at 3:36 amThank you for sharing dear! Random but Dior LipGlow is one of my all time favourite product :)
Real Life Nerd // http://www.vivienekok.com
tiffanytales
December 14, 2015 at 5:06 amThanks for sharing this! I bought myself a marble chopping board from Next’s homeware department for my blog photos. Marble definitely is the in blogger background at the moment.
Tiffany Tales – A British Beauty & Lifestyle Blog
Bernadette
December 27, 2015 at 6:07 amBrilliant post. This is a awesome idea! I personally am a fan of a plain white background, when i finally got a white table i used as a makeup vanity i was super excited, it made my blog photos look 10 x better.
http://themakeup-gypsy.blogspot.com.au/
r-i-a n-a
December 29, 2015 at 5:18 pmThank you for great idea! :-)
Kathryn
January 13, 2016 at 10:05 amThis was so so helpful! The plexiglass idea is great, will definitely look into that option as I tried with a foam board but ended up getting dips and creases in it and gave up! So awful but think I may give the plexiglass version a go. Thanks for the post! :)
Kathryn | Hungry Little Bear
Allycia
January 22, 2016 at 10:25 pmThis is an awesome idea! I may give this a try! Thanks for sharing!
Christina Johnson
April 11, 2016 at 10:03 pmDid this project as well. Genius!
http://www.refinedapparelandgoods.com
Cielo Fronteras
May 31, 2016 at 5:09 pmThis is genius!!! Thanks for sharing! Gotta try this! =)
– Cielo
Mermaid in Heels
Fashionistaa
June 10, 2016 at 12:38 pmI love this! What ring light do you use?
Audra Nicole Koch
June 26, 2016 at 4:04 pmTHANK YOU! I was about to go buy a huge slab of marble from a warehouse but this is SO much easier!
Audra | southernnyorker.com
Kamilla
April 30, 2017 at 11:39 pmCan I just say thank you! Love your blog, full of amazing informative content! Really Appreciate it!
Paula @ lifestylegleam.com
May 1, 2017 at 7:07 amYou are very welcome Kamila, thank you!
Kamilla
October 24, 2018 at 11:18 amIve come back a year later and have another question!
Why do you use that circle white thing? I don’t know the name, but tis in the photos. Does it help with lighting?
Kashma7
June 20, 2017 at 12:12 pmGreat tip! Do you think it will work for step-by-step tutorials? For example: how to make a unicorn headband? Or could it be too distracting?
Paula @ lifestylegleam.com
June 20, 2017 at 2:55 pmThe one I linked to in the post has a really delicate marble that isn’t distracting at all- it all depends on the kind of contact sheet paper you get.
Raydhiri
October 7, 2020 at 9:48 pmThis is super helpful! I have nice granite countertops but they’re so busy in my photos of food, etc. Thanks for sharing!