Learn how to turn an unused closet into a mudroom, adding more practical storage, seating, and space! This closet mud room makeover came in at around $300 and was accomplished in just a weekend!
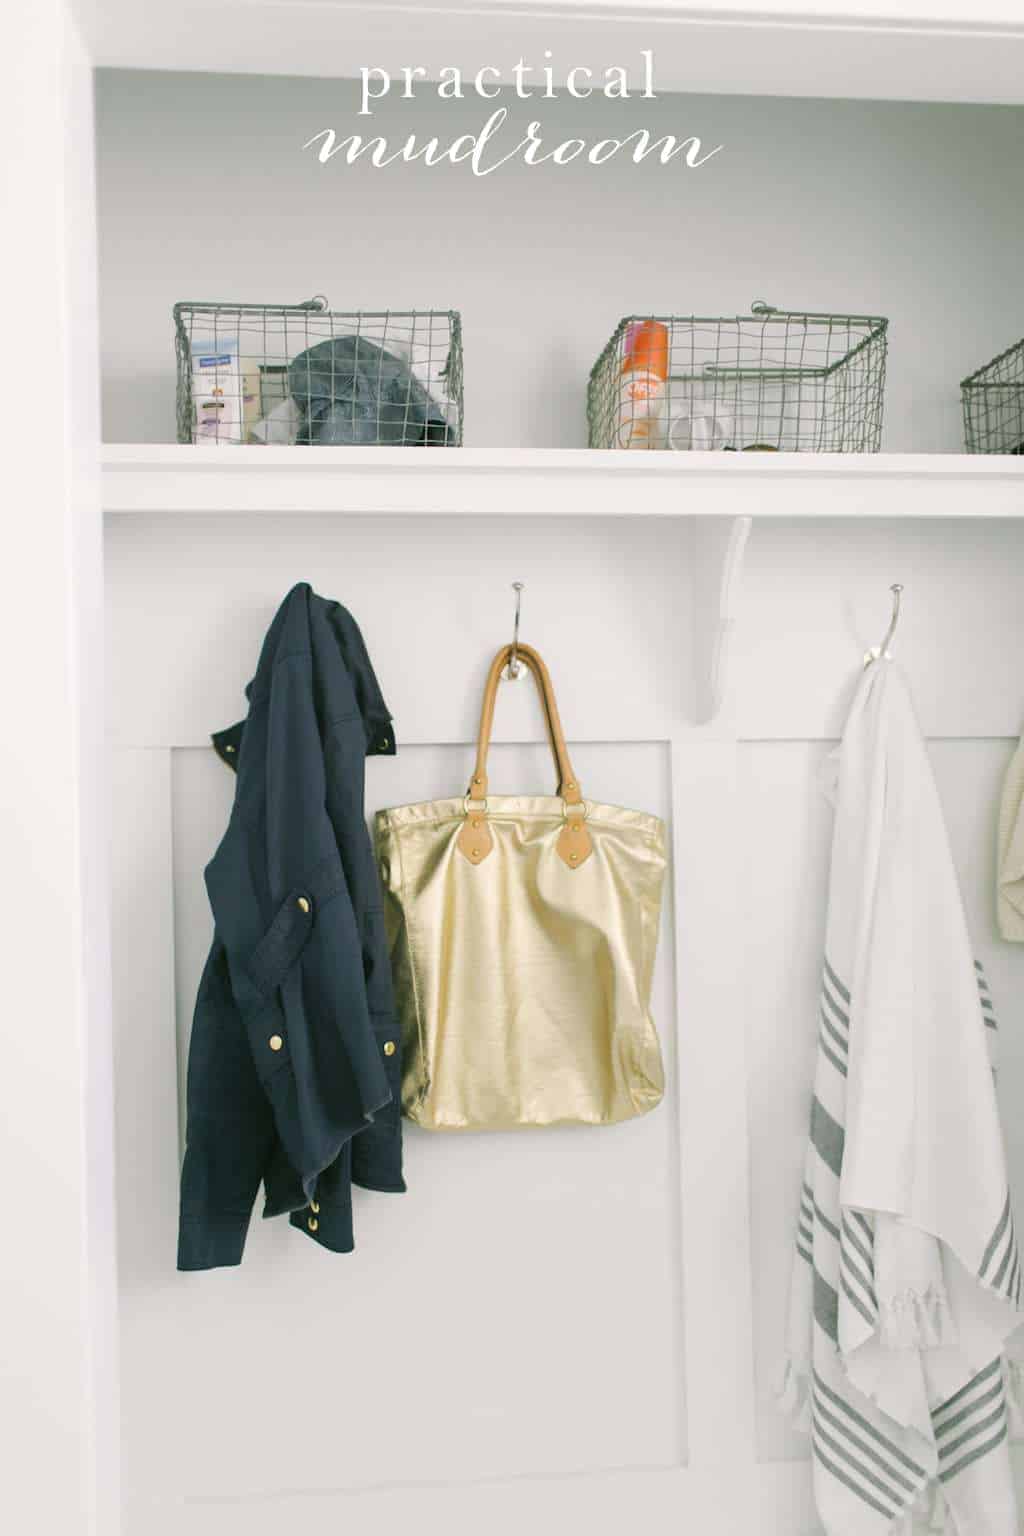
As I sit here contemplating the mess contained in our mudroom, I am amazed that regardless of the season, this is such an incredibly useful space in our home.
I’m reflecting on my love for this practical, treasured space that’s currently filled with swim towels, goggles and flip flops.
Yes, I said it’s a treasured space! I loooooove a good mudroom, and I realize how lucky we are to have this space. In our former home in Kansas City, we didn’t have a mud room, but with a little ingenuity, we were able to carve one out.
In fact, check out the before images. When I say we carved one out, I mean it- this was a tricky space in our old house!
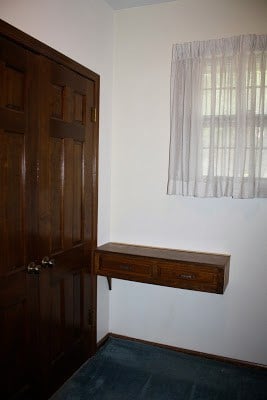
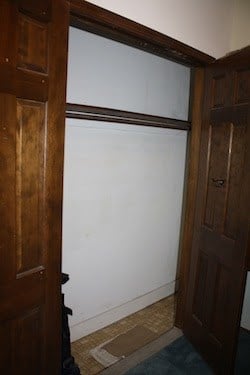
We started this closet-into-mudroom project right after our second daughter, Aniston was born. Why? Because when else do you spend that much time at home.
Just like our lives of late, being encouraged to stay home did force us to get some wonderful projects accomplished around our house!
I love organizing and yes, I love mudrooms- I just think they are such a practical, useful space in your home. Be sure to check out my posts about mudroom organization, the brick floors in that space, as well as our paint color (Navajo White) there!
How to Turn a Closet into a Mudroom
Even though this space isn’t styled in the way that I would choose now, I think there’s still so many great elements that might inspire your in your home! It seems that now is a great time to accomplish easy, doable projects that are affordable and practical- this entire project came in at around $300!
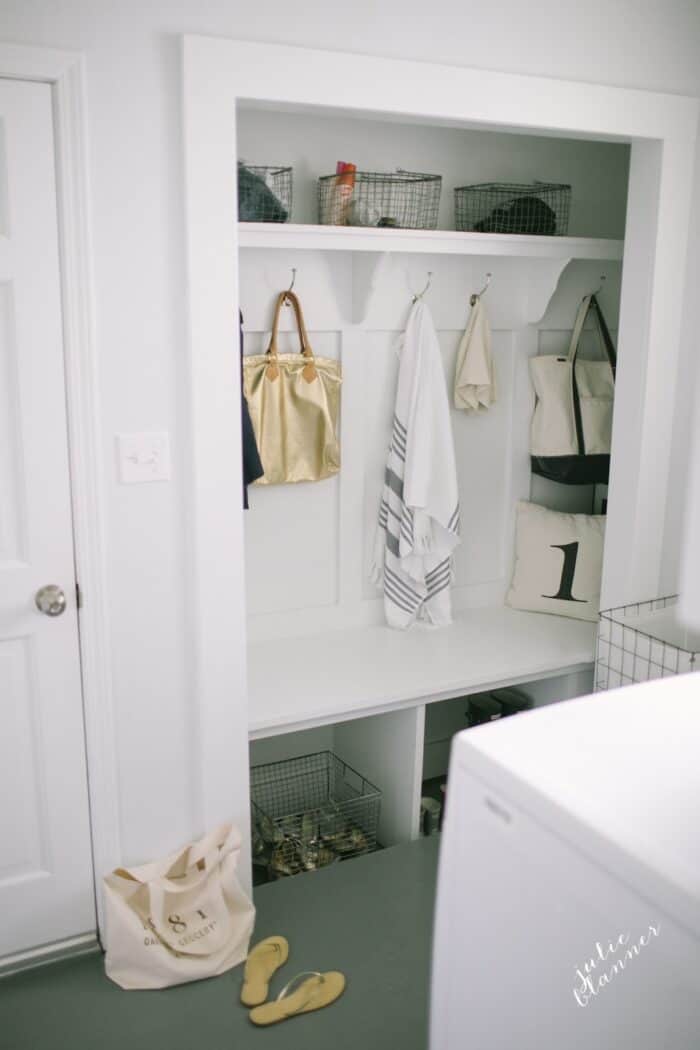
We have the luxury of more space in the mudroom our tudor (click through for the whole before and after tour). However, while we don’t have to share it with the laundry room as we did in our former home, it’s a slightly awkward layout.
We learned so much from this project in our old house and it helped me focus on what was important for the next one! In fact, I’ve written about mudrooms quite a lot.
It made me appreciate what we did with our practical mudroom in our KC colonial, for just a little effort and minimal investment. We were able to work around existing flaws, making the best of them.
In effort to streamline our home and reduce clutter {coats, shoes, and bags} from the main areas I decided to remove the closet doors in our laundry room and convert it to a mudroom.
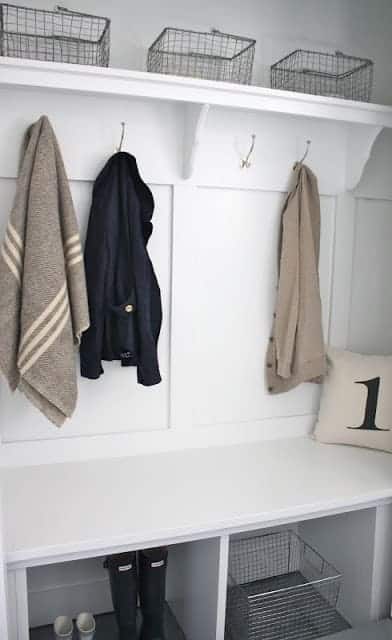
Closet Mudroom
Our first consideration was how we used the space. Knowing that it was our primary entrance, we wanted a durable floor that would be easy to clean. That’s why we chose to do a painted concrete floor.
We removed the linoleum floor tiles and cleaned up the concrete floor. Then we painted it with a charcoal grey concrete floor paint in high gloss for easy cleaning. No longer will I have anxiety over the dirt, salt and rain on our beautiful hardwoods.
It was a decision I worried would fail us with a worn, dingy appearance over time, but I knew I could always tile over it if I had to. Fortunately, we put in three years of extensive use and it looked as great as it did the day we painted it when we moved out.
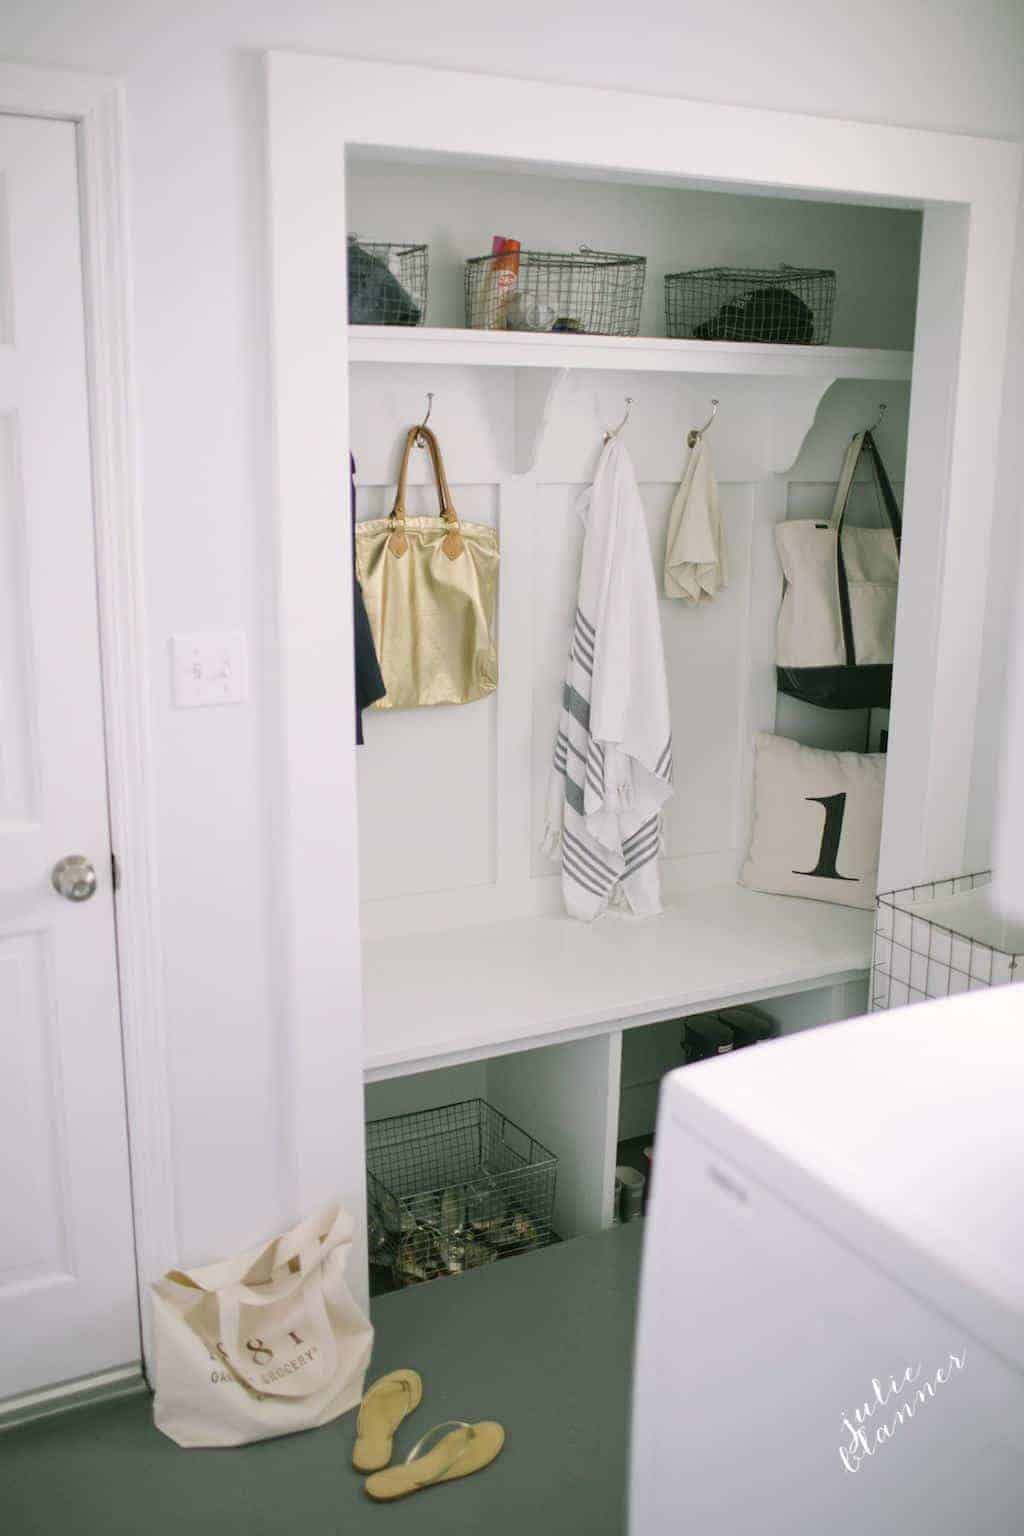
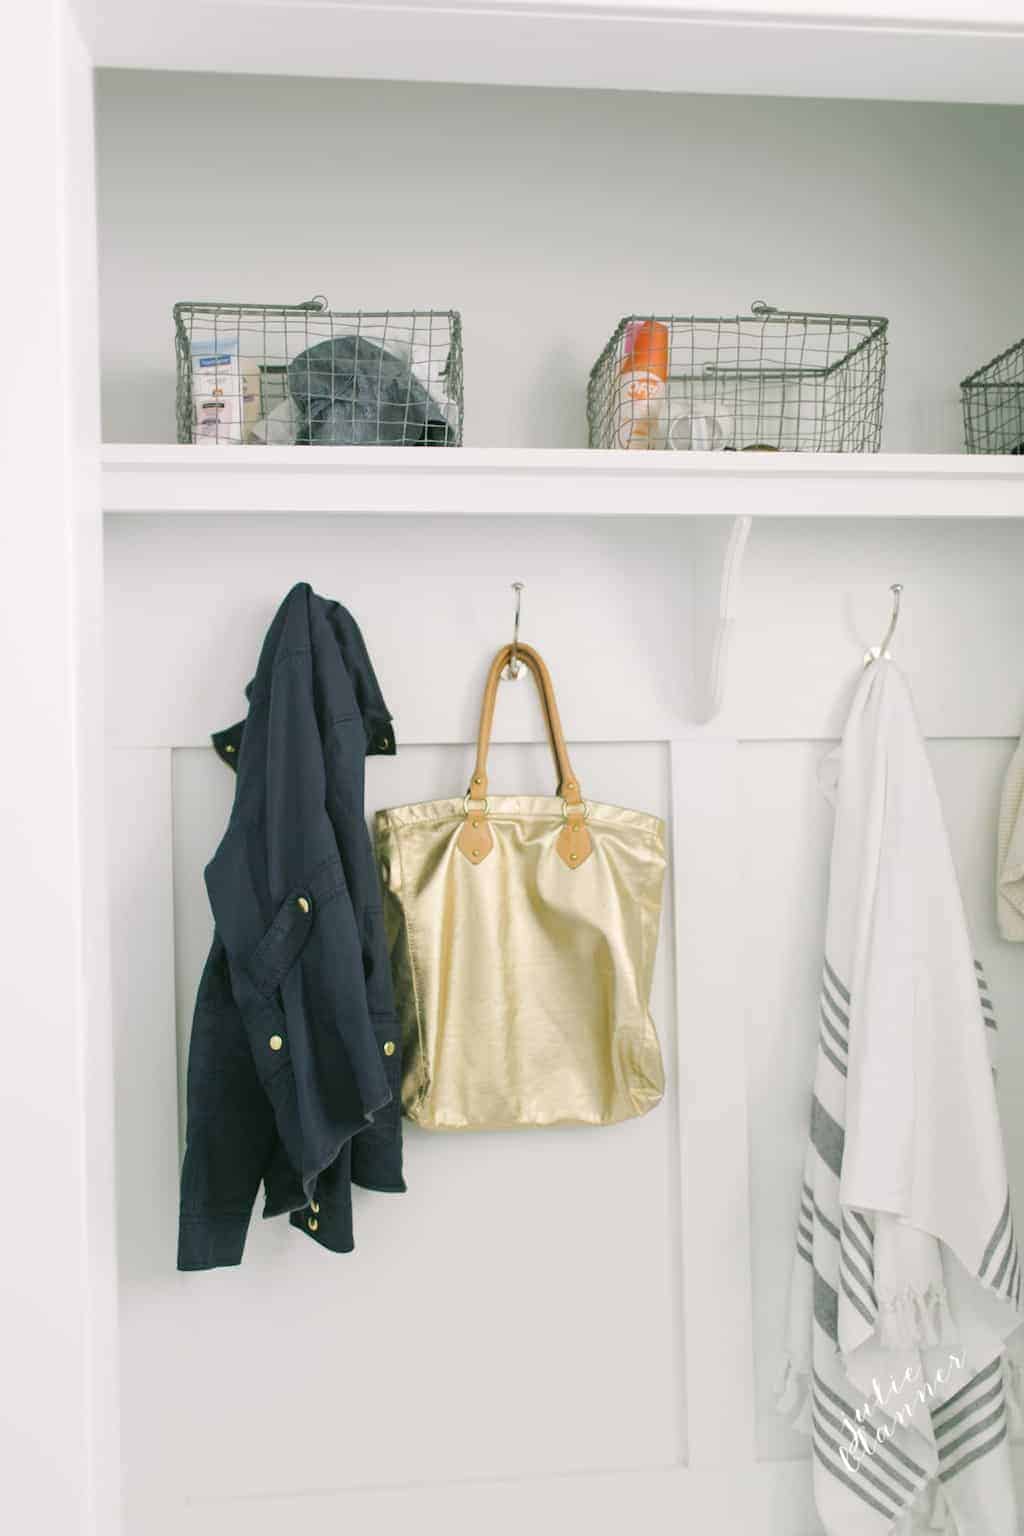
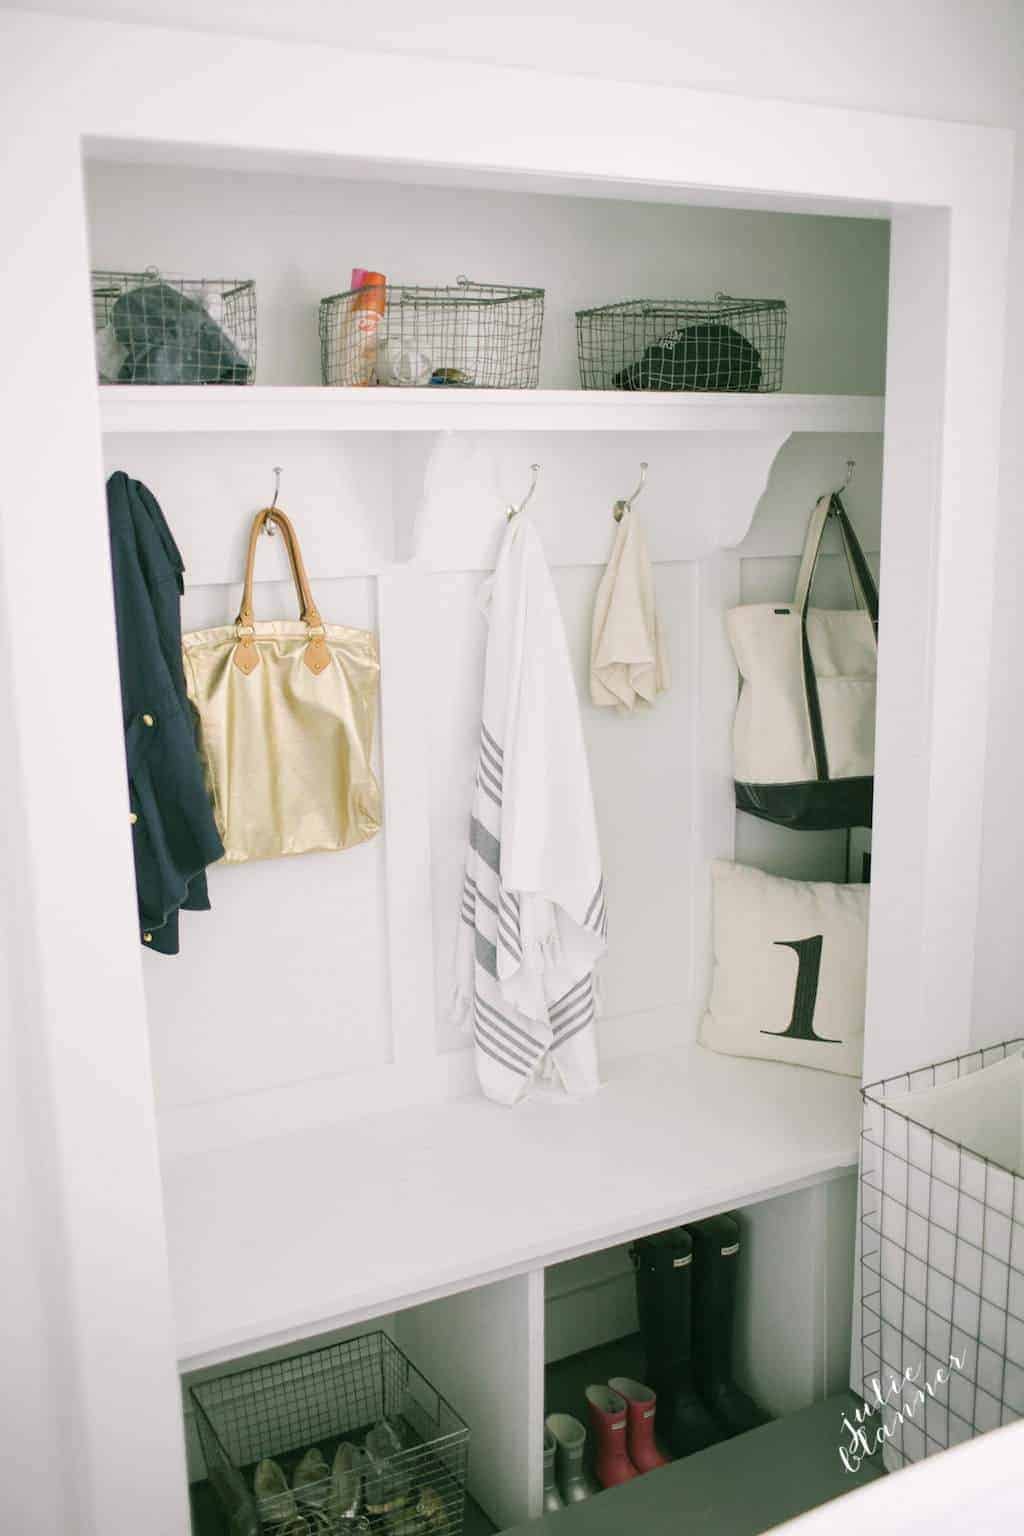
Baskets, hooks, lots of paint and board and batten transformed the closet into an incredibly functional space.
Bonus! What you can’t see to the right hidden behind the pillow is our wine cooler. We didn’t have a space in the kitchen for it or a wet bar on the main level.
It was a convenient location that was well disguised. Chris was able to run electric from the garage to the mudroom so that the cord was also hidden.
Closet Mud Room Details
- We removed the door frame and added new 1×4’s to give it less of a closet feel.
- We then smoothed out all of the walls by filling any holes with putty and sanding the wall smooth.
- Chris reused the original shelf in the closet, but added a ledge to it and a board below it.
- We also added corbels for a decorative element.
- 1×4’s were used to create board and batten.
- Chris built a bench at a height that was comfortable.
- I painted it a bright white in semi-gloss for a clean look and hooks were added to complete the project.
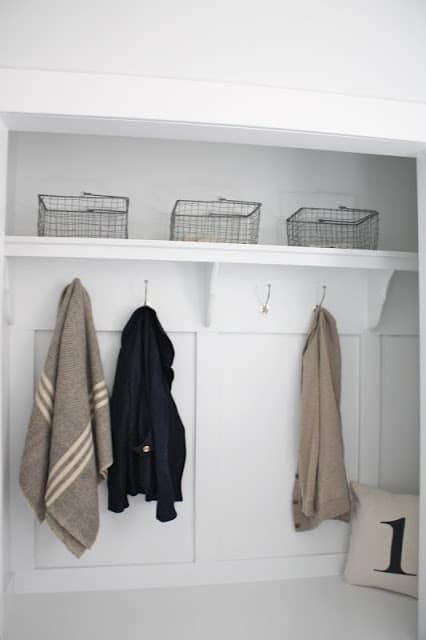
Farmhouse Mudroom Decor
I decided I wanted a little something different from the standard wicker baskets. I love the wire ones I chose because it will be easy to see what is in each.
We each had our own basket for accessories and miscellaneous items that used to get tossed onto the kitchen counter tops.
The pillow was repurposed from our living room in our old home.
Below the bench is the perfect nook for our wellies, which are as useful as they are cute to look at.
The “step” also seemed less out of place with the use of a large basket for the girls’ shoes. It was convenient for them to find their own & sit on the bench to put them on.
I am so happy with the way it opened up the small space and added more functional space to our home.
Cost: wood for interior and door frame and nails $175
Hooks $15
Baskets $45
Paint $40
Floor Paint $27
Total cost, $302!
While simple, I loved this space and all the memories we shared there coming and going. Do you have a mudroom? What’s your favorite feature of yours? I always love your ideas and suggestions!



Hi there! Such a nice makeover. This is a really random question, but do you by any chance remember who makes that blanket/coat/cape that’s hanging on the left?
MacAusland Woolen Mills
Hi! I love your mudroom design and hope to bring it into my own home… Any chance you could give me the dimensions of the bench you made- I have 3 kids and am not sure about height/size etc… Our closets are just about the same size. Thanks for your time!
Unfortunately I can’t recall & we since moved, but it was a standar closet size.
Nice transformation! Love it!
…also wanted to mention I that I’m your newest follower and I am also a KC blogger. 🙂
Jennifer@Decorated Chaos
http://decoratedchaos.blogspot.com